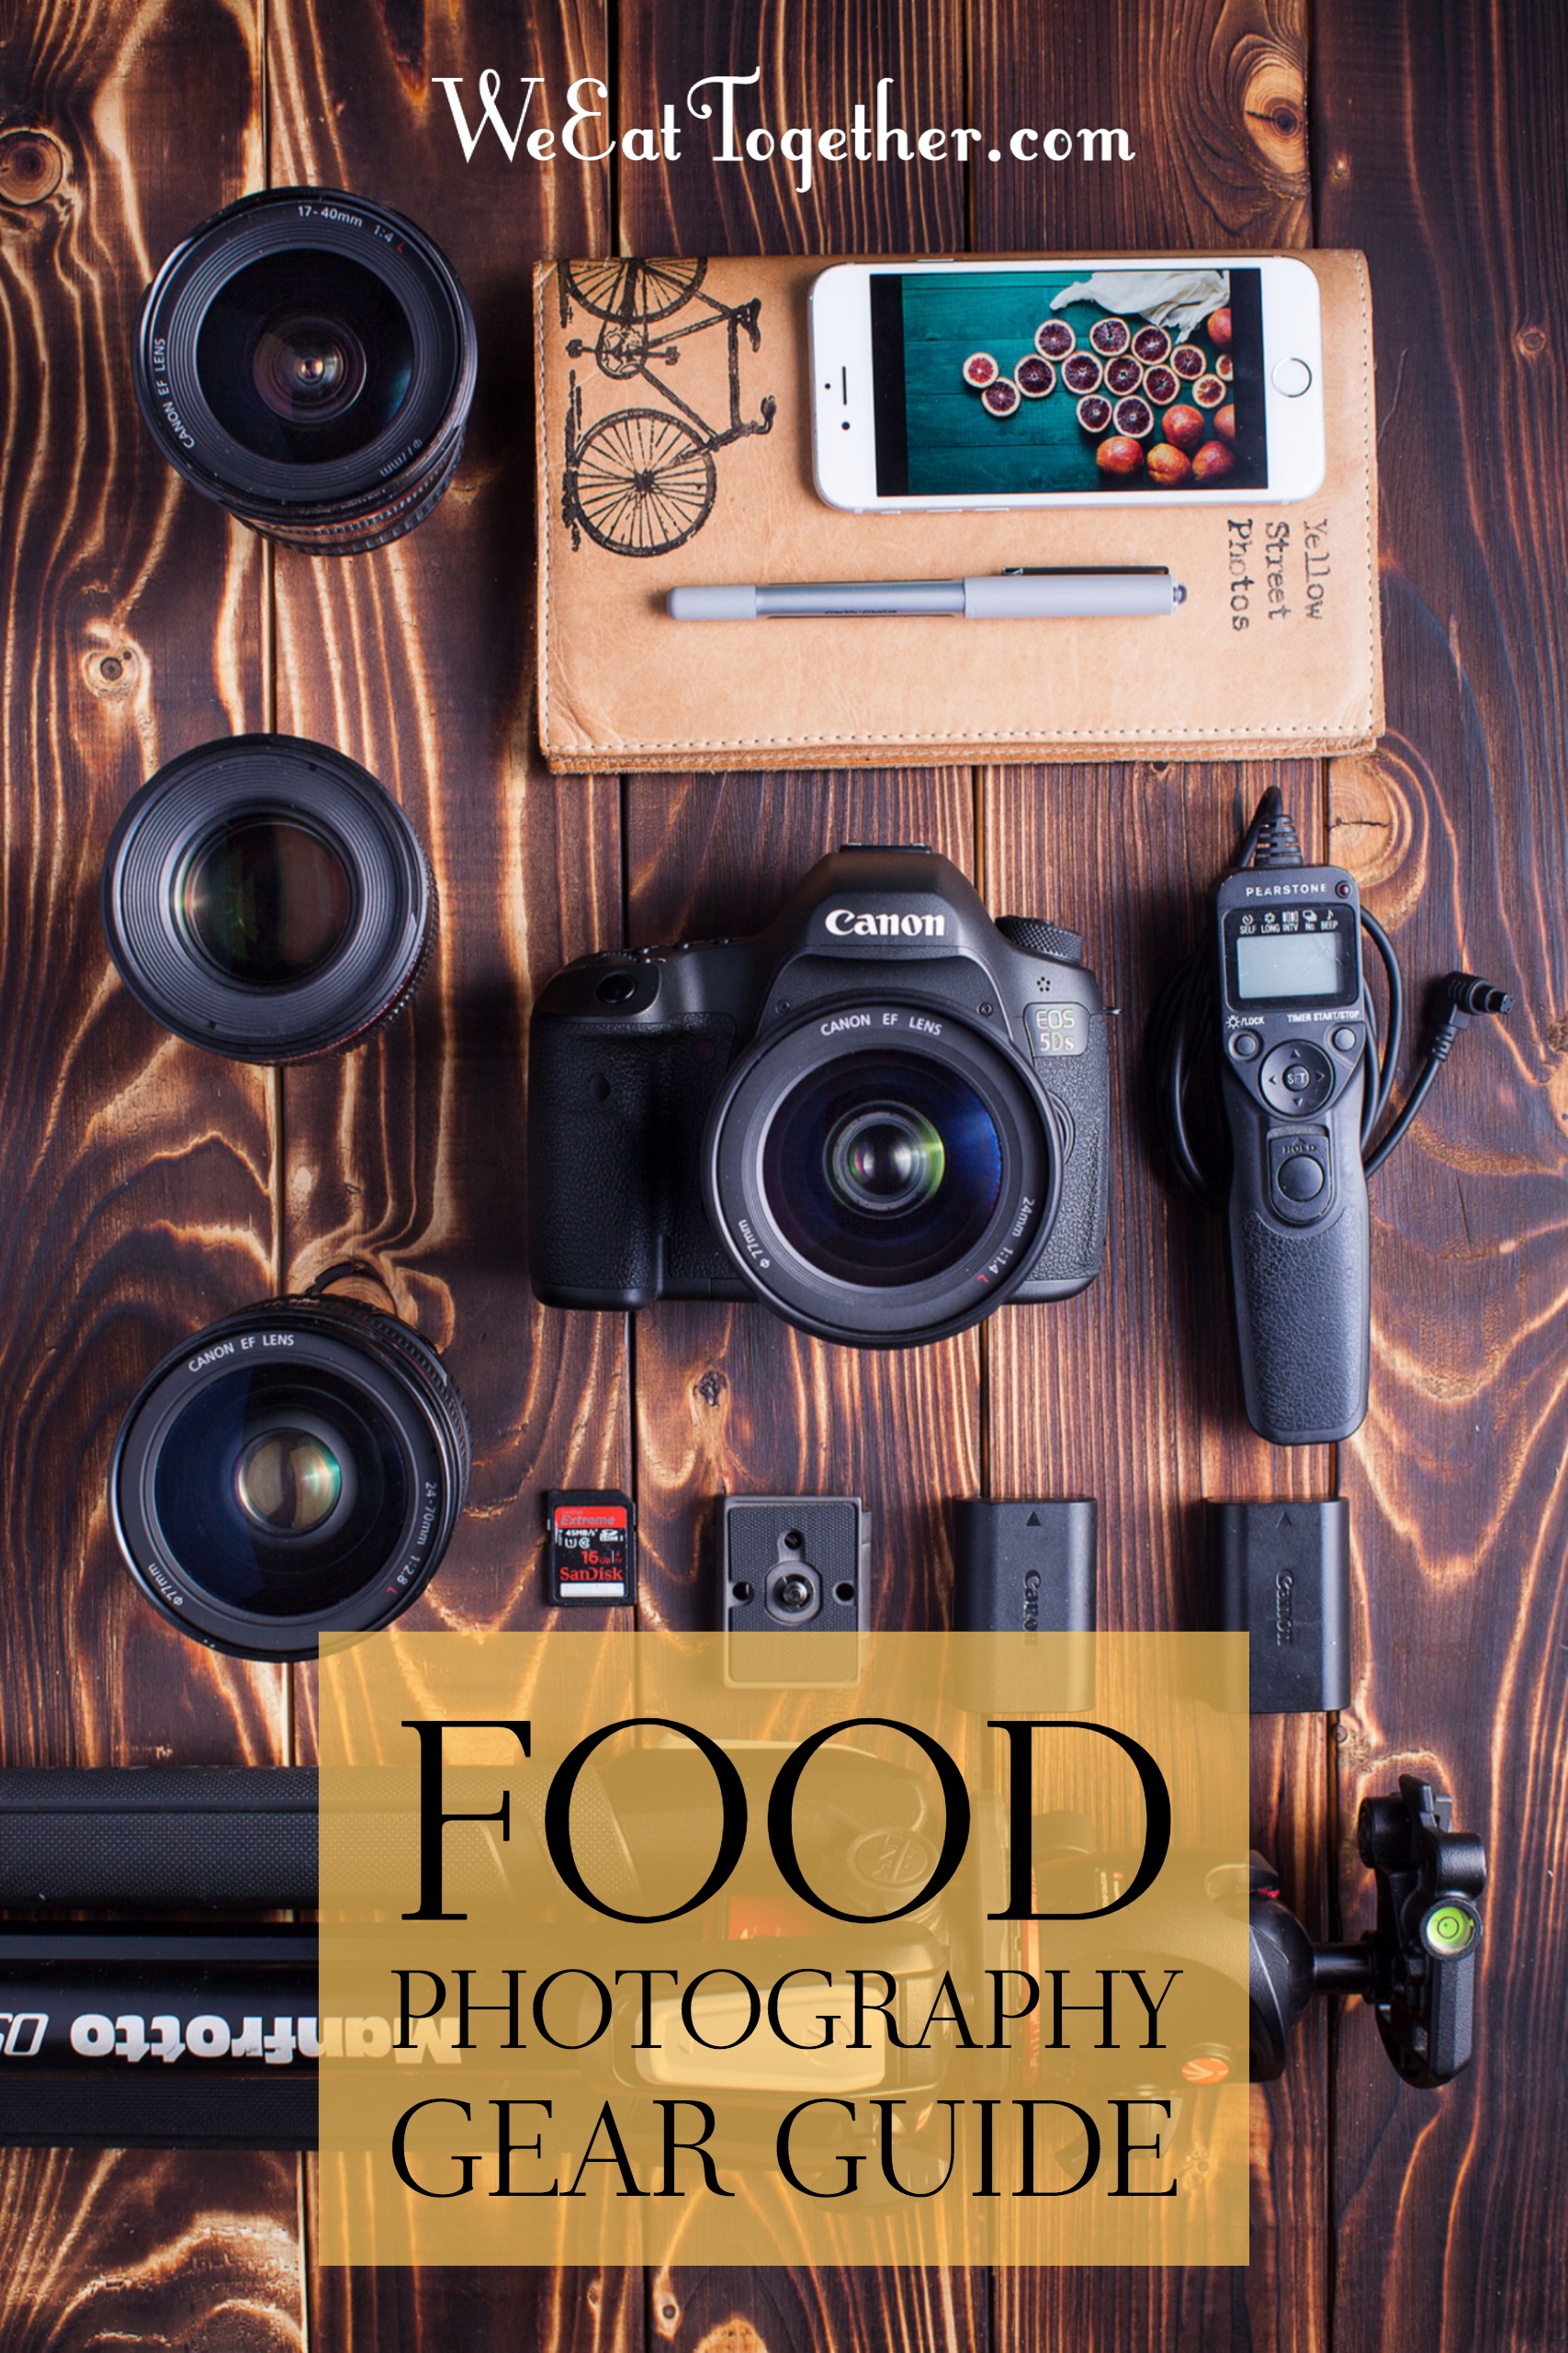
I get a lot of questions about the food photography equipment I use. I often include my food photography gear recommendations in different articles and of course there is a huge section about gear in my Food Photography Masterclass, but I thought having one place to direct readers would be more helpful.
Some of the food photography equipment on this list is expensive! I know. So peppered throughout I have added some cheaper, but still awesome alternatives.
Plus you can check out my Amazon Storefront right here, which is constantly updated with all the new food photography equipment I've fallen in love with.
By the way, if you're looking for some beautiful surfaces, check out my new collection of food photography backdrops!
Good cameras, lenses and artificial lights for food photography will always be expensive. Even the cheapest of the brands cost a good chunk of money. I always recommend a healthy balance of cost versus effectiveness.
I think it's good to keep in mind that DIY solutions can be great, but sometimes they add more problems then they save money.
What I absolutely will NOT do is recommend food photography equipment that is of poor quality and gives you poor results, just to pander to your pocketbook.
My Personal Food Photography Equipment
What is great about food photography is that it is one of those art forms that can be as simple or as complex as you want it to be.
I've included here all the food photography equipment I use on a daily basis to make my art.
Depending on your budget and needs, having everything on this list, as I do, might not be right for you. So below, I have included a Quick Navigation that you can skip to the food photography equipment that your most interested in.
Cameras & Lenses
Luckily food photographers don't have to worry about needing 90% of what modern cameras can do. A few good questions you should ask yourself before buying a camera are.
- How many megapixels do I need?
- Do I shoot or plan on shooting video?
- What else will I use this camera for?
The answers to those questions will definitely help you narrow down your choices.
Here are a few other detailed food photography equipment articles, that you might want to check out!
Features Food Photographers Should Look For In A Camera...
Features Food Photographers Should NOT Look For In A Camera...
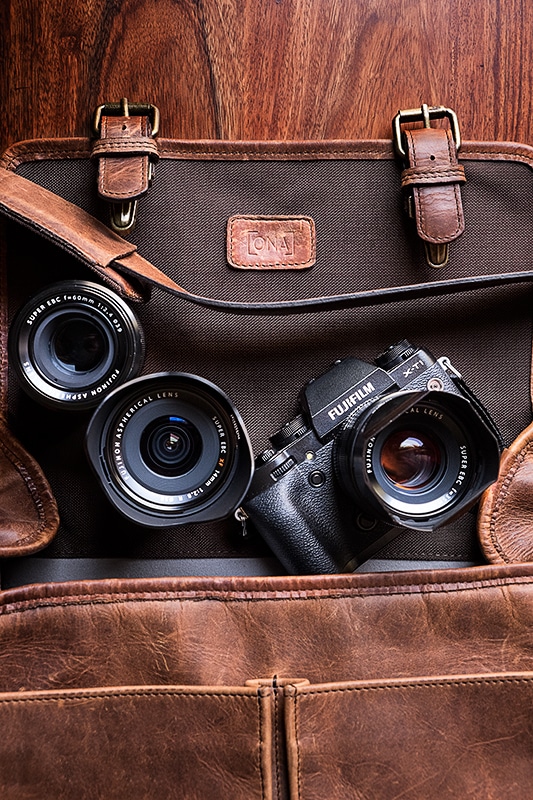
The Canon 5Ds is the camera that I use for all of my food photography. It's a little long in the tooth now, but if detail, sharpness and ultimate resolution are what you want in a food photography camera, than this 50.6MP monster will do the trick. The incredible amount of detail this camera gives you, also makes it incredibly unforgiving. Be prepared to see every microscopic bit of dust and hair floating in the air, but when you nail the shot with the Canon 5Ds, the results are gorgeous!
The FujiFilm X-T3 is the latest edition to my food photography camera bag. It's 26.1MP X Trans APS-C sensor creates stunning images, however the amazing 4K 60p in 10 bit and 120p FHD video recording features is why I had to have this camera. If you are planing on shooting food videos then seriously take a look at this beast of a camera.
Other cameras I personally recommend...
- 30. 3 Megapixel Full frame CMOS Sensor and DIGIC 8 Image processor
- Dual Pixel CMOS AF with 5,655 manually selectable AF points
- 4K 30P with Canon log and 10 bit 4: 2: 2 HDMI output
- Built in EVF with 3. 69 million dots, Vary Angle Touchscreen LCD
- 61MP full frame back illuminated Exmor R CMOS Image Sensor
- 14 bit raw output, wireless PC remote function, FTP transfer
- 4K video: 8 bit; S log and HLG recording features
- 15 stop dynamic Range for greater Color accuracy
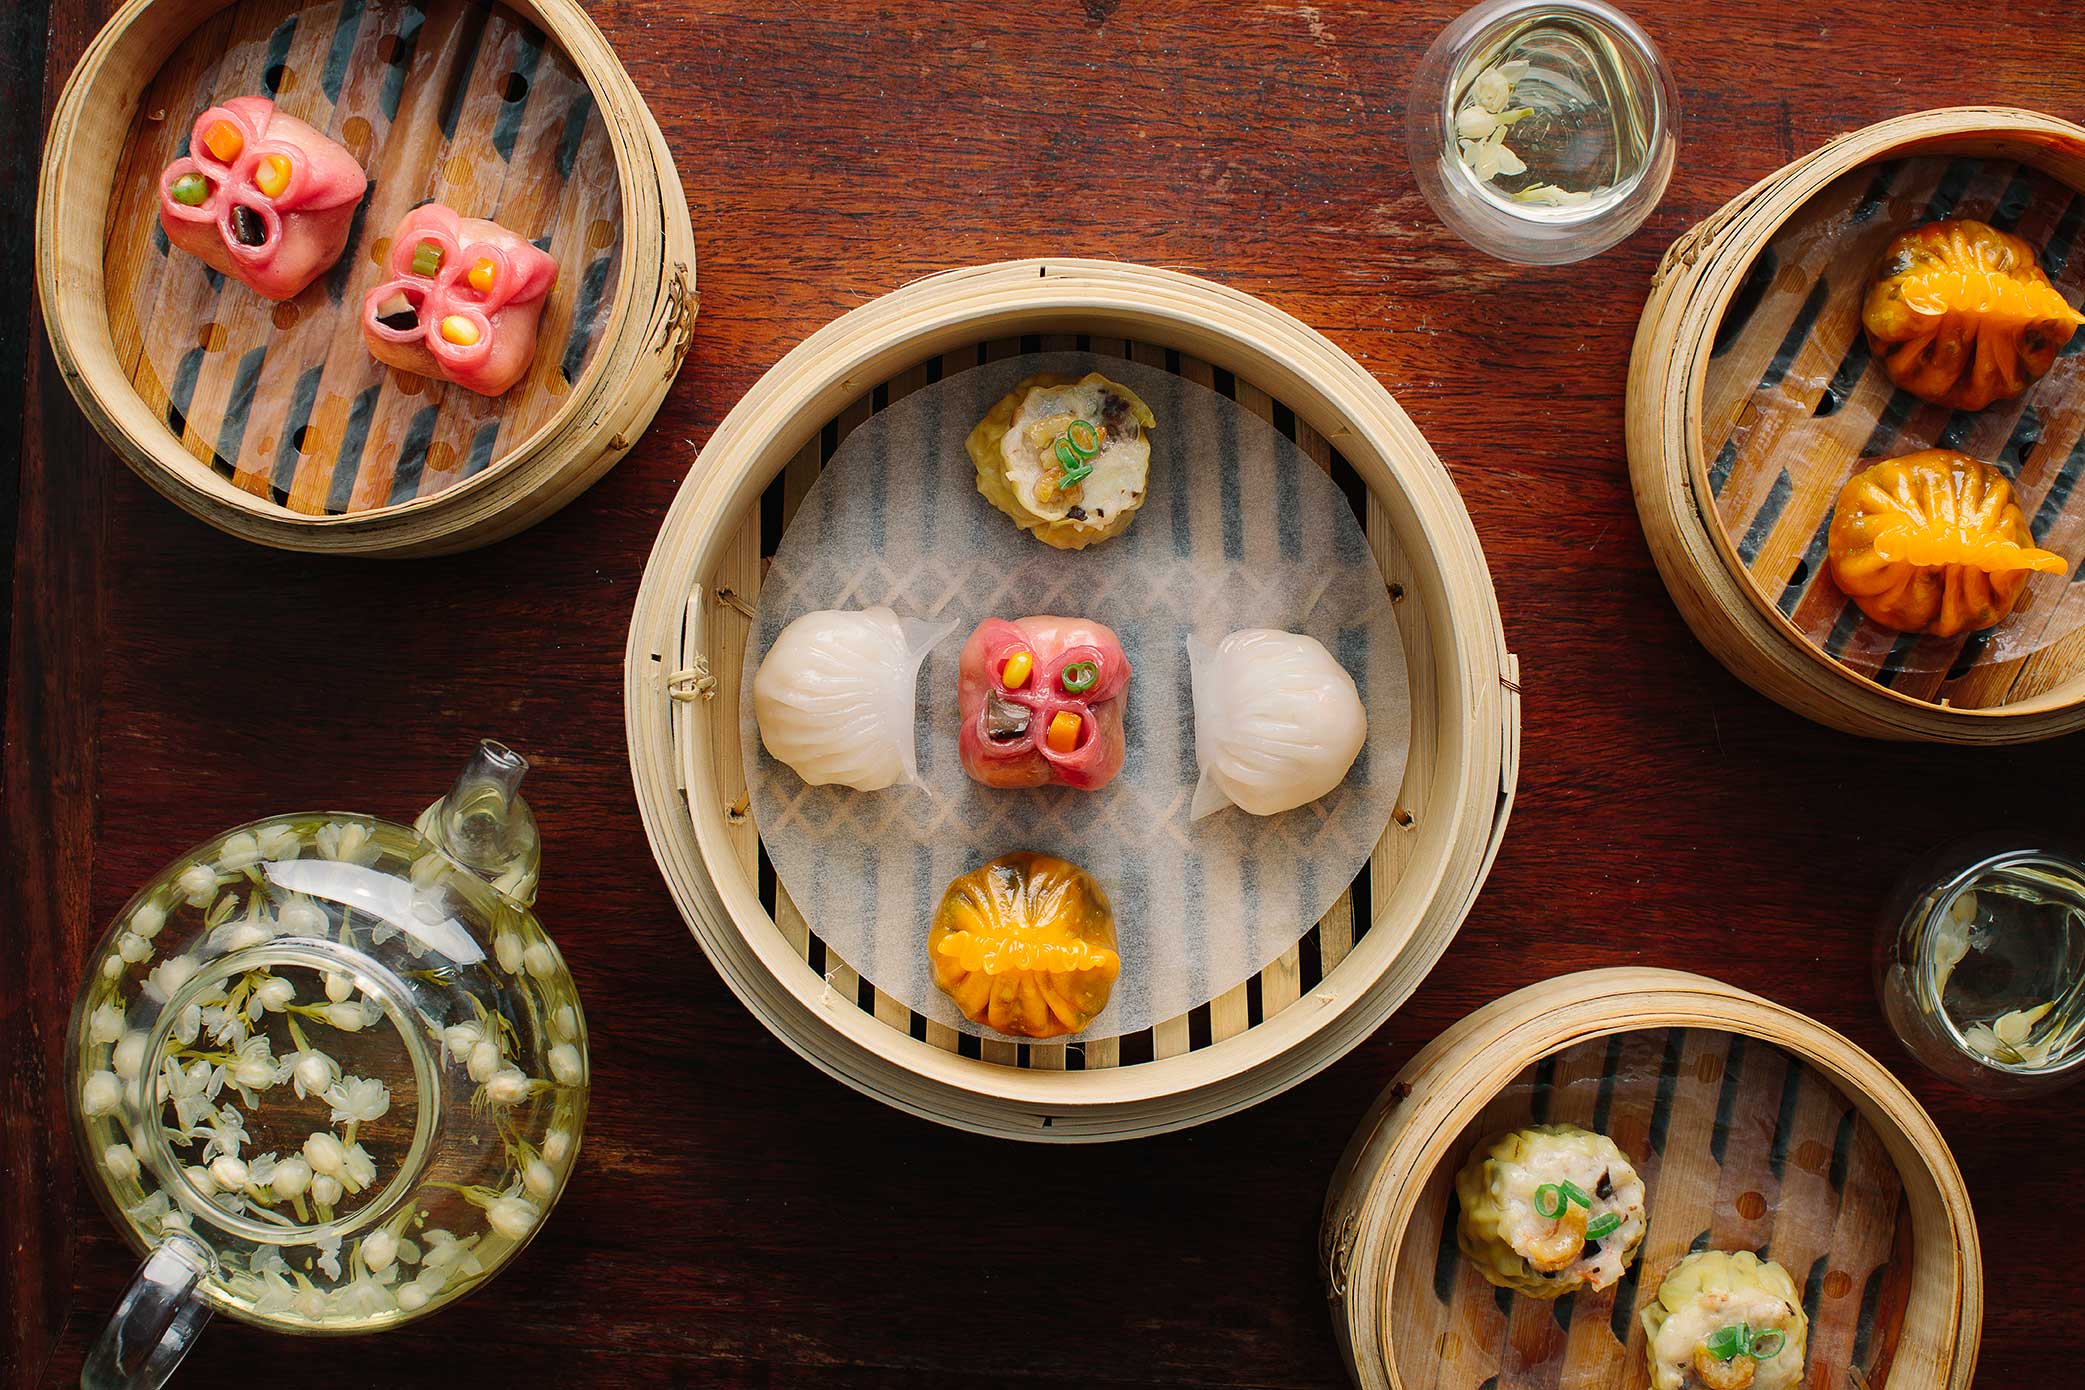
The Best Lens For Food Photography
When it comes to food photography equipment, lenses are where you should spend the majority of your budget.
Their high price tag should be looked at as a long term investment an a key part of your food photography equipment budget.
In ten years, I've changed my main food camera three times and my lenses only once. One of the lenses on this list I've had the whole ten years, and I still use it!
Features Food Photographers Should Look For In Lenses...
Features Food Photographers Should NOT Look For In Lenses...
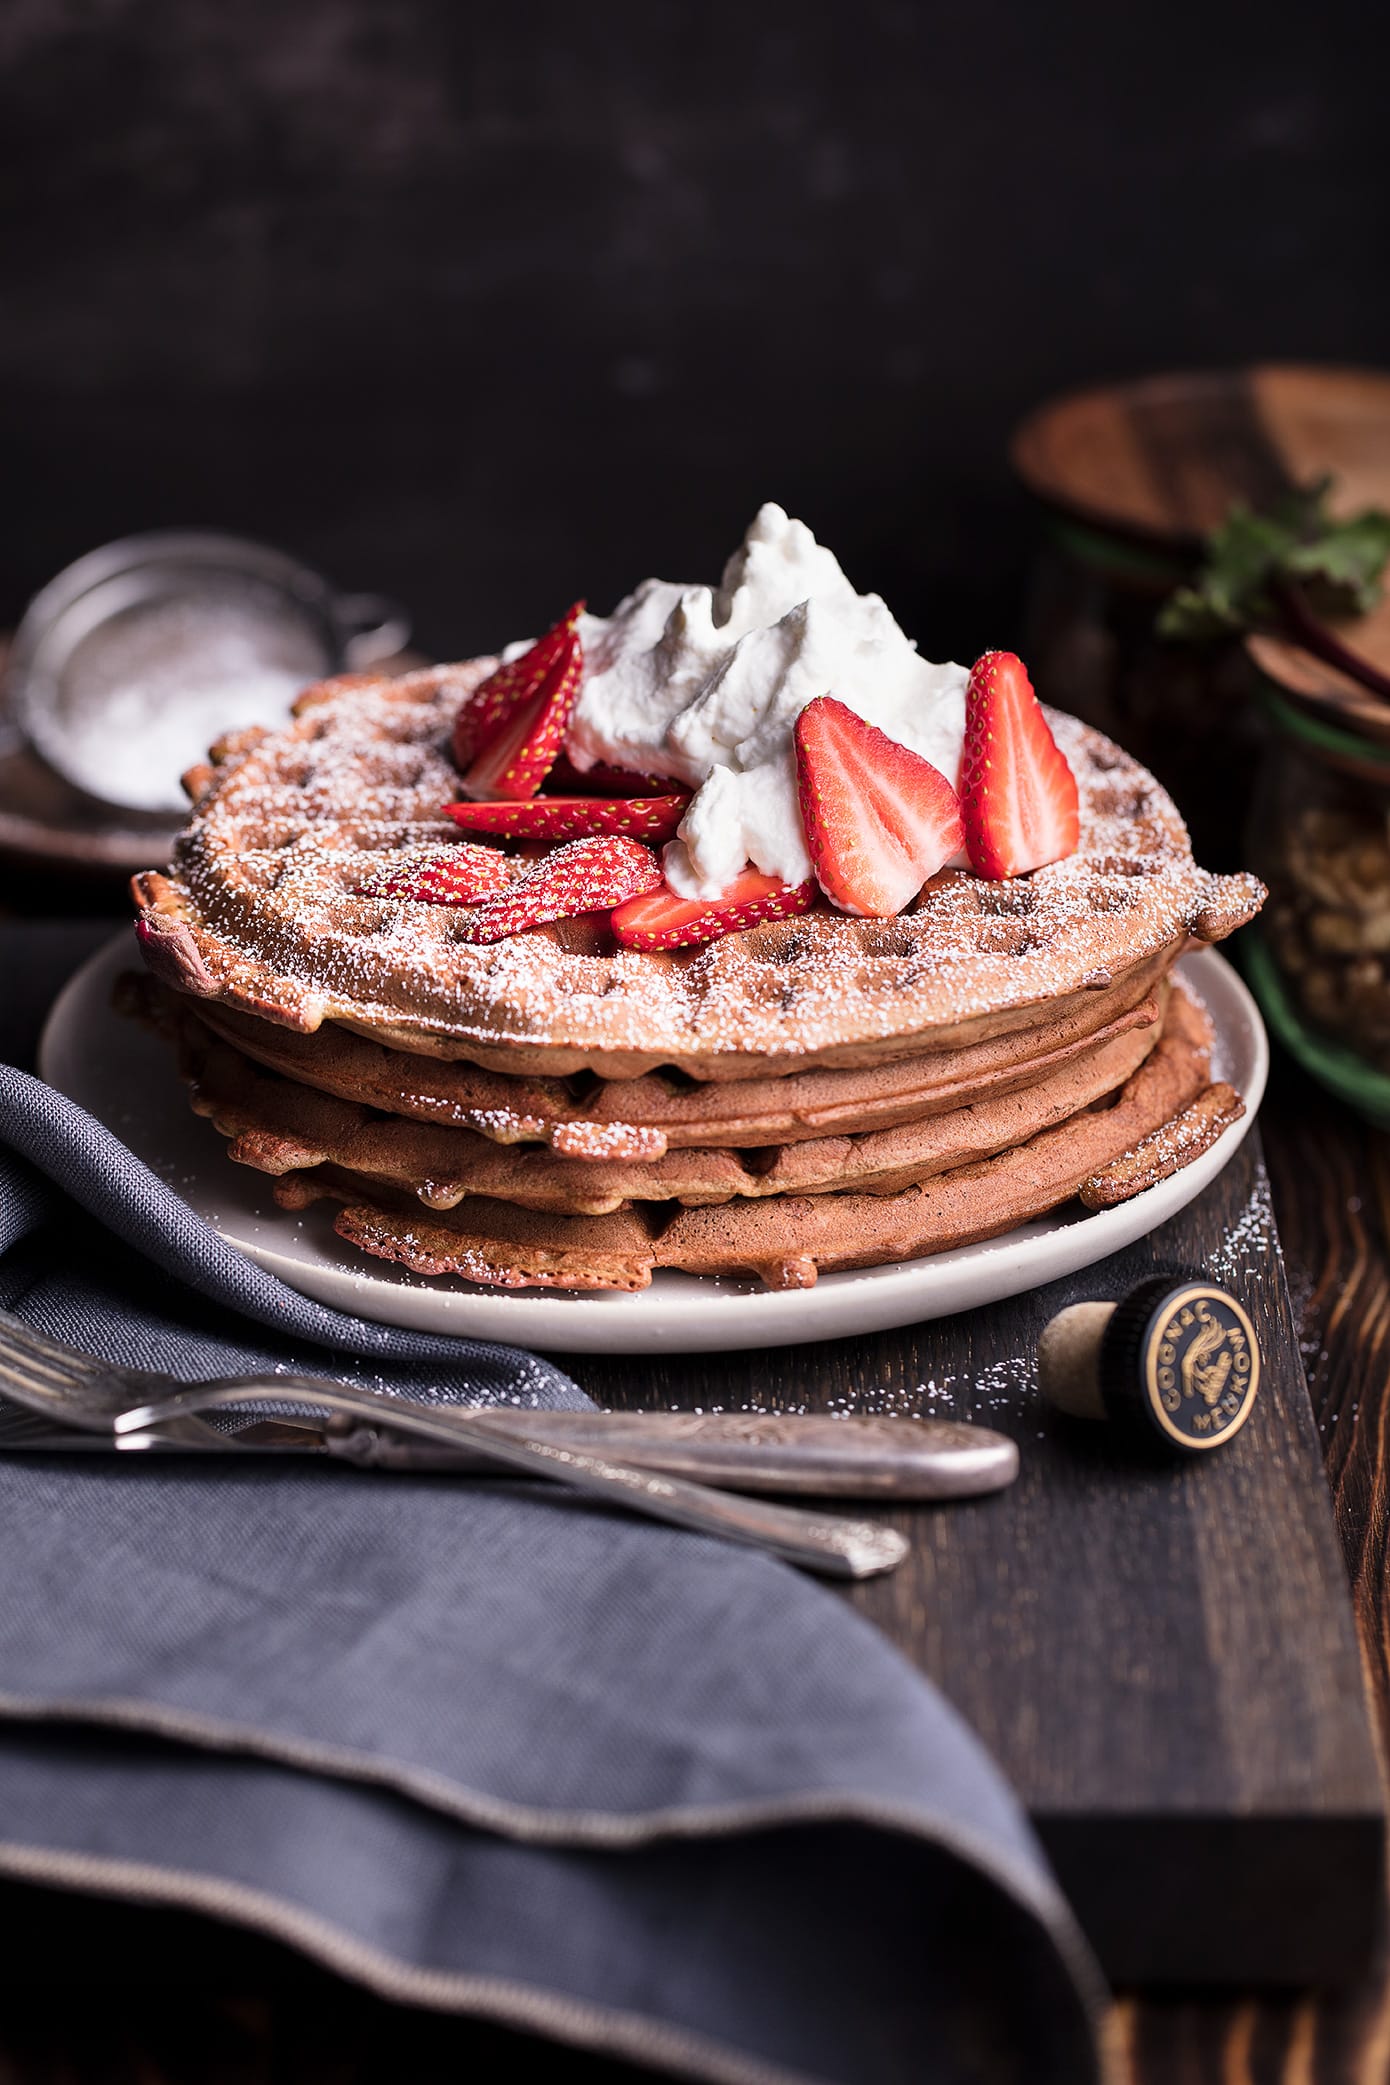
Canon EF 100mm f2.8L Macro Lens at f4.0 1/160 ISO100
The Canon 100mm lens is hands down the best lens for food photography. You can read my full review of it here. The 100mm is a favorite food lens among all food photographers, not only is this canon lens razor sharp but it's great both backed off and super close up. The focal length will add to the blur of your backgrounds giving it that extra creamy bokeh effect.
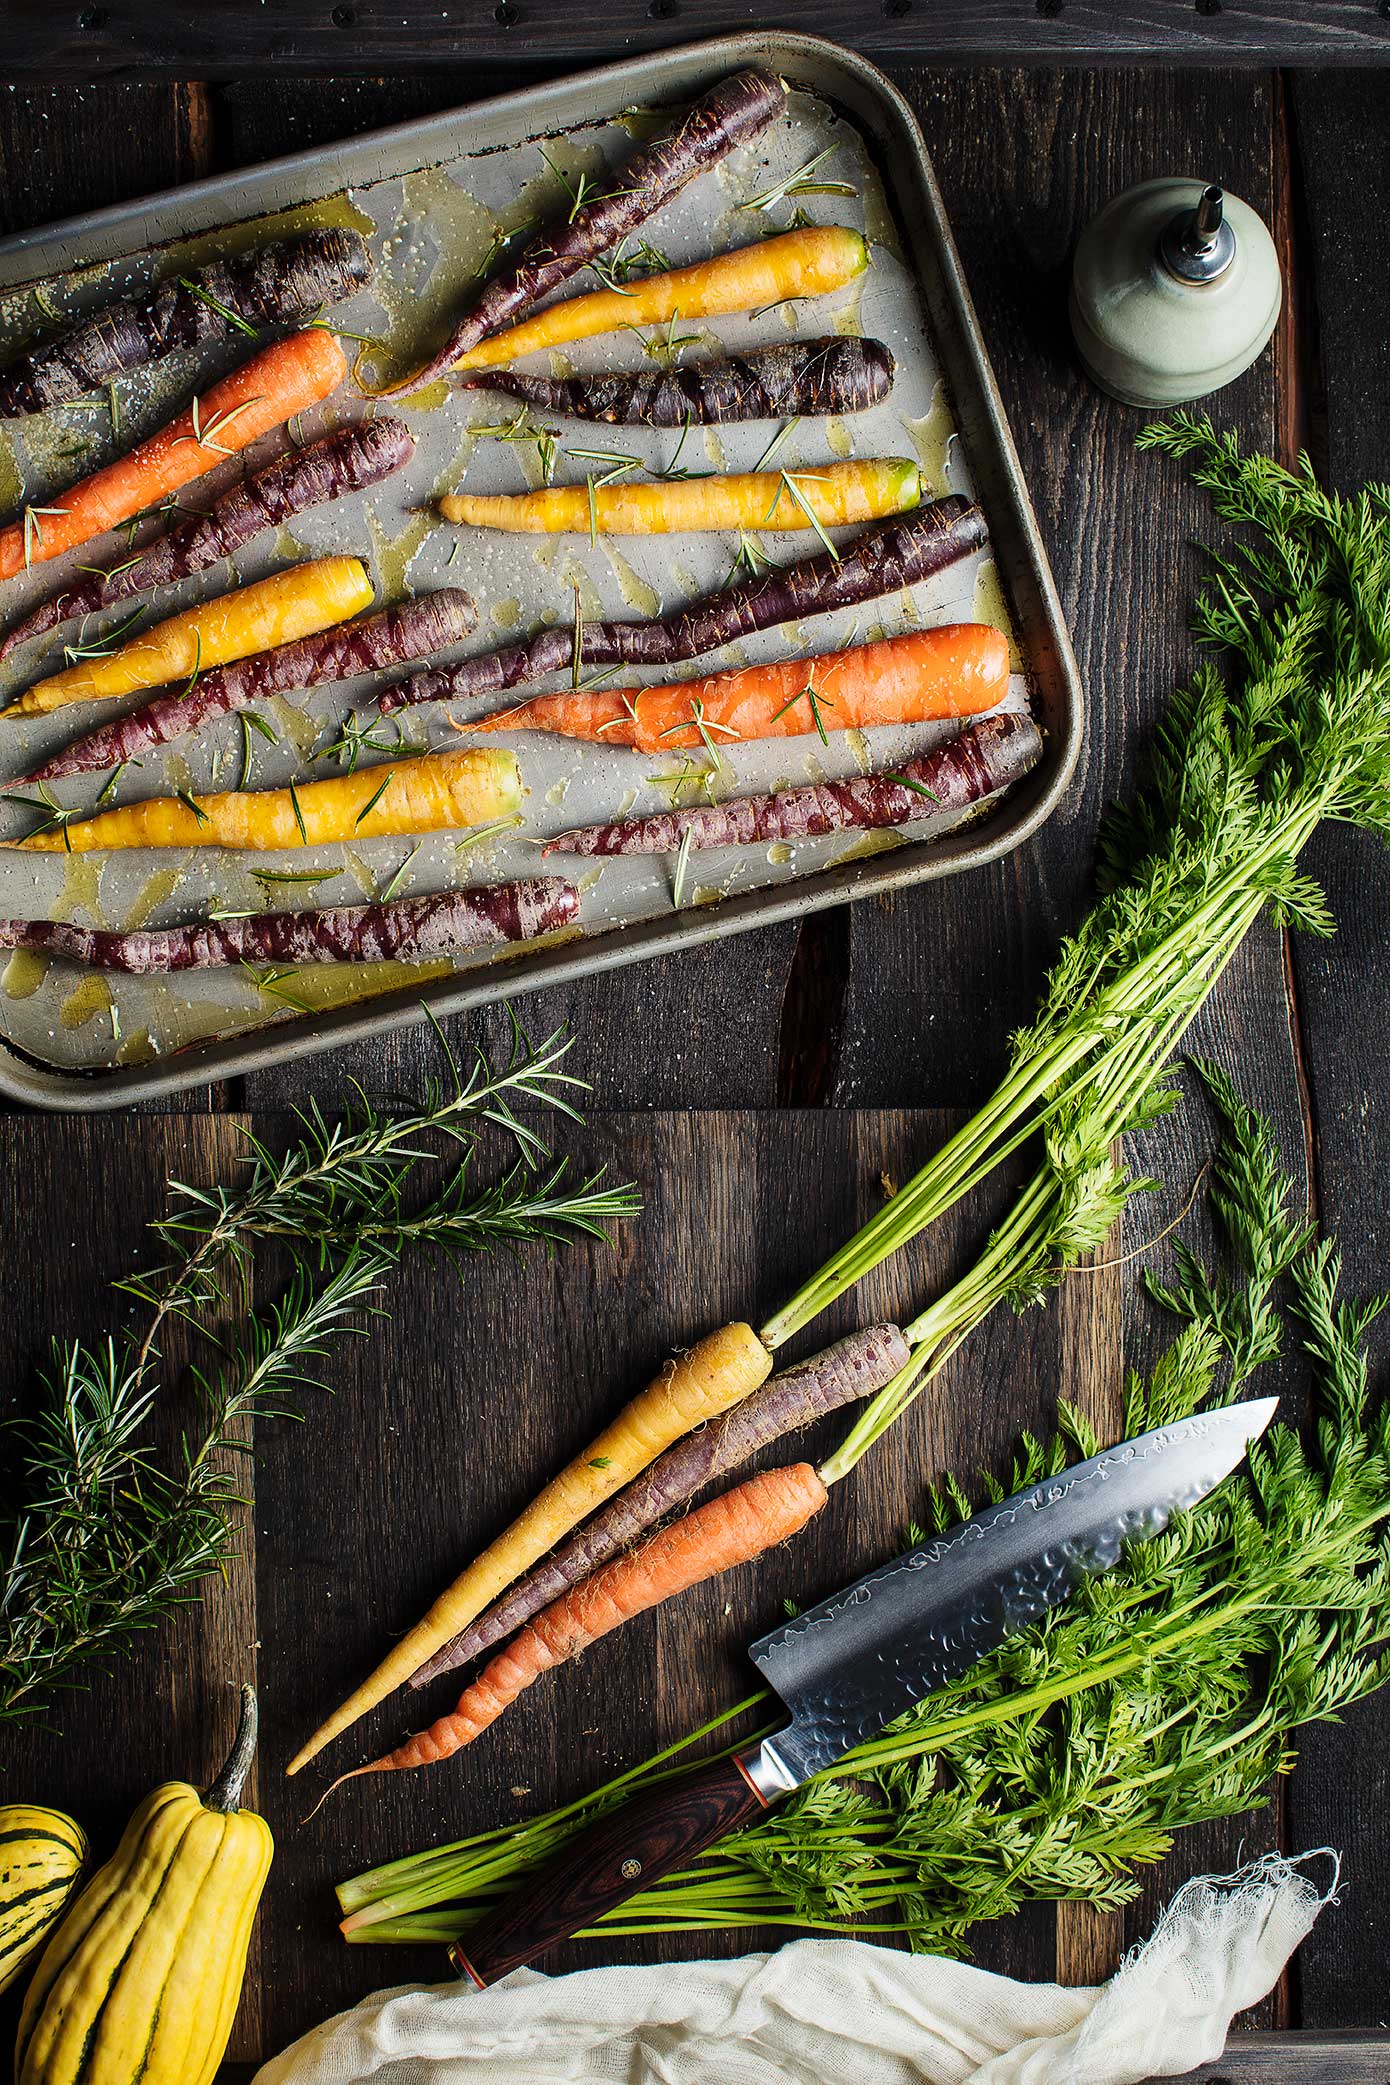
Canon EF 50mm f1.2L Lens at f8.0 1/160 ISO100
The Canon 50mm has been a standard food photography lens for years. This lens comes in three versions for Canon. You can get the f1.2 lens here or cheaper f1.4 and f1.8 variations.
This is the main lens I use when shooting above the table. The Canon 50mm f1.2L lens is a little on pricy side, however for under $400 the 50mm f1.4 model has been touted as the best nifty fifty by photographers for ever.
Canon EF 24-70mm f2.8L Zoom Lens at f5.6 1/125 ISO100
The Canon 24-70mm f/2.8L Zoom Lens is the lens we recommend for people entering into the market. You can read my full review of this lens here. It is an all around great lens, from chef portraits to food.
Although it has a hefty price tag, it was sure worth the investment. Considering all the things I have shot with this lens and the fact that it has been with me for so many years, it has definitely paid for itself.
Studio Lighting & Modifiers
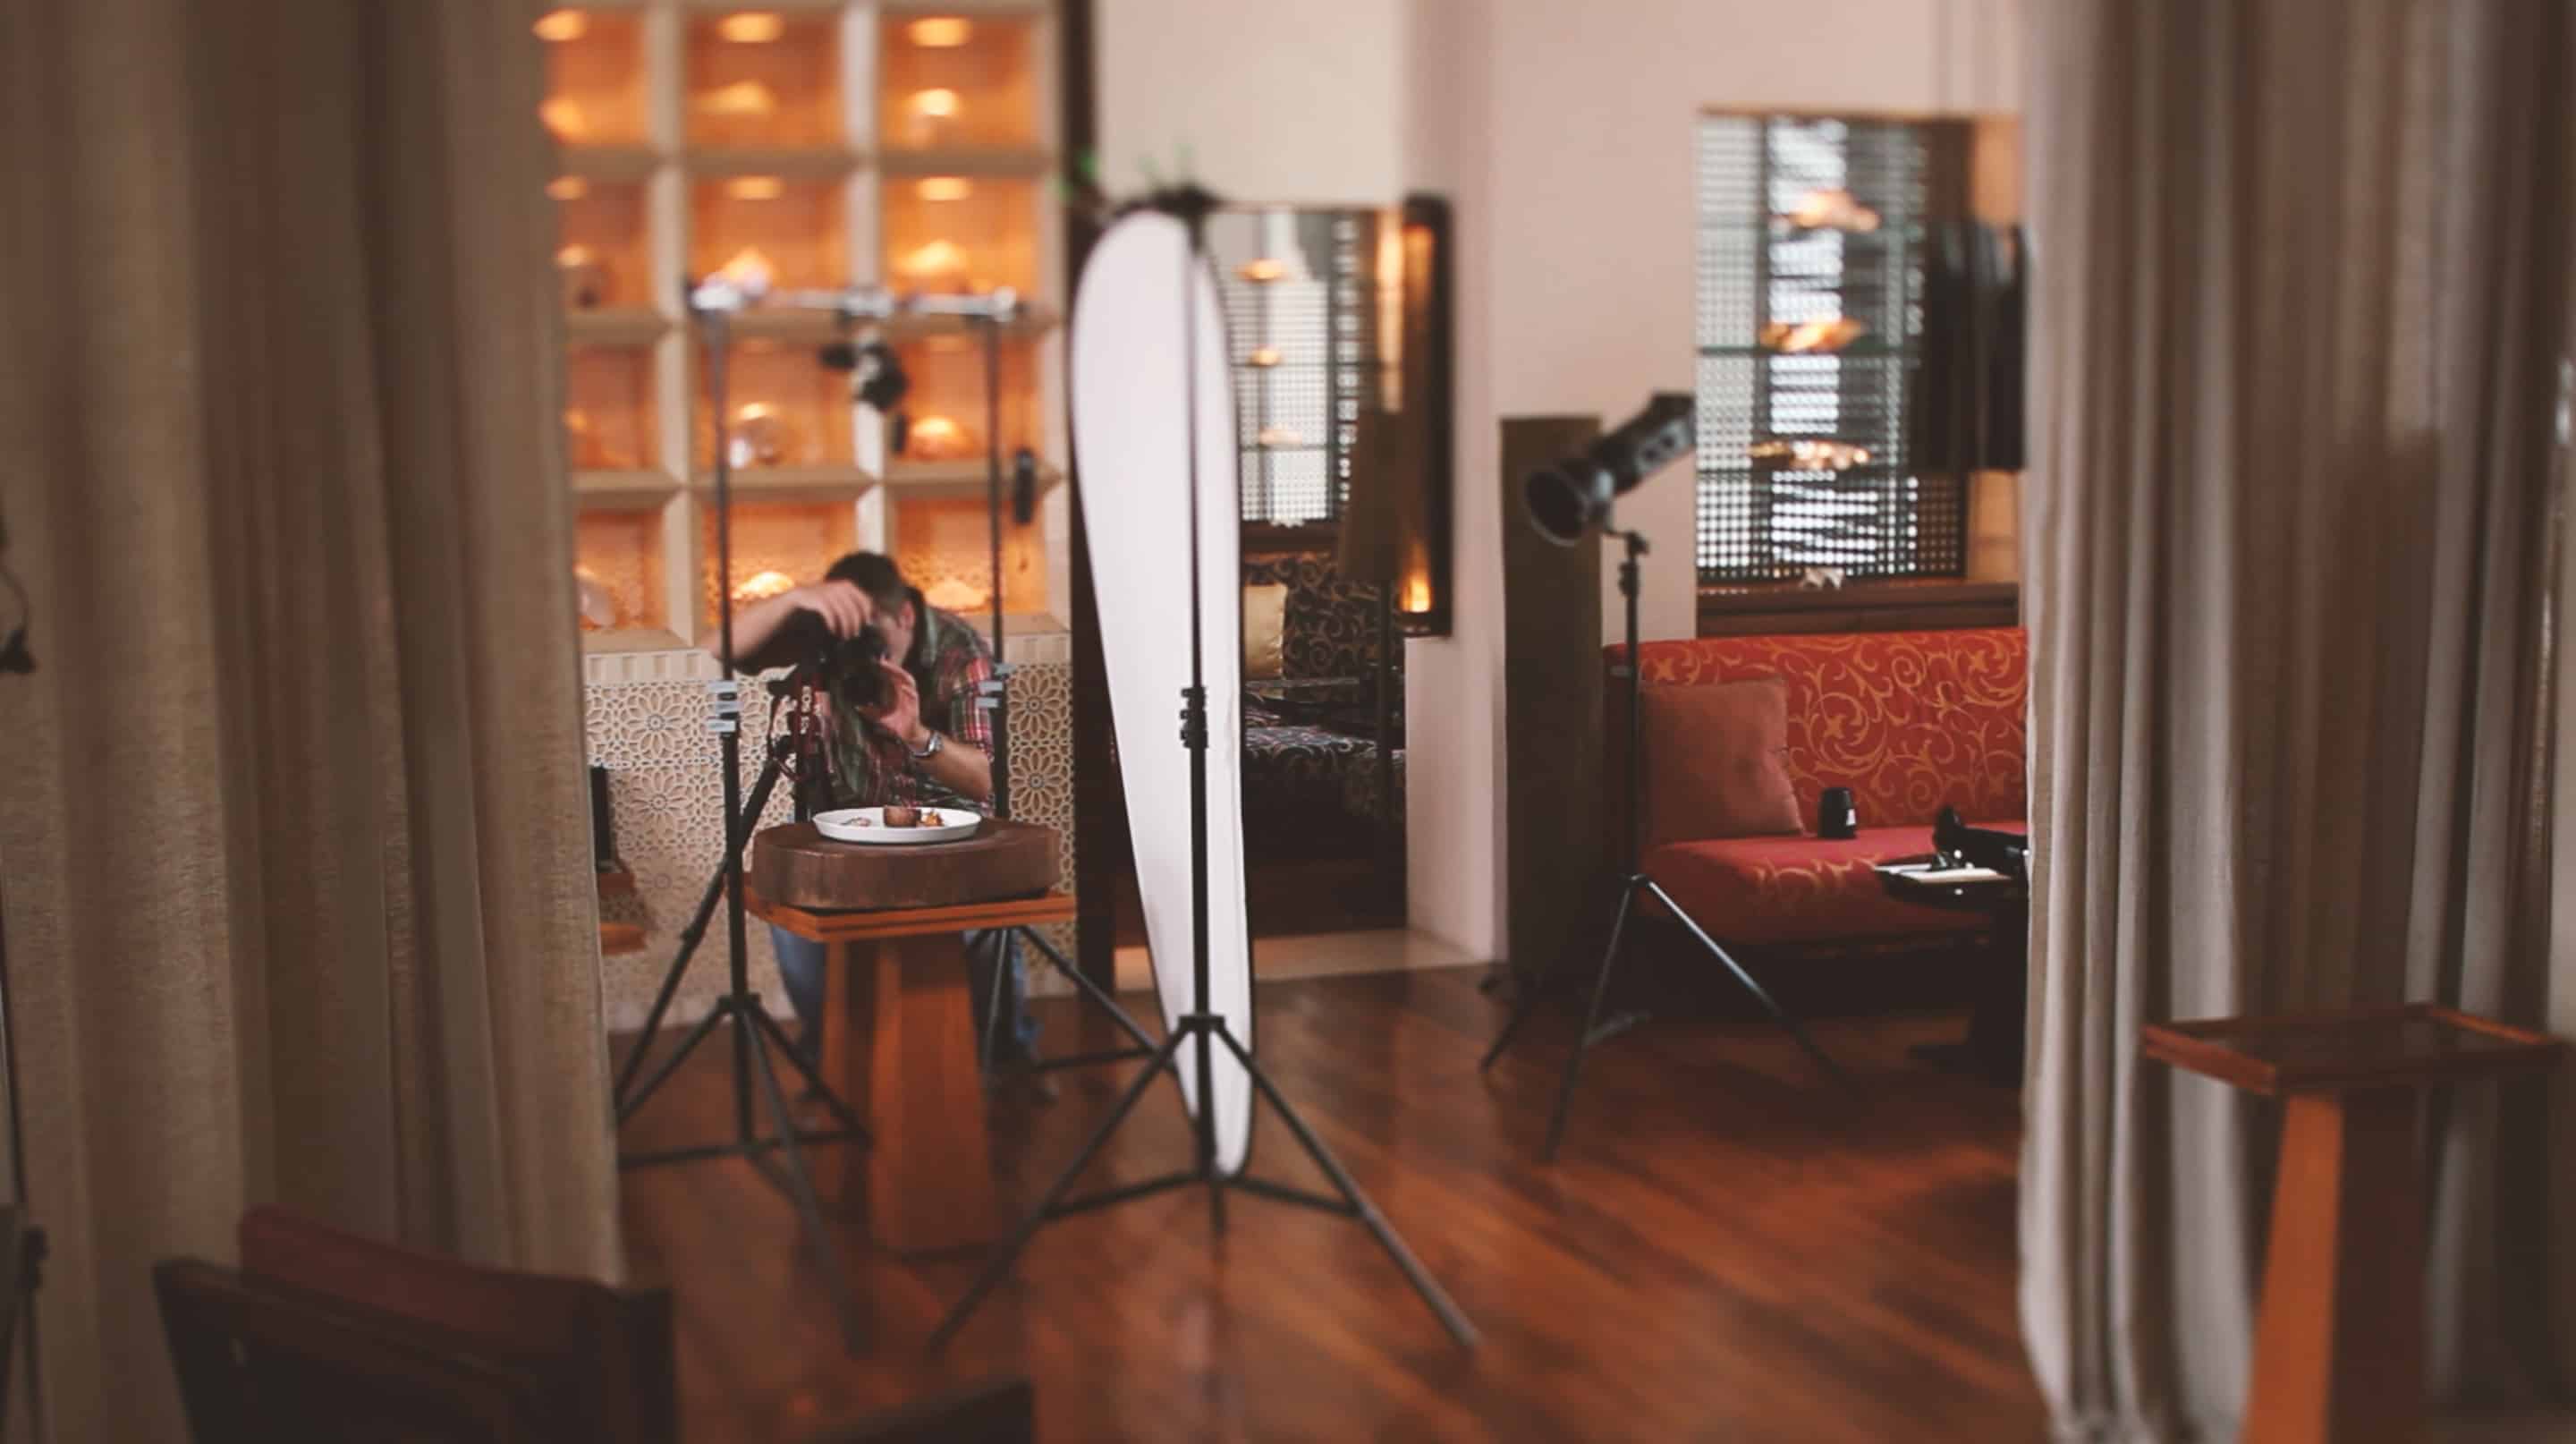
I get a lot a questions about artificial lights for food photography, so it only makes sense to include them in this food photography equipment guide.
Alas, this subject is a tough one. There are really good (and expensive!!) lighting solutions and really REALLY bad lighting solutions. Finding the right artificial lighting for food photography can be daunting. You're not just buying a single light, you are buying a whole system.
Artificial lights for food photography need modifiers and often those modifiers are exclusive to the brand of light.
One big thing to consider is not only the price of the lights and associated modifiers, but the build quality. Being that even the middle of the road brand of lights are so expensive you want to make sure your investment lasts.
Features Food Photographers Should Look For In Artificial Lighting...
Artificial Lights Food Photographers Should Stay Away From...
In this food photography equipment guide I wont suggest you go buy the most expensive brand, that would be silly.
However, I will recommend the medium price range of lights that I love and use on a daily basis, as well as, slightly cheaper alternatives that I have also used and loved.
The Elinchrom Pro 500w above is fantastic. You would be hard pressed finding better quality artificial lights for food photography. These lights have a crisp consistent color with every fire. They also fire fast enough to freeze liquid splashes and come with a built in wireless system.
The modifiers are amazing as well. They are not built like tanks but they are not flimsy either. With a 300 watt adjustable modeling/prop light I use them to light my videos as well. I love them so much I bought two sets!
At about $200 less than the Elinchroms above per strobe, the Godox AD600BM are a great system to own. With a fast flash duration at about 1/8000s you can freeze liquids and motion. You also get a LED modeling light and 9 steps of power variation.
The best advantage to Godox is that the S-mount type is one of the most common modifier mounts around.
Meaning that you'll have no problem finding a plethora of super cheap modifiers for your strobes.
The Godox SL Series SLB60Y 60W Constant Light is my go to recommendation when someone asks for a cheaper alternatives on their food photography equipment list. At around $349 you can get an amazing constant LED light that you could use for your photography or your video.
With the Godox SLB60Y you get a bright light, a remote, a battery that lasts for ever, and it comes in both yellow(tungsten) or daylight balanced
Also the Godox SLB60 comes in the S-mount so cheap soft-boxes and grids are plentiful. Best of both worlds for a great price!
With each light you buy, be sure to add to your food photography equipment budget a light stand and a modifier. Each brand has their own line of modifiers, but other that a few minor details they are all pretty much exactly the same.
So whether you are using Elinchrom, Bowens or Broncolor, these are the artificial light modifiers I use for almost every image I make, including every image in this guide.
Probably my favorite piece of food photography equipment, the large diffusion that comes as a part of the Diffusion/Reflector Kit is a photographer's best friend.
Great in so many situations where soft diffused light is needed, the diffusion is paramount to modifying natural and studio light.
I throw the rest of this kit in the bag, the diffusion with it's solid yet flexible ring is worth the cheap price tag by itself. Knocking down the light by about 3 stops it's perfect for using large apertures with both 500w strobes and hard direct sun rays.
These Godox Grids work to focus the light into a circular beam with fuzzy edges. Most brands sell grids and reflectors in a kit, but you can also find them sold separately. To shape light for my food photography I use the reflector and a grid between 20˚-40˚
Andoer Combo Grid Kit - For Elinchrom Mount
Godox Combo Grid Kit - For Bowens S-Mount
Softboxes like this Godox Softbox come in various sizes. I prefer the larger sizes in the line as they provide great soft light with nice big reflections.
One of the most important pieces of gear on my food photography equipment list as I use them for both photography and video.
Godox 32x48in Softbox - For Bowens S-Mount
Elinchrom 20x50in Stripbox - For Elinchrom Mount
There are tons of brands for light stands but one my favorites are these Neewer Stands. They are reasonably priced and well built, strong enough to hold lights and modifiers with ease. Plus you get two for less than the cost of one with other brands.
I would suggest making room for at least 4 light stands in your food photography equipment budget.
You'll need one for each light and one to hold things like the diffusor and backdrops. I wouldn't worry about the cost so much as they last a lifetime and you'll most likely never have to buy them again.
Overhead Camera Setup
(FOR ATTACHING THE CAMERA AT THE 90˚ CAMERA ANGLE OR A FLAT-LAY PERSPECTIVE)
Having a nice overhead camera tripod setup is essential for any food photography equipment list, unless you actually like to stand on tables, balancing on one leg over your food while holding your camera.
I use a very particular setup that gets a lot of questions. Below I've listed the equipment and quantities out. This overhead camera tripod setup is really a onetime purchase and will last a lifetime. It's lightweight and fits into a bag that I carry to sets and restaurants around the world.
Another huge benefit to this setup is that because it uses light stands it is adjustable to whatever height you want and you don't have to worry about balance issues or your tripod falling over because your camera is too heavy. You could even buy longer poles and use it for really large table scenes. This overhead setup is so versatile that it's essential to any food photography equipment list. All you need, is to make sure your camera is level and your good to go.
For the overhead camera tripod setup you'll start with two light stands. You could use C-stands for extra stability, but I prefer the weight of the light stands as I can take it on location.
Once you have the two light stands setup, connect this Kupo extension arm. This extension arm comes with a grip head attached to one end.
I would add this extension arm to my food photography equipment list on it's own. It has so many uses in the studio, from hanging things on to holding up backdrops, it's a must have!
You will need two more Neewer Grip Heads, one will slide onto the middle of the extension arm, which you'll use to attach the camera. The last grip will attach to the remaining end of the extension arm and the light stand.
Spigots are probably one of the most useful little tools in studio photography. They have the same 3/4 thread size as your tripod and 1/4 thread size on the bottom of your camera. You'll use just one of these spigots to place into the grip at the middle of your extension arm.
I have three of these ball heads and love them. They works great on this overhead camera setup, plus my other video sliders as well.
Attach the ball head to the spigot and then your camera to the ball head and your ready to start making beautiful overhead shots.
Other Food Photography Gear
Here are all the little things that I couldn't live without on my food photography equipment list and I use on almost every shoot.
Seeing your images on the computer as you take them is a huge advantage when shooting food photography. The TetherTools 15ft USB cable is a fantastic buy. I love the bright color which helps prevent trips and broken cameras.
The length of the cable allows me to have my camera on set and my computer or client out of the way. They make both USB 2.0 and USB 3.0 depending on what connection your camera has.
I use this level for when my camera is on the overhead camera setup. Yes, I'm that crazy about making sure my photos are straight.
I use this Pelican case to transport two camera bodies and 4 lenses. It's works as a carry-on when flying and is bulletproof, crush proof, water proof, hell it would most likely withstand a nuclear explosion. I have a much larger one with wheels that I use to carry my studio lights. These are the cool military cases you see in all the action movies 😉
This has got to be one of my favorite food photography gear accessories. The Godox S-Type adapter allows me to attach my Bowens Modifiers like grids and soft boxes to my speedlites. If I want to travel light, but still need the effects of my studio strobes then I pack the Godox adapter and a few speedlites.
If you're looking for some amazing surfaces to shoot your next recipe on, check out my new collection of food photography backdrops!
You can order them directly right HERE, where the more backdrops you buy the more you save or if you just want to pick up one use the promo code SKYBEST10 and get 10% off.
There are 8 backgrounds to choose from ranging from bright and airy to the dark and moody style we all love. If you want to see them in action check out this article and video!
What would a cool food photographer gear guide be without a little educational gear! My Food Photography Masterclass has 38 awesome food photography tutorials that will not only show you how to use all this gear and more, but how to make beautiful art worthy of the amazing food on your table.
Well that is it for this food photography gear guide. I will update this page as I get more cool gear that I can personally recommend and share with you. If you have any gear you love and think we should check it out too, drop them in the comments!
Thrive Leads Shortcode could not be rendered, please check it in Thrive Leads Section!
Here are a few other detailed food photography equipment articles, that you might want to check out!


