This guide is packed with the 3 biggest food photography tips that will have you creating delicious images right after reading.
Capturing amazing food photos is more than just acquiring a bunch of gear. Nice camera's, lights, food photography backdrops and all the gear that helps make a photographer's life easier. However, inside every mouth watering food photo they make are some tried and true basics.
I've put together an entire Food Photography Masterclass, that is filled with hours of tutorials, but I want to share with you some great food photography tips for beginners that will quickly get you on your way to creating deeper more exciting food stories.
Ps. Don't forget to join me on YouTube, where I have more fun food photography tips and tutorials
The 3 Biggest Food Photography Tips For Beginners
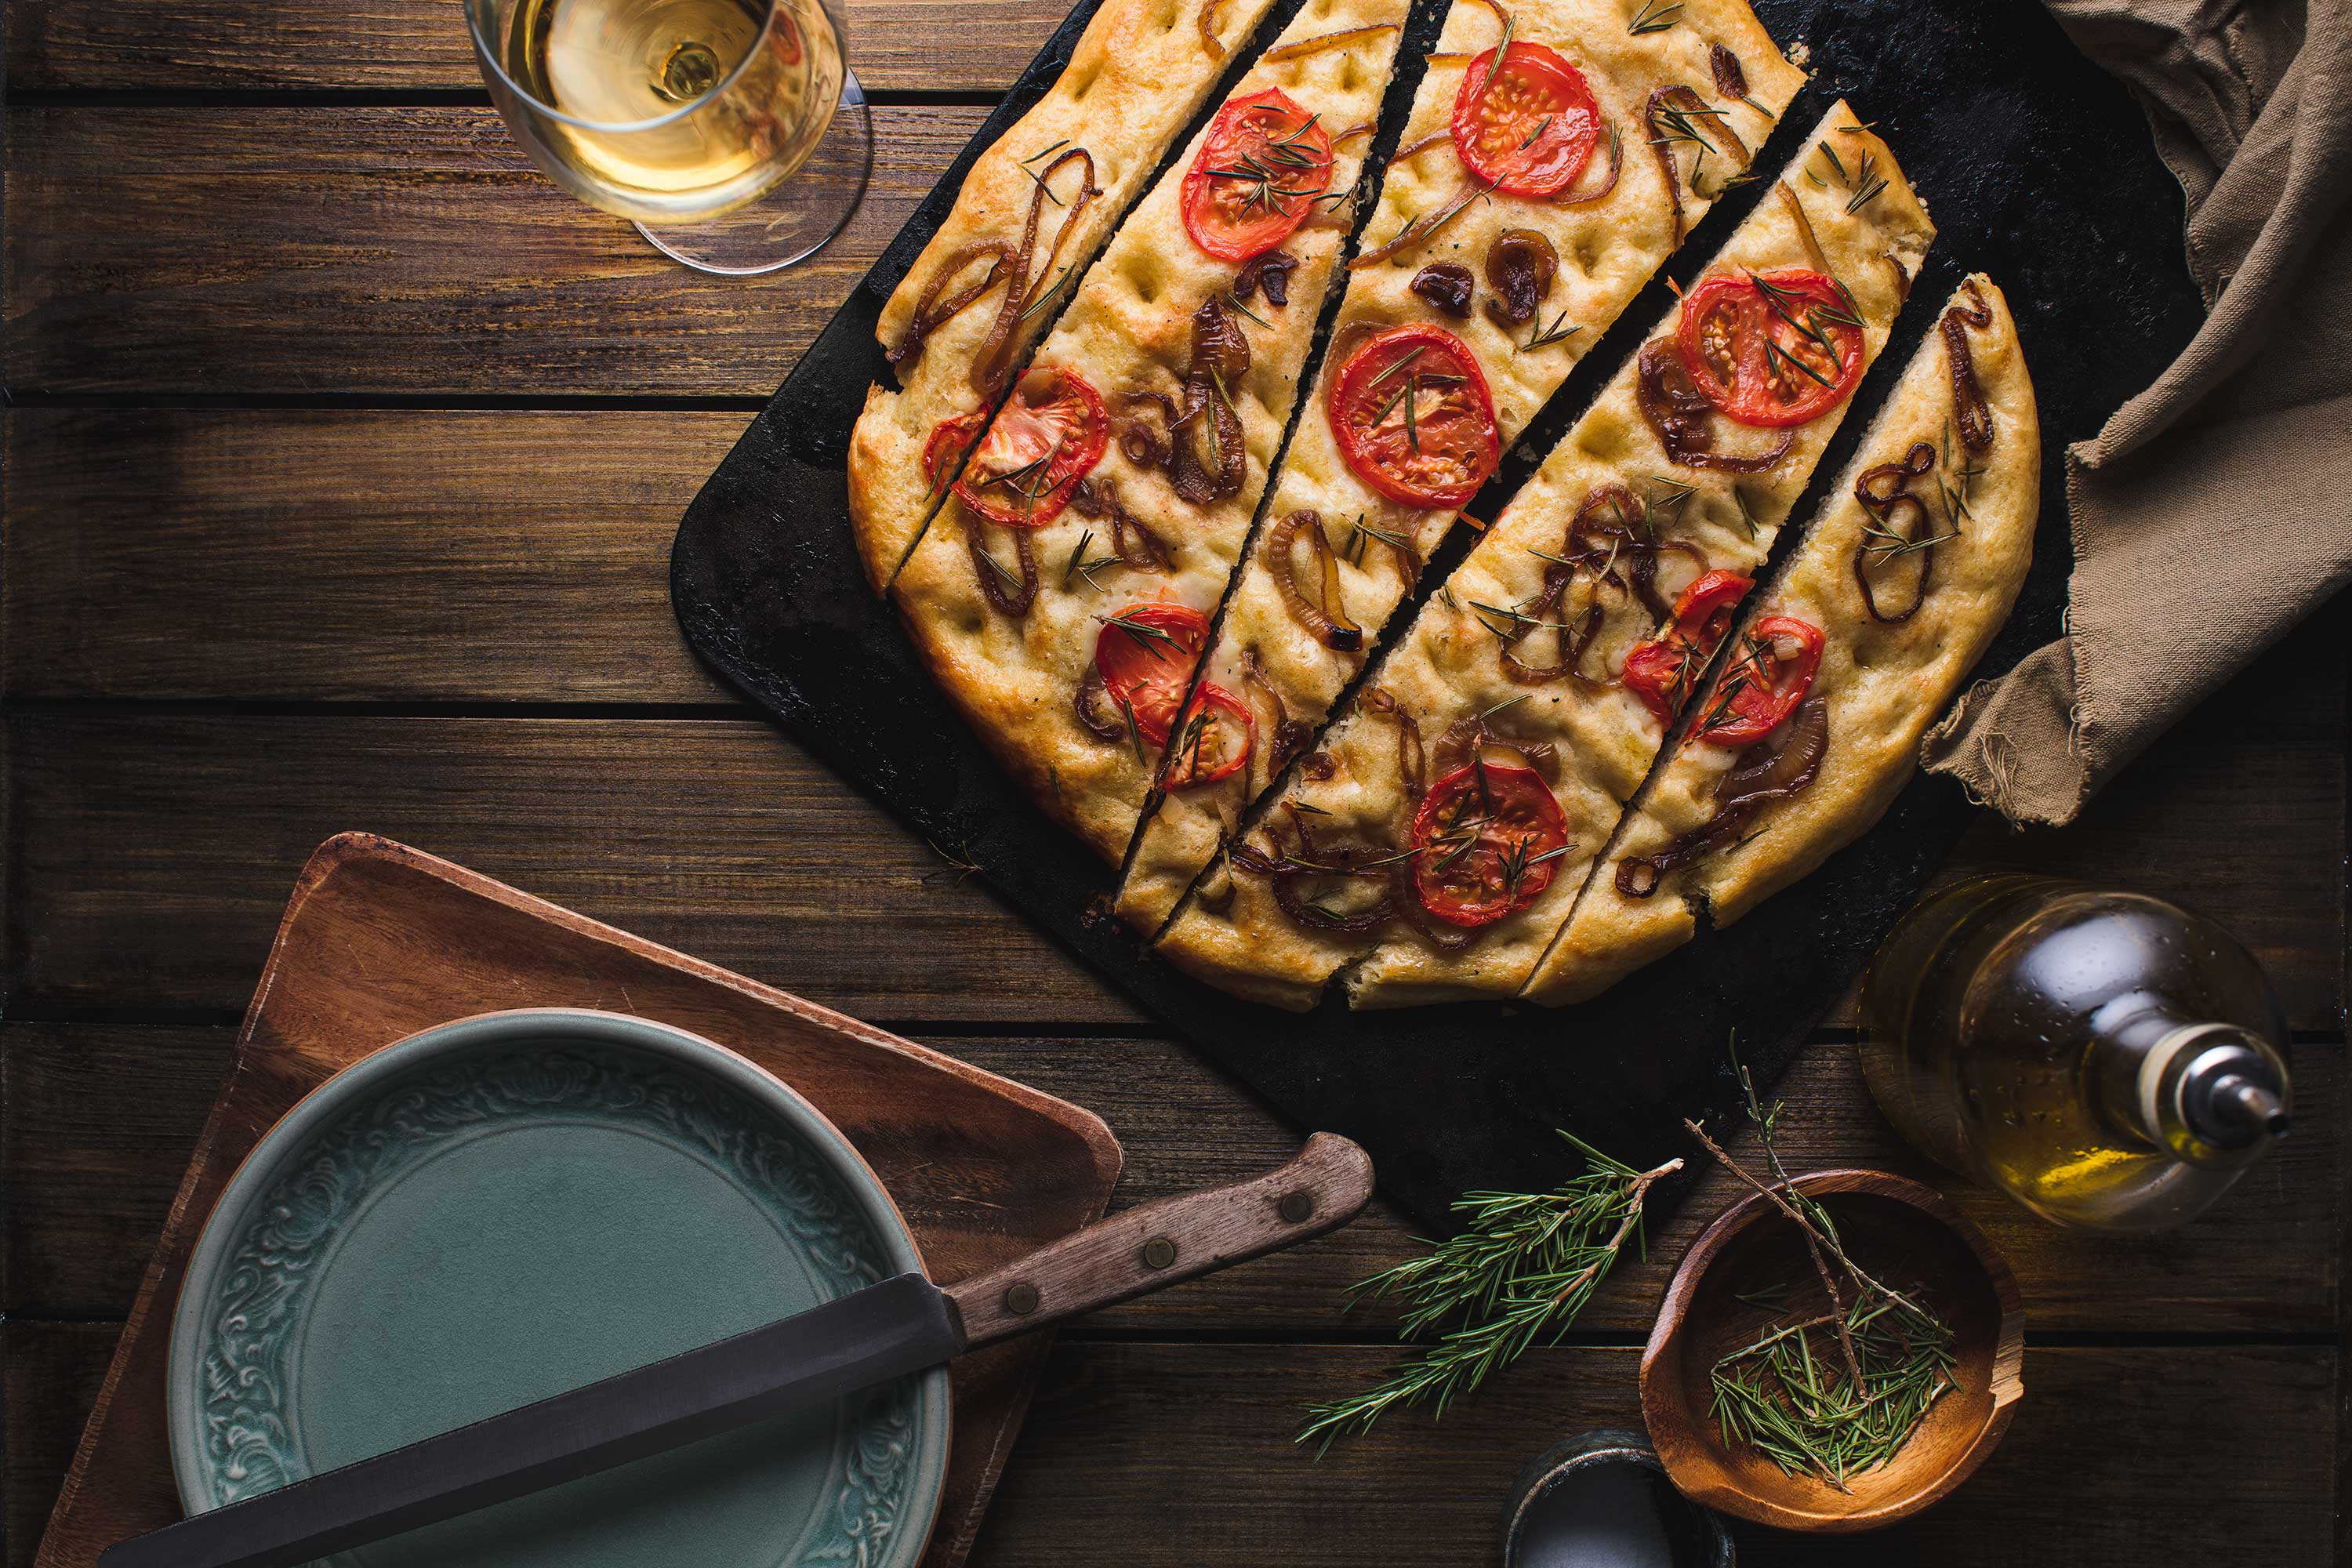
1. Become A Master Of Light
Creating stunning food images is not just about cooking and styling beautiful food. That's definitely a big part of it, but when you're placing that food in front of the camera, GREAT light is your main concern.
I have a whole guide on how to easily make artificial food photography lighting look natural, but if you're just starting out, most likely you'll be want to master natural light food photography first.
To start off this food photography tips for beginners guide lets talk about the best food photography lighting.
What makes light "good?" A lot of people talk about "good" or "great" light, but what does that mean?
All vagueness aside, in my opinion there is no such thing as "Good Light" in photography, if the light furthers your story, consider it good.
Whether you're using natural, artificial food photography lighting the goal is to be able to manipulate the light to match and deepen the food stories you're tying to tell.
No matter what type of food I'm photographing, when it comes to lighting I always try to keep the strength and soften the contrast. The best lighting for food photography depends on the story you are trying to tell.
Every story is different.
With that being said, there are a few things to consider when lighting your food photos. For your next food photography shoot, try answering these 3 questions.
Direct Light
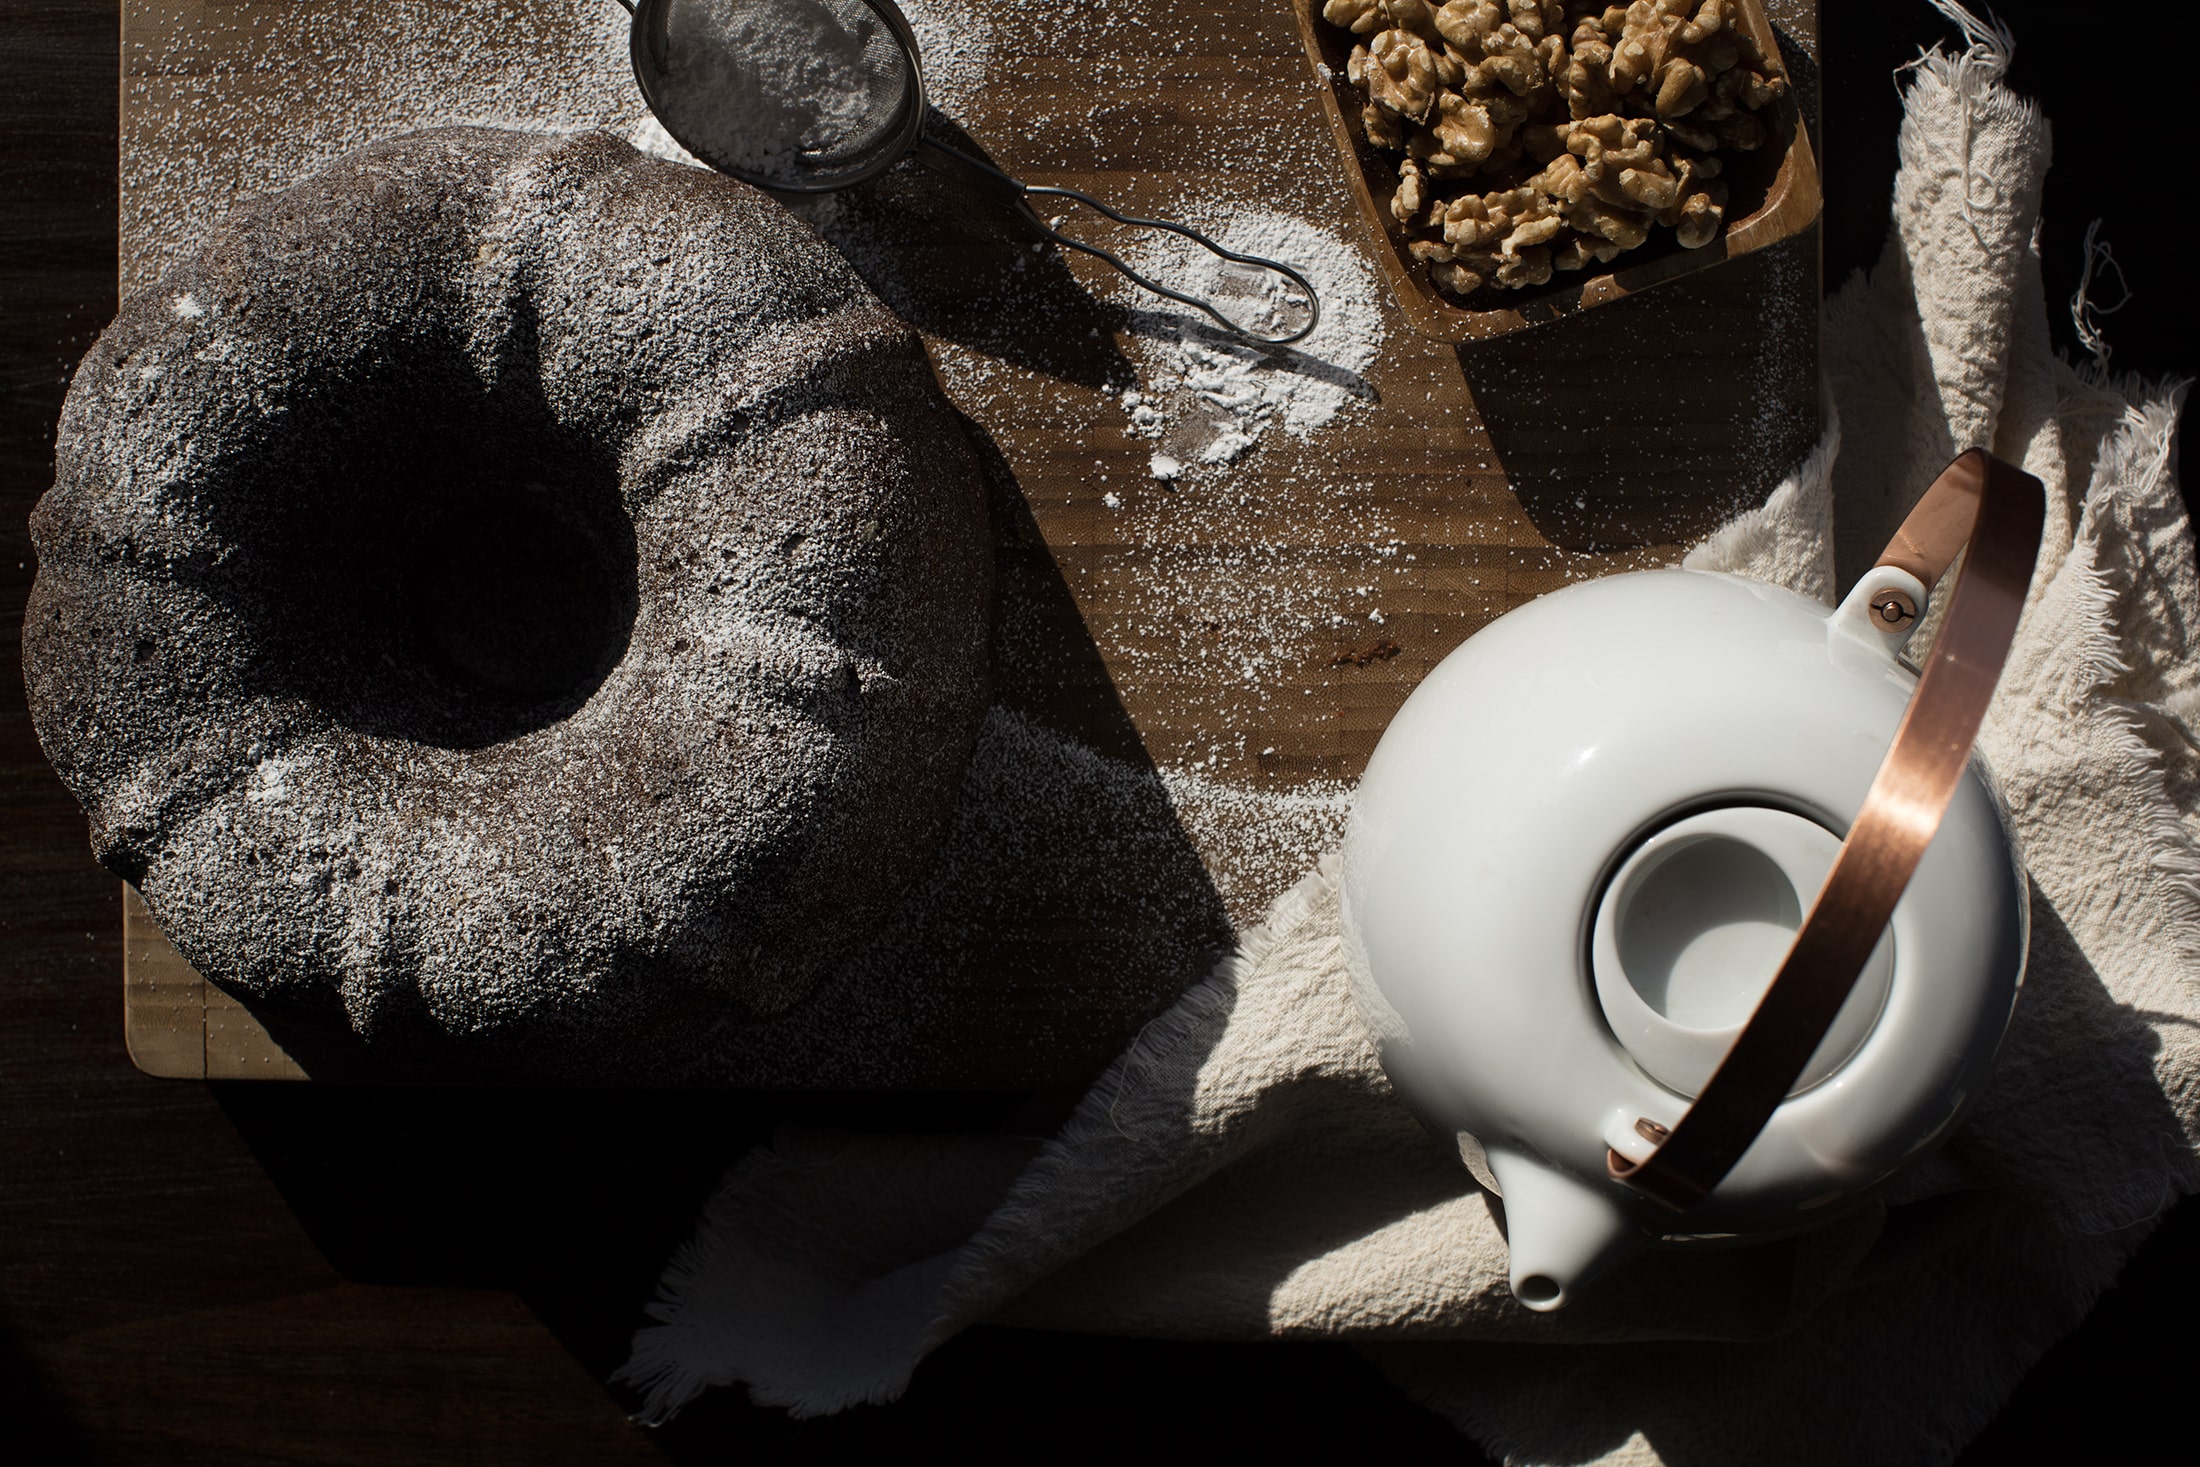
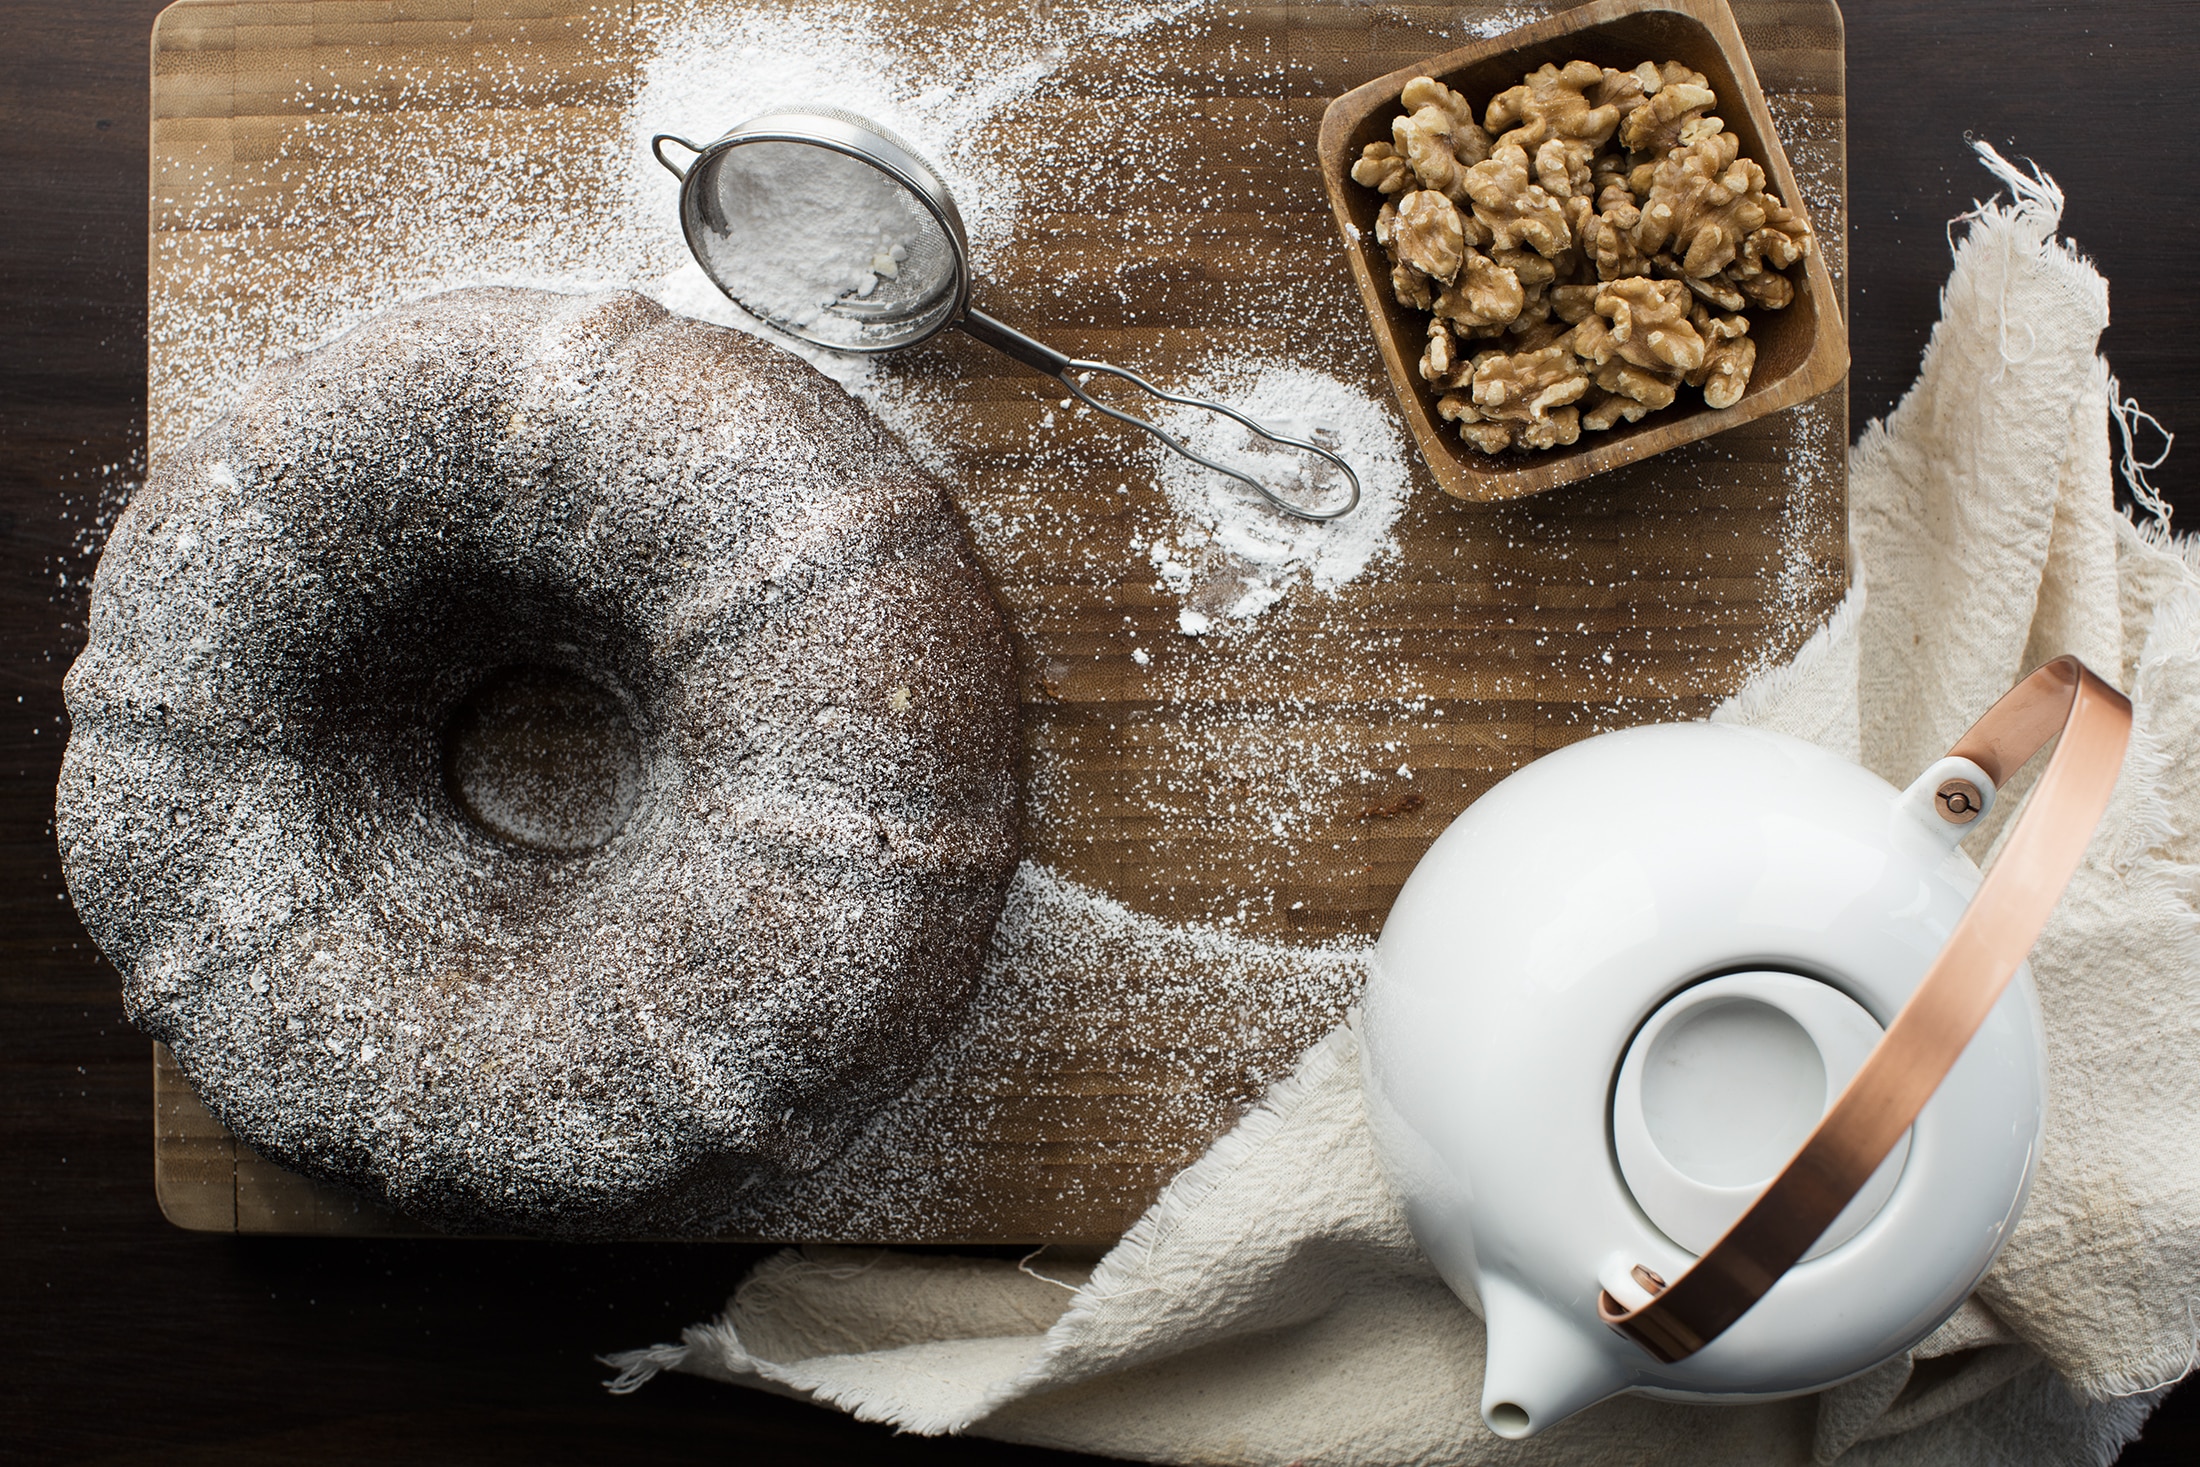
Diffused Light
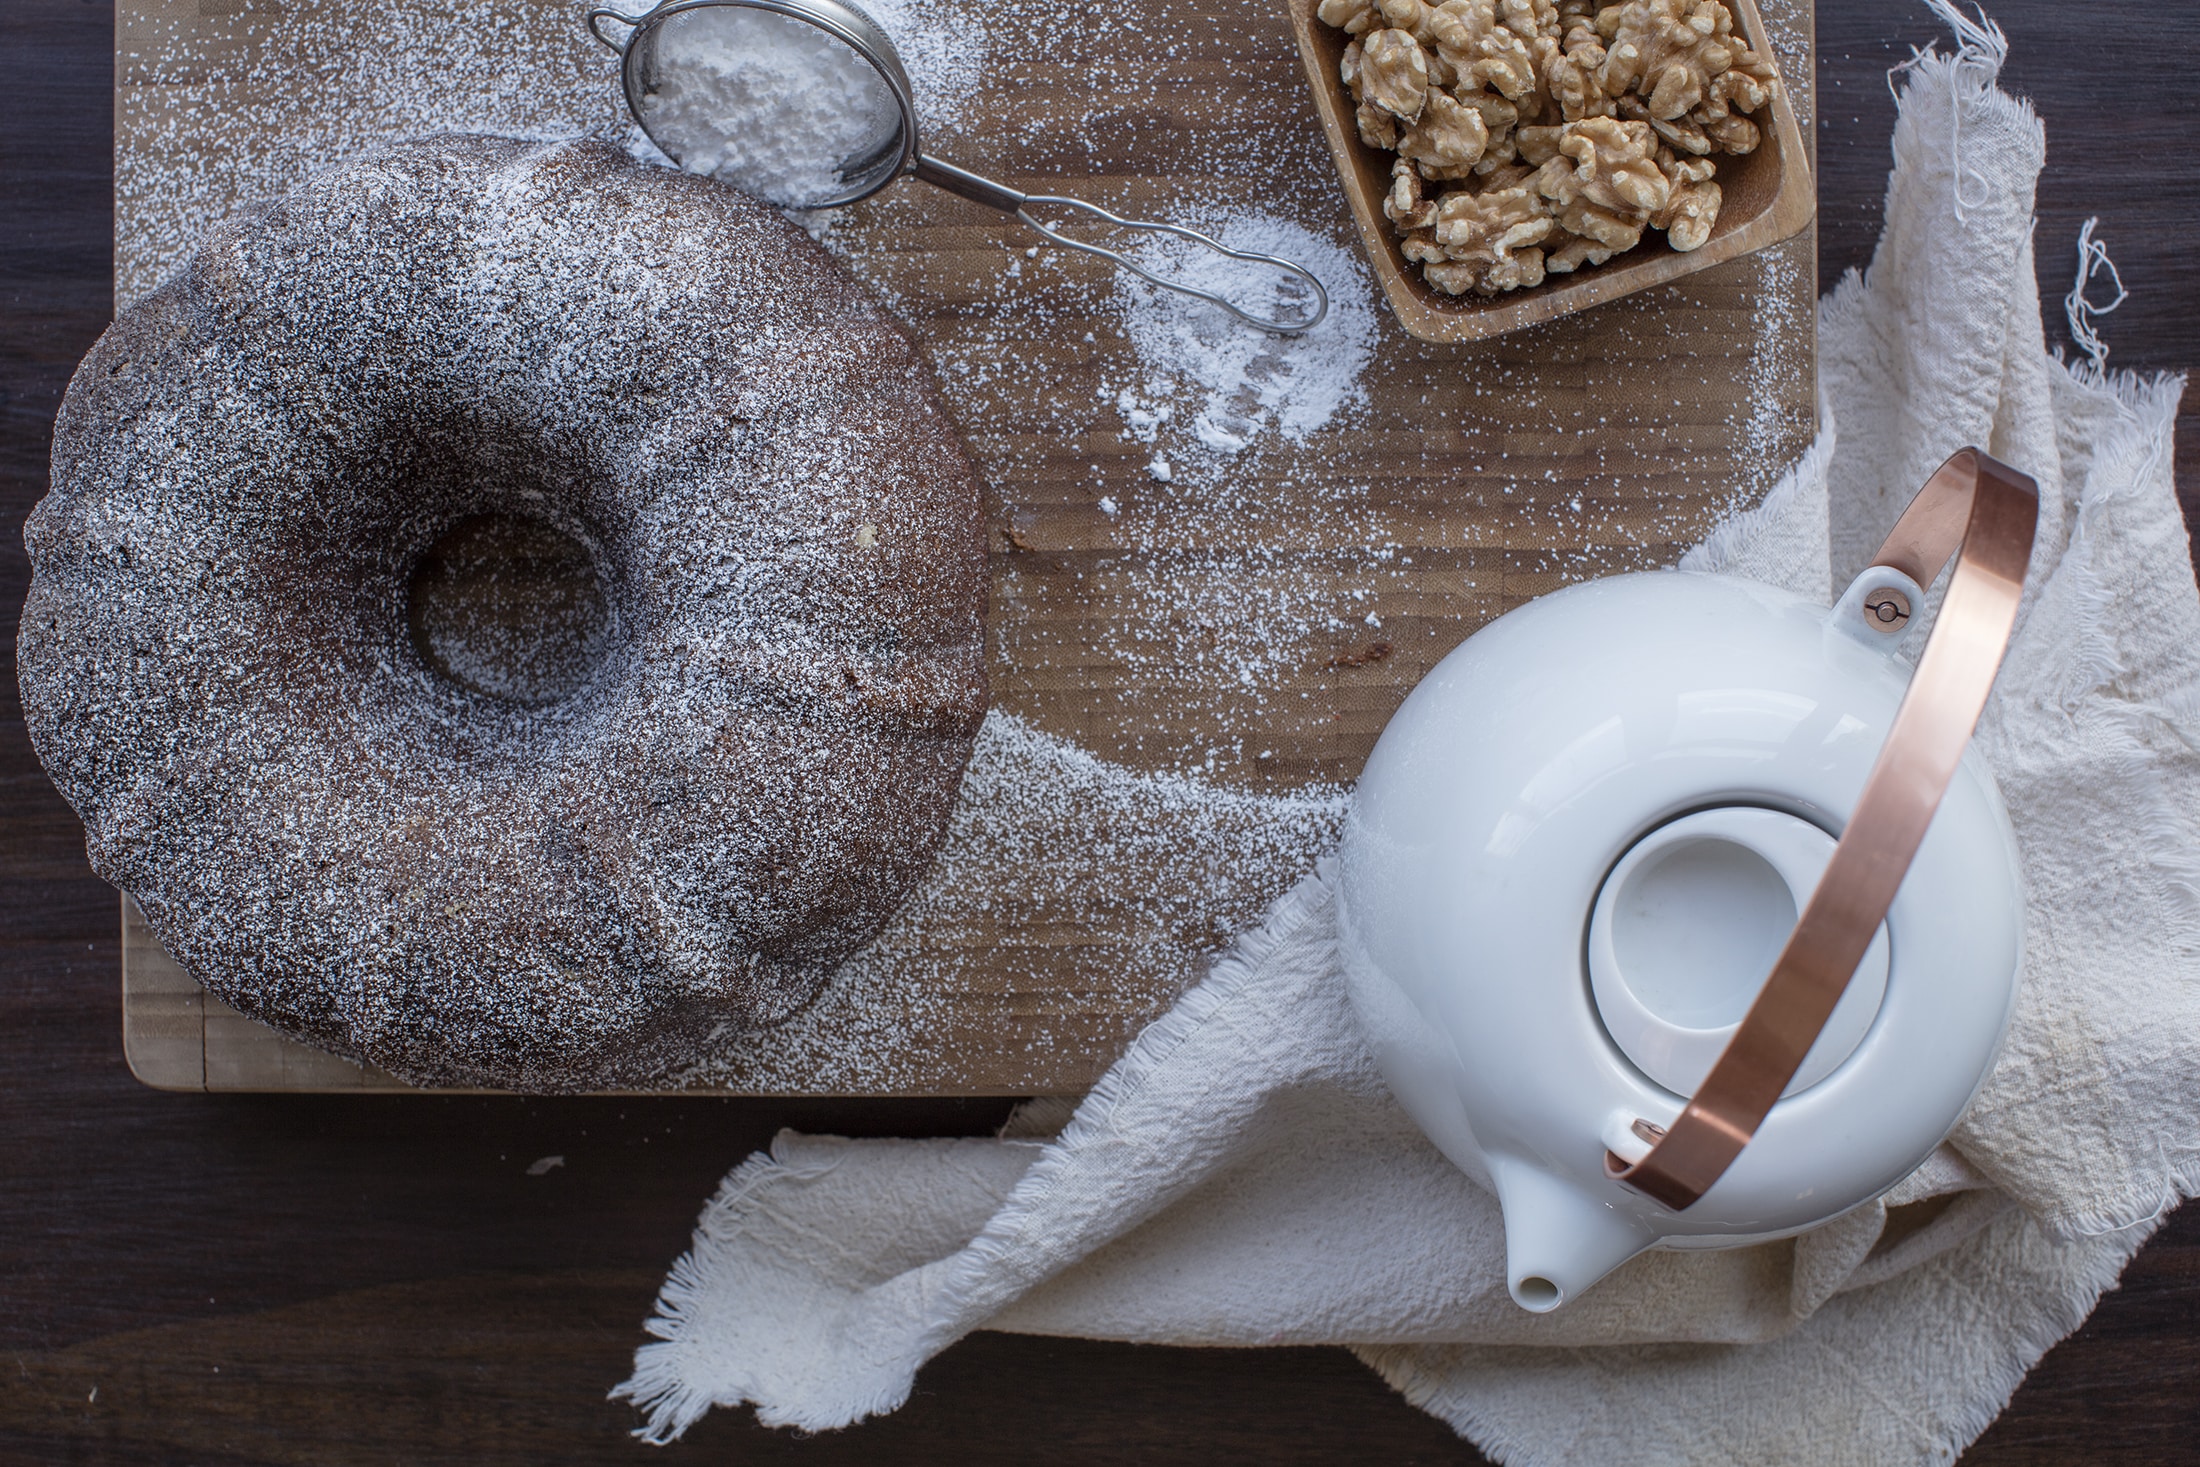
Direct Diffused Light
Will the shadows distract from my subject?
In the case of direct light, shadows caused by un-obstructed light rays will sometimes block the viewer from seeing a large part of your story.
Direct light will also cause bright reflections in areas of your image that might distract the viewer from the food.
Does the light, highlight my subject?
A lot of people recommend using in-direct light for food photos because it's easy, without rays of light there are few shadows and highlights to manage. However, without any highlights or shadows you have flat shapeless light. Leaving the eye unsure where to look.
Is my light directional?
Similar to the question above, your light should speak to the location of a source. Direct-Diffused light is a mesh of Direct and In-Direct light with soft shadows and strong highlights.
This is one of the best food photography tricks as it comforts the brain that the light is coming from somewhere or that the light has a "source."
The light's source, strength, and direction all add to the story you're trying to tell. Good light really hints to a world outside of the frame.
For a great resource all about natural and artificial food photography lighting be sure to check out my Food Photography Masterclass.
4 great natural light food photography tips
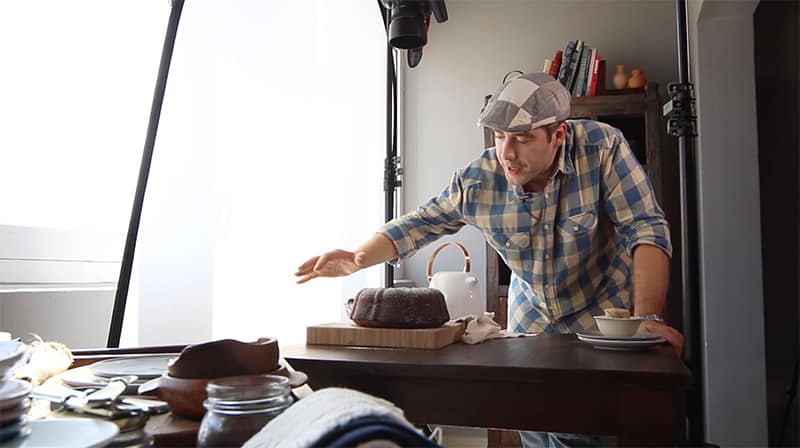
Large 60in. diffusor placed between my food and the direct natural light coming through my window.
1. Place A Large Diffusor Between The Window And The Food
I love using this large diffusor, however lots of different materials work, like bed sheets and even parchment paper, as long as it's white and light can pass through it.
Diffusors are perfect for keeping the light's strength, while at the same time softening all those highlights and shadows.
2. Avoid Direct Light
For most of the stories I’ve ever made, direct light is way too powerful. Although I love the shape and texture it gives my food, the amount of contrast damages other areas of the story and environment.
Also the strong shadows can create strange shapes making that perfect composition a pain.
3. Use White Cards to Bounce Light
Sometimes filling those natural shadow areas with a little bit more light is one of those simple food photography tips you can use to make that beautiful scene come to life.
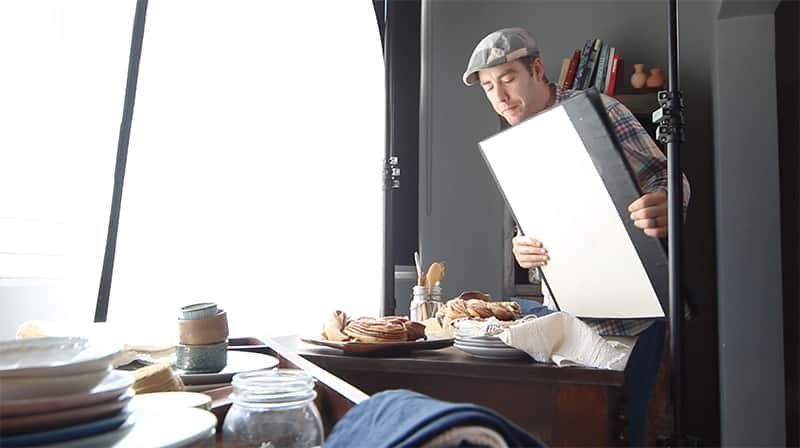
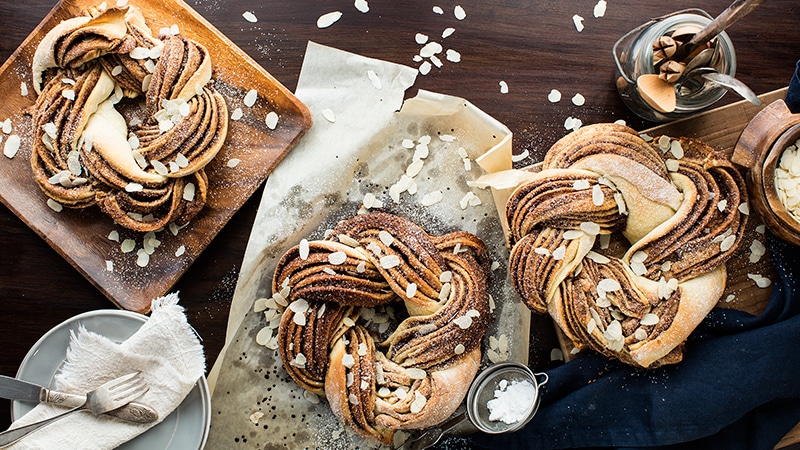
Using some cheap foam-core boards are great for this purpose, you can cut them down to any size or shape and they're perfect for bouncing in that much needed light.
Place them on the shadow side of the food and adjust the distance from your scene, moving them in closer or farther away until you're satisfied with the brightness of the shadows in your food photos.
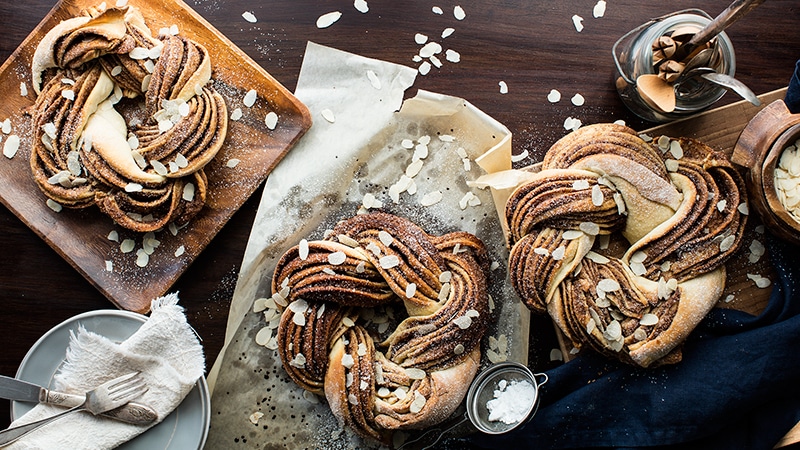
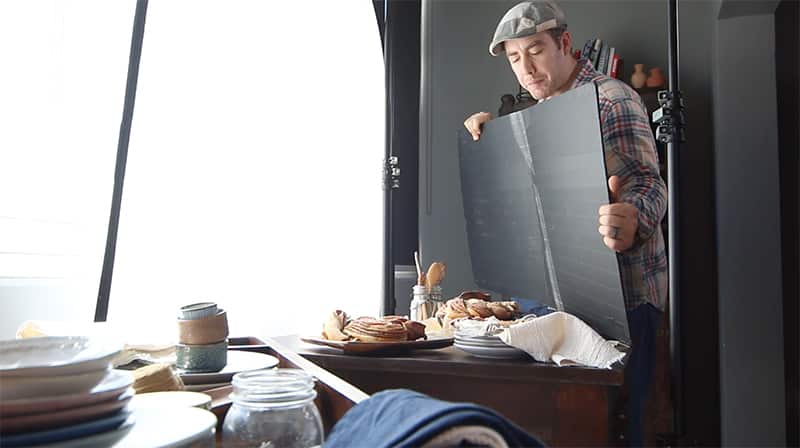
4. Deepen Shadows To Add Contrast
Darkening the shadows in your photos is an option as well. I've placed some matte black tape on one side of my foam-core card to suck up some of the light to give my images a bit more contrast when I need it.
This is a great little tip, if your natural light is slightly in-direct and flat. You can brighten your exposure to make a stronger highlight and then use the black cards to add in some more contrast to your shadows.
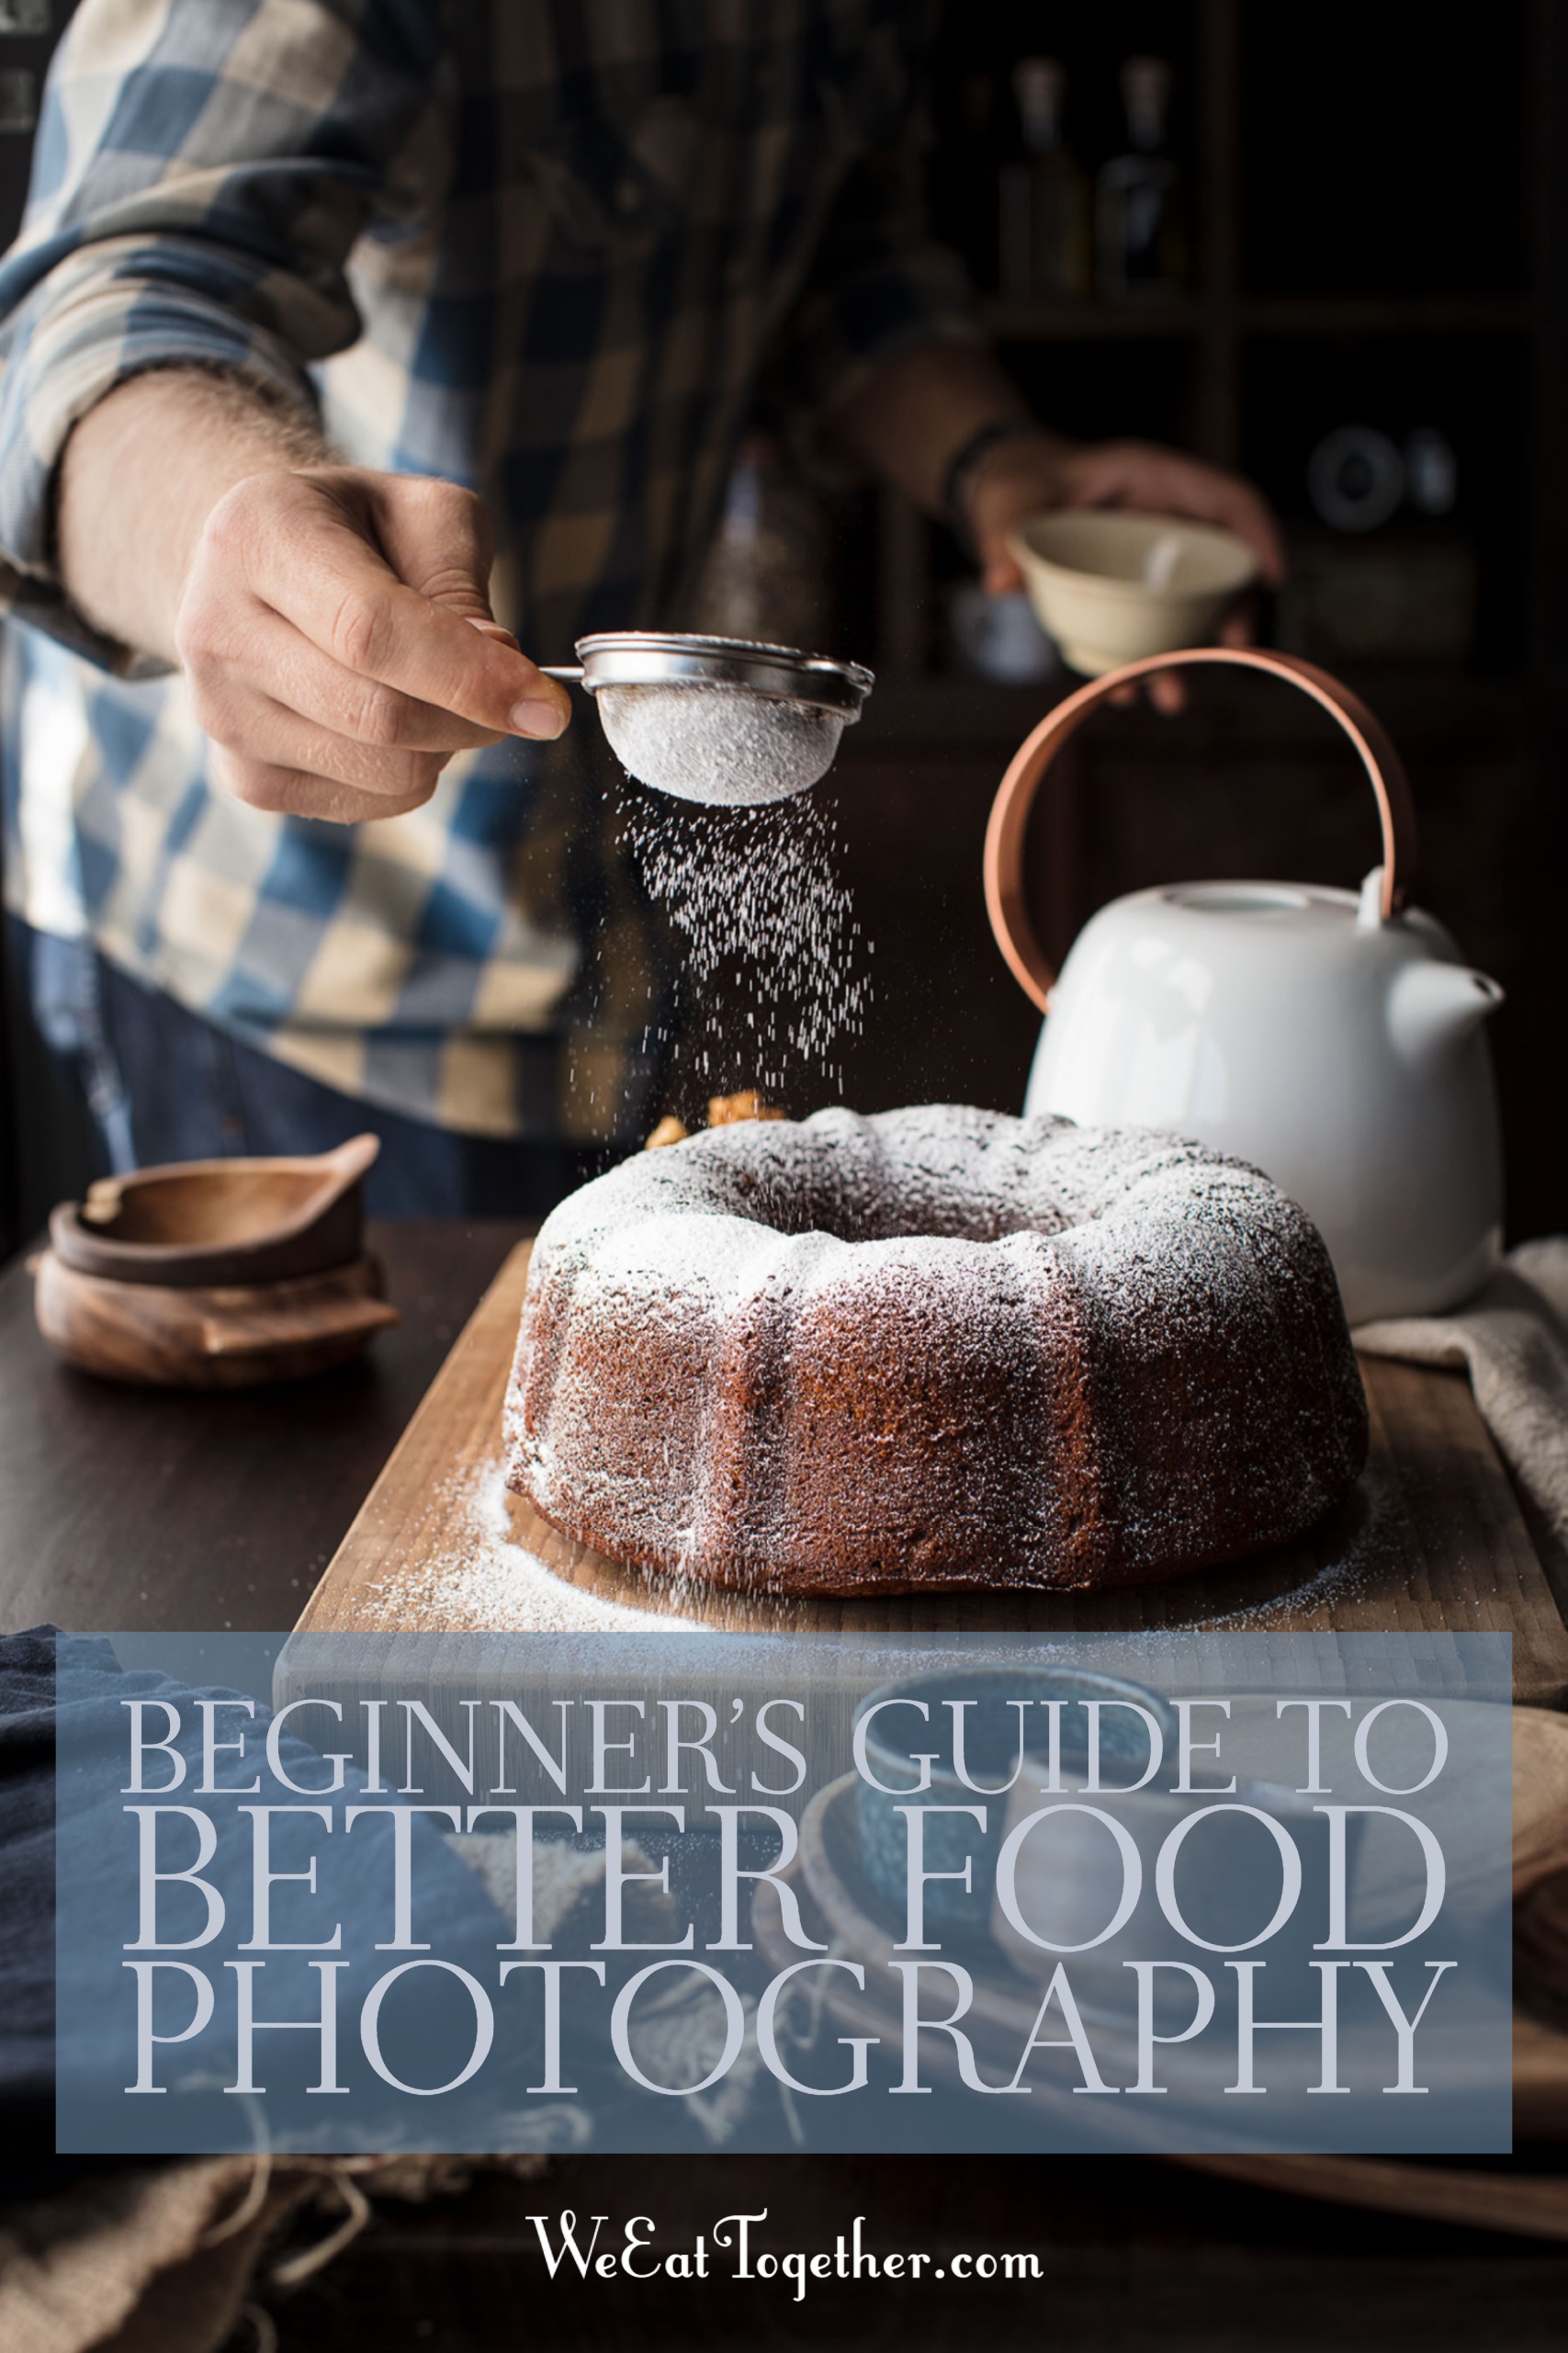
2. Make delicious compositions
As far as food photography tips, creating a smashing composition has to be one of the biggest. I have a whole food photography composition guide that dives deep into using your composition to keep the viewer interested.
To get started making scrumptious compositions try using one or all of these easy tips below to keep easily distracted viewers craving your food.
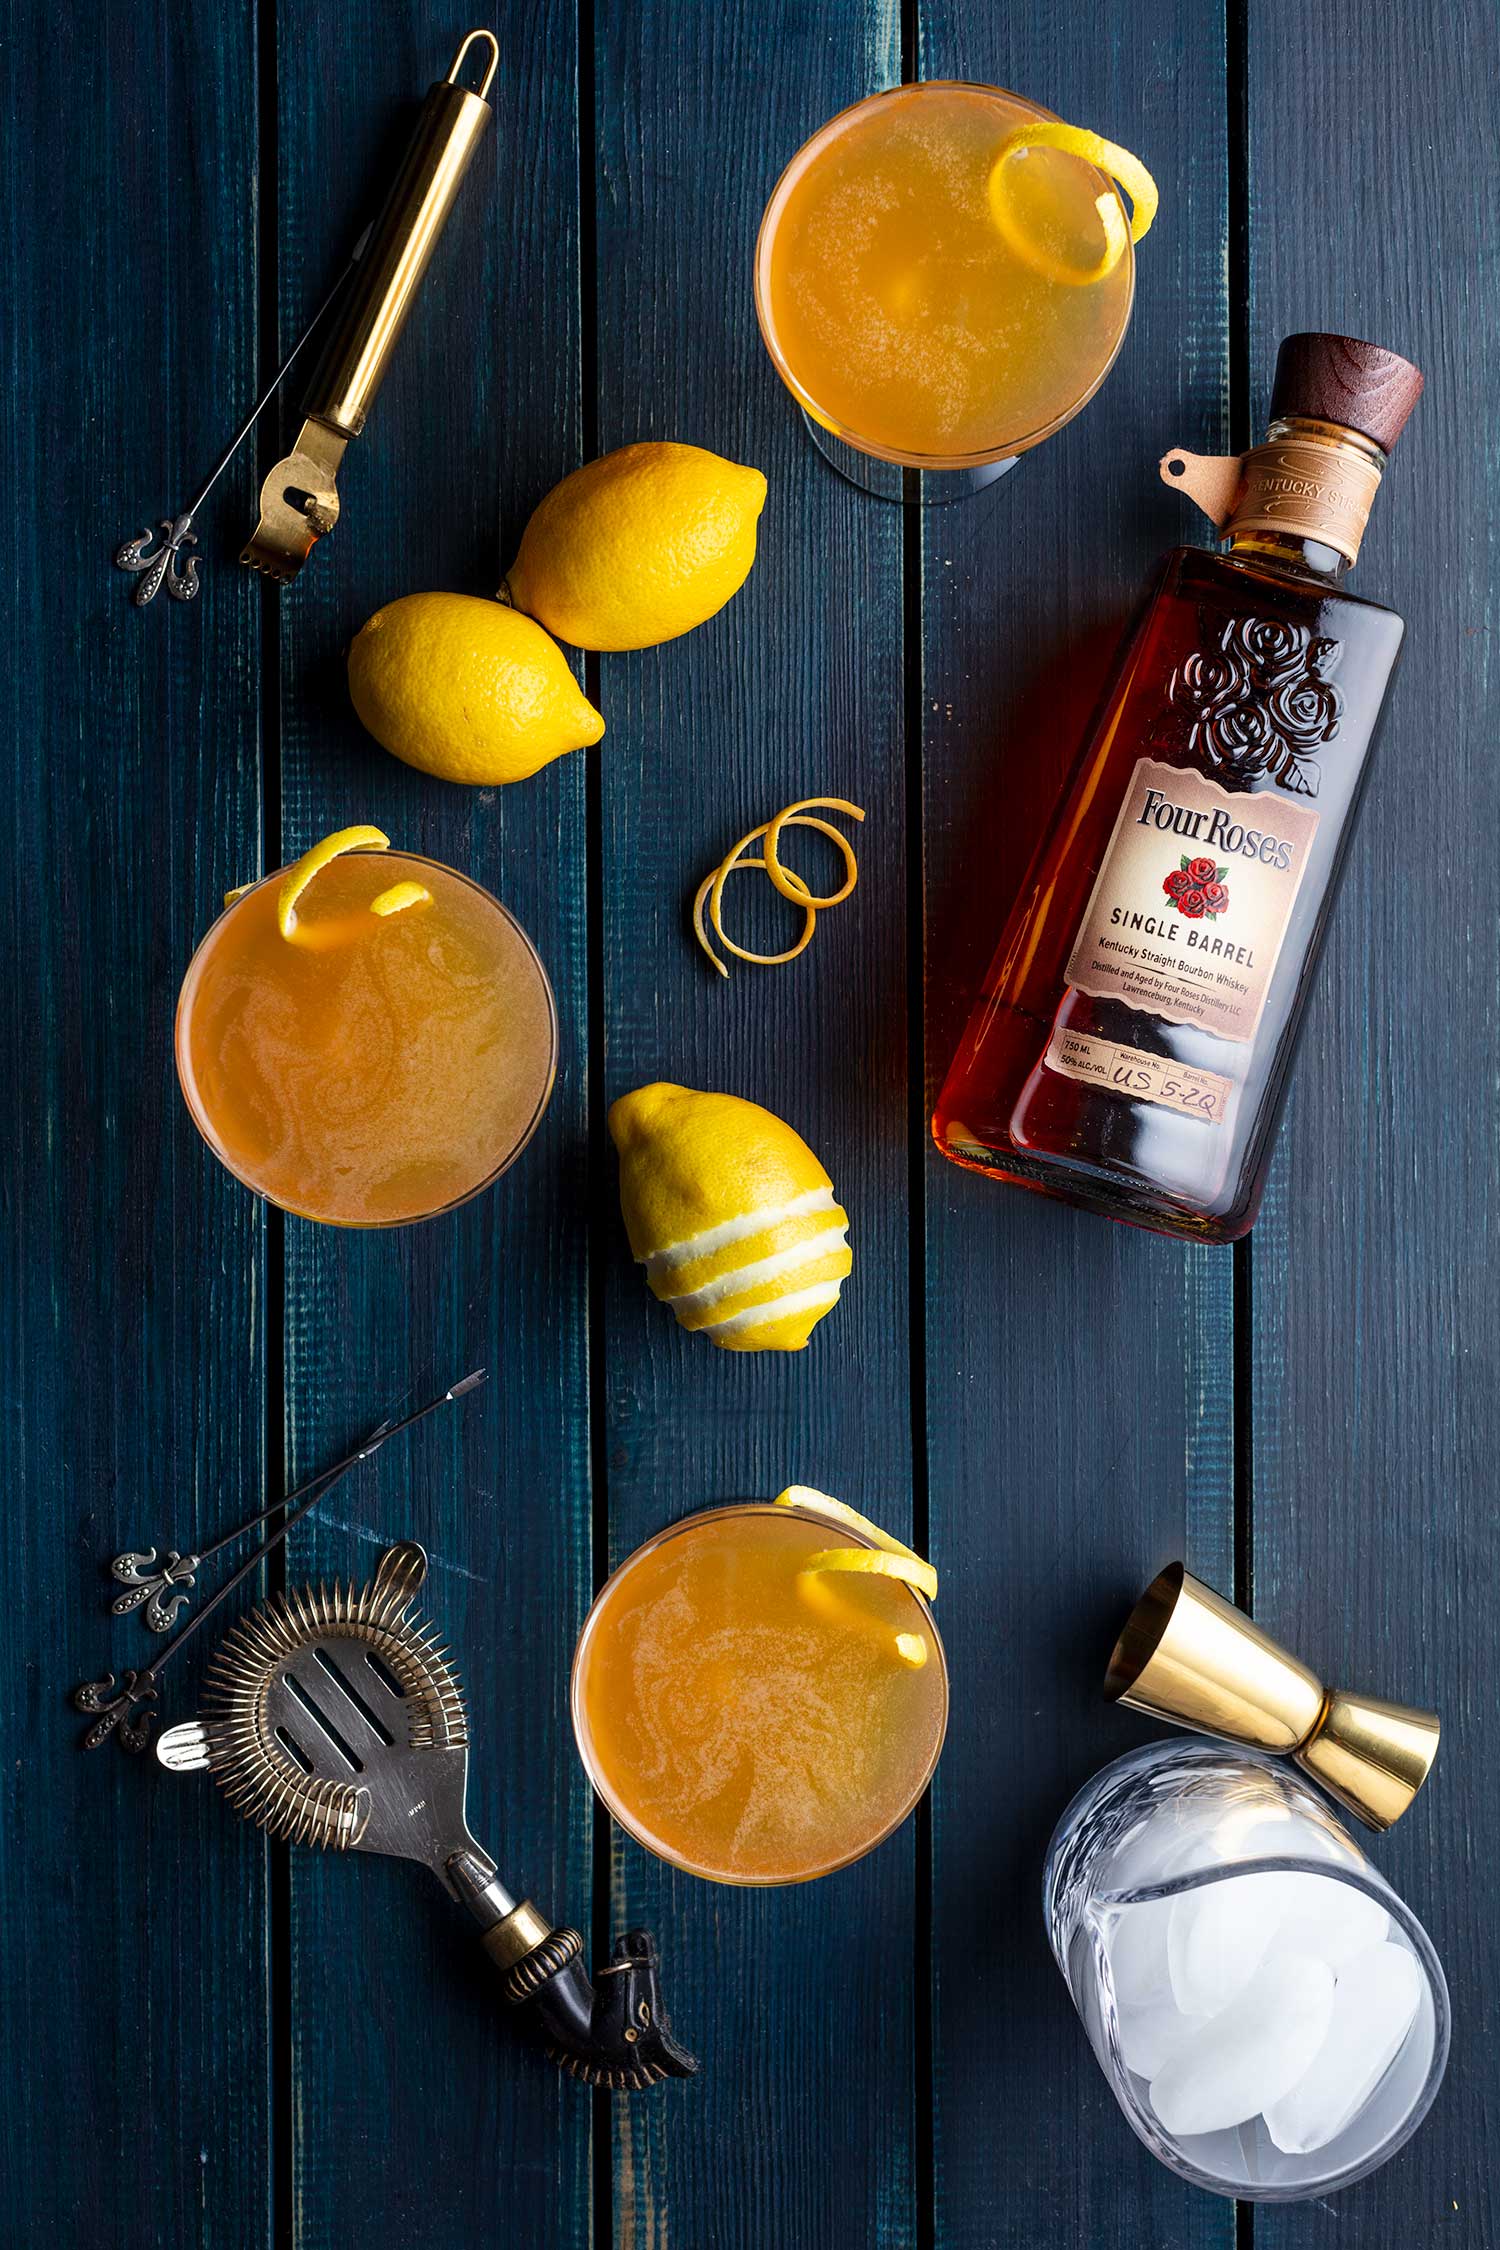
4 Simple Tips To Make Great Food Photography Compositions
1. Leading Lines
Employ props, linen or even food to create lines that lead the viewers eyes pointing to your subject.
2. Layers
If shooting from in-front of the food, try using props to create interesting foregrounds and backgrounds that add layers to your image. Just be careful not to block the view of your delicious recipe.
3. Framing
Like a picture frame helps us focus on beautiful art, you can use props in your food photography to surround the subject.
4. Shapes
Not necessarily physical shapes, you can use your props, food and your compositional skills to create imaginary shapes such as circular or triangular compositions (think constellations with imaginary lines drawn from one star to the next). Mostly used when photographing above the food, it's a good way to get the viewer to look around the image.
However, a lot of food photography composition has to do with color theory and prop styling. Check out these 7 Must Have Food Photography Props.
Remember, not only do the props that you use in your images tell more about you as a person, but they also speak volumes about the character of the actual dish.
The ways in which you compose those props around the frame can also have a big impact on what the viewer will look at first and how long they spend looking at your beautiful images.
3. Master Your Camera
Buying the latest, biggest and best camera on the market is not at all necessary for food photography. Just look at all the smartphone food photos on Instagram and you'll see that good light, great food and beautiful styling is paramount to capturing appetizing food stories.
Although, if your looking for some great new cameras and gear be sure to check out my food photography gear guide.
Mastering how to control that camera is extremely important. Stepping away from auto, aperture/shutter priority will not only help erase the hundreds of little tech issues, but also add that much needed constancy to your workflow.
Pick The Right Aperture
Controlling the aperture inside your camera's lens will really help that food pop off of the background.
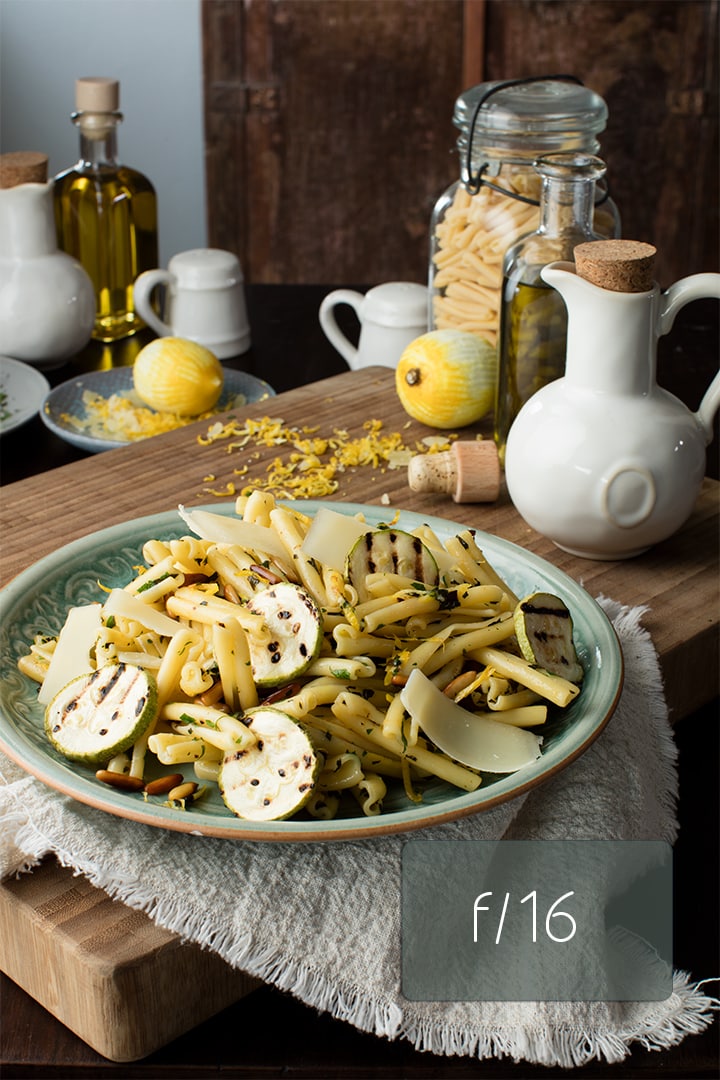
Take a look at the images below in which I photographed the same dish, each using a different aperture, until I arrived at one that helped make my food stand out from the rest.

If you choose too wide of an aperture, your food could also become out of focus. Just because your lens will shoot at an aperture of f/1.2 doesn't necessarily mean you should use that for images.
When The Camera Is Set To An Aperture Of F/16
When The Camera Is Set To An Aperture Of F/4
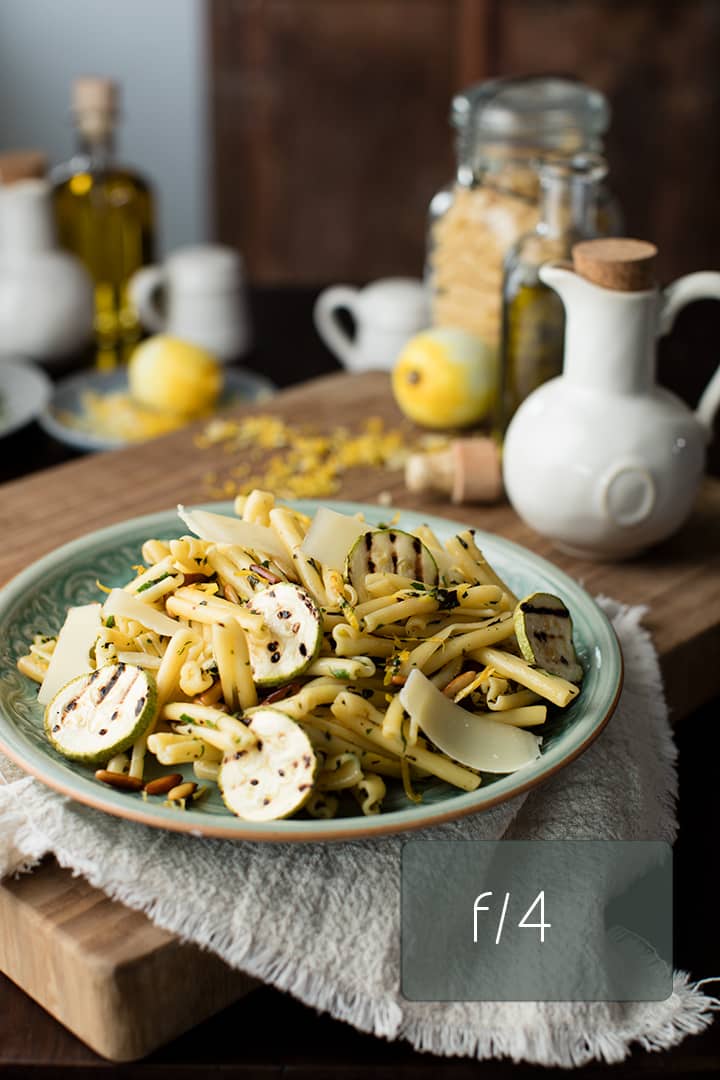
I like a healthy balance and keep my aperture around f/4. It provides that creamy depth of field to separate my food from the props, but also gives me enough detail in my scene to tell my stories.
Nail The White Balance In Camera
One of the big benefits of shooting RAW is that you can change a lot of things after the image has been made. However, when shooting JPG's simply choosing the correct white balance in camera will really save you a lot of painful editing.
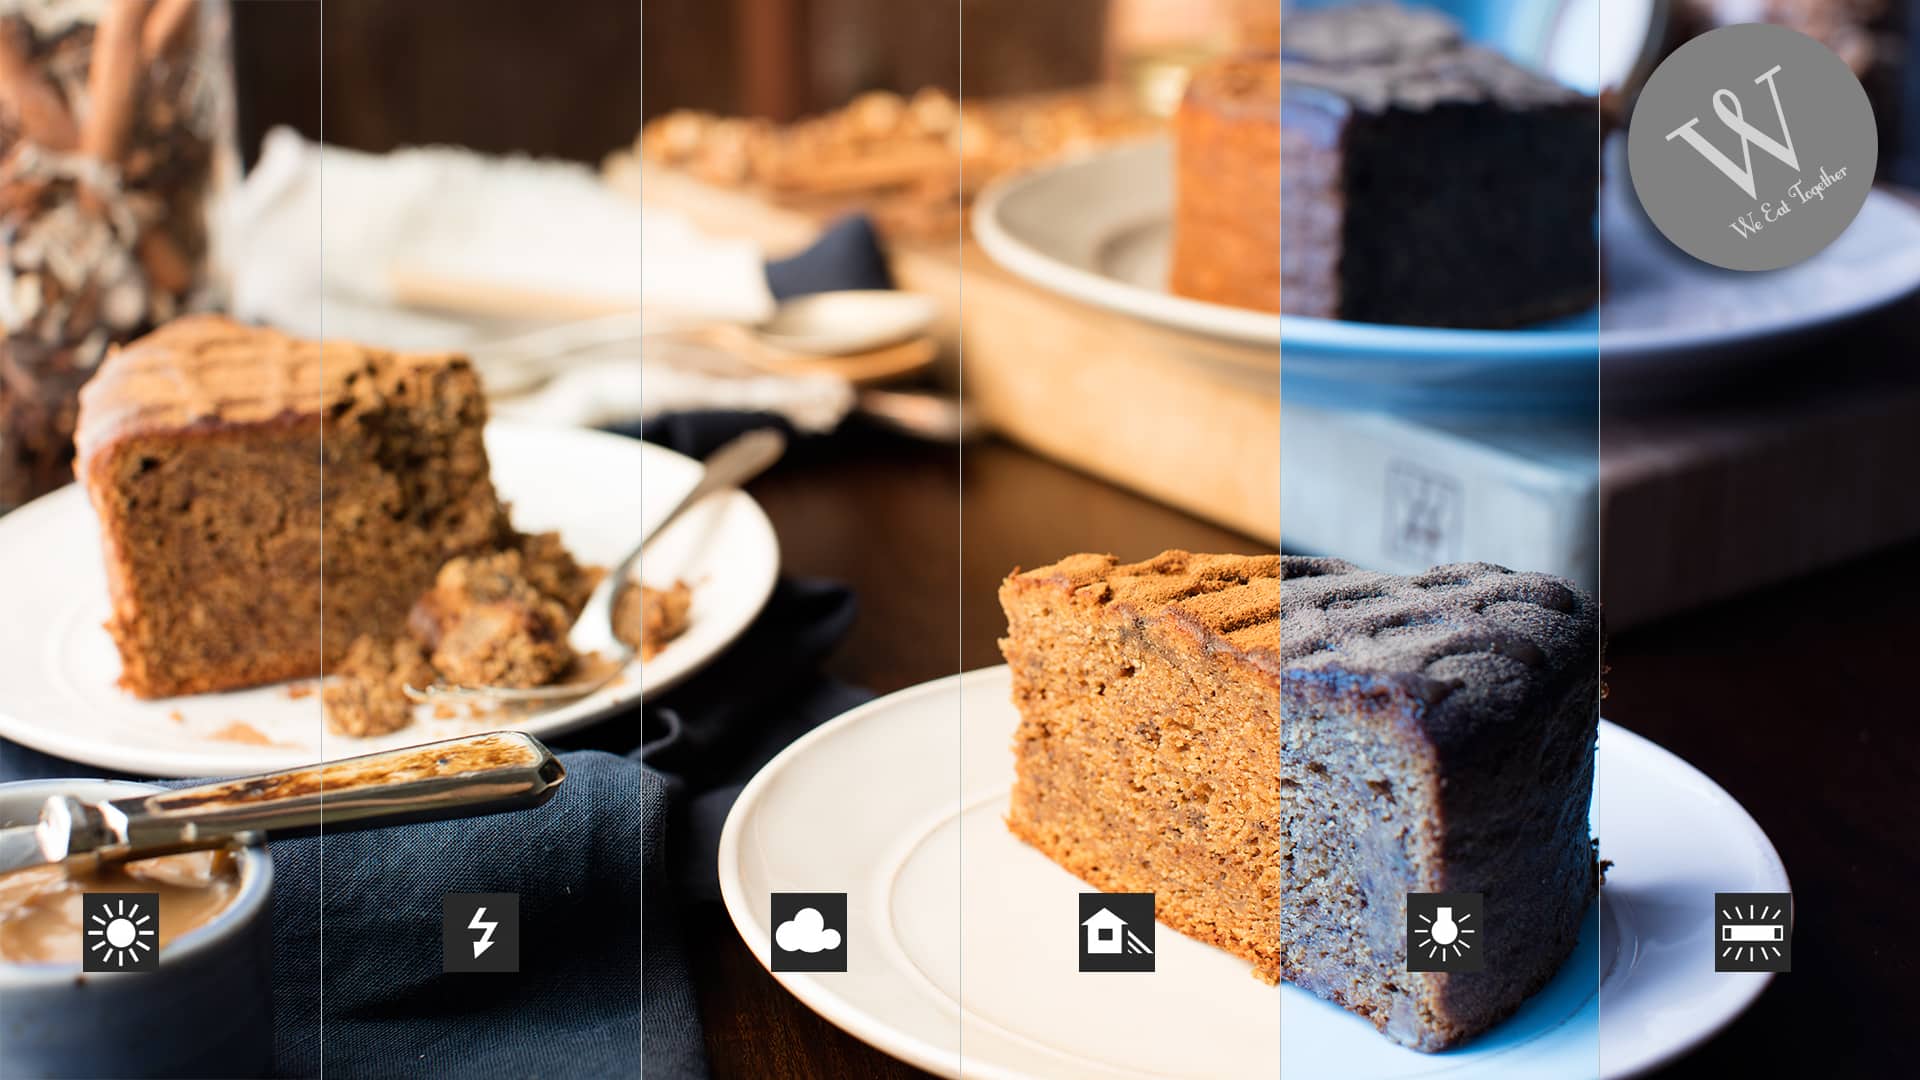
This image was shot in natural light. Proper white balances is seen on the left.
Our eyes do an amazing job of automatically adjusting for shifts in color. Each light source puts off a different color cast, with the chart above you can see what happens when you choose the wrong white balance.
When you change the white balance, the camera will try to pump in the opposite color to make the image appear to be a more neutral white.
You can see in the chart above how the camera tries to compensate for various different light sources. Make sure you have the correct white balance for the situation, especially if your shooting JPG's as it's a little tricky to fix this in the computer.
So many more great Food Photography Tips!
Food blogging is tough. It's competitive, both in the recipes you cook up and the photos you create. Working as a professional food photographer is even more demanding of beautiful imagery.
So as a food blogger and a working food photographer, I saw that real good information was rare, which is why I decided to create this online food photography course.
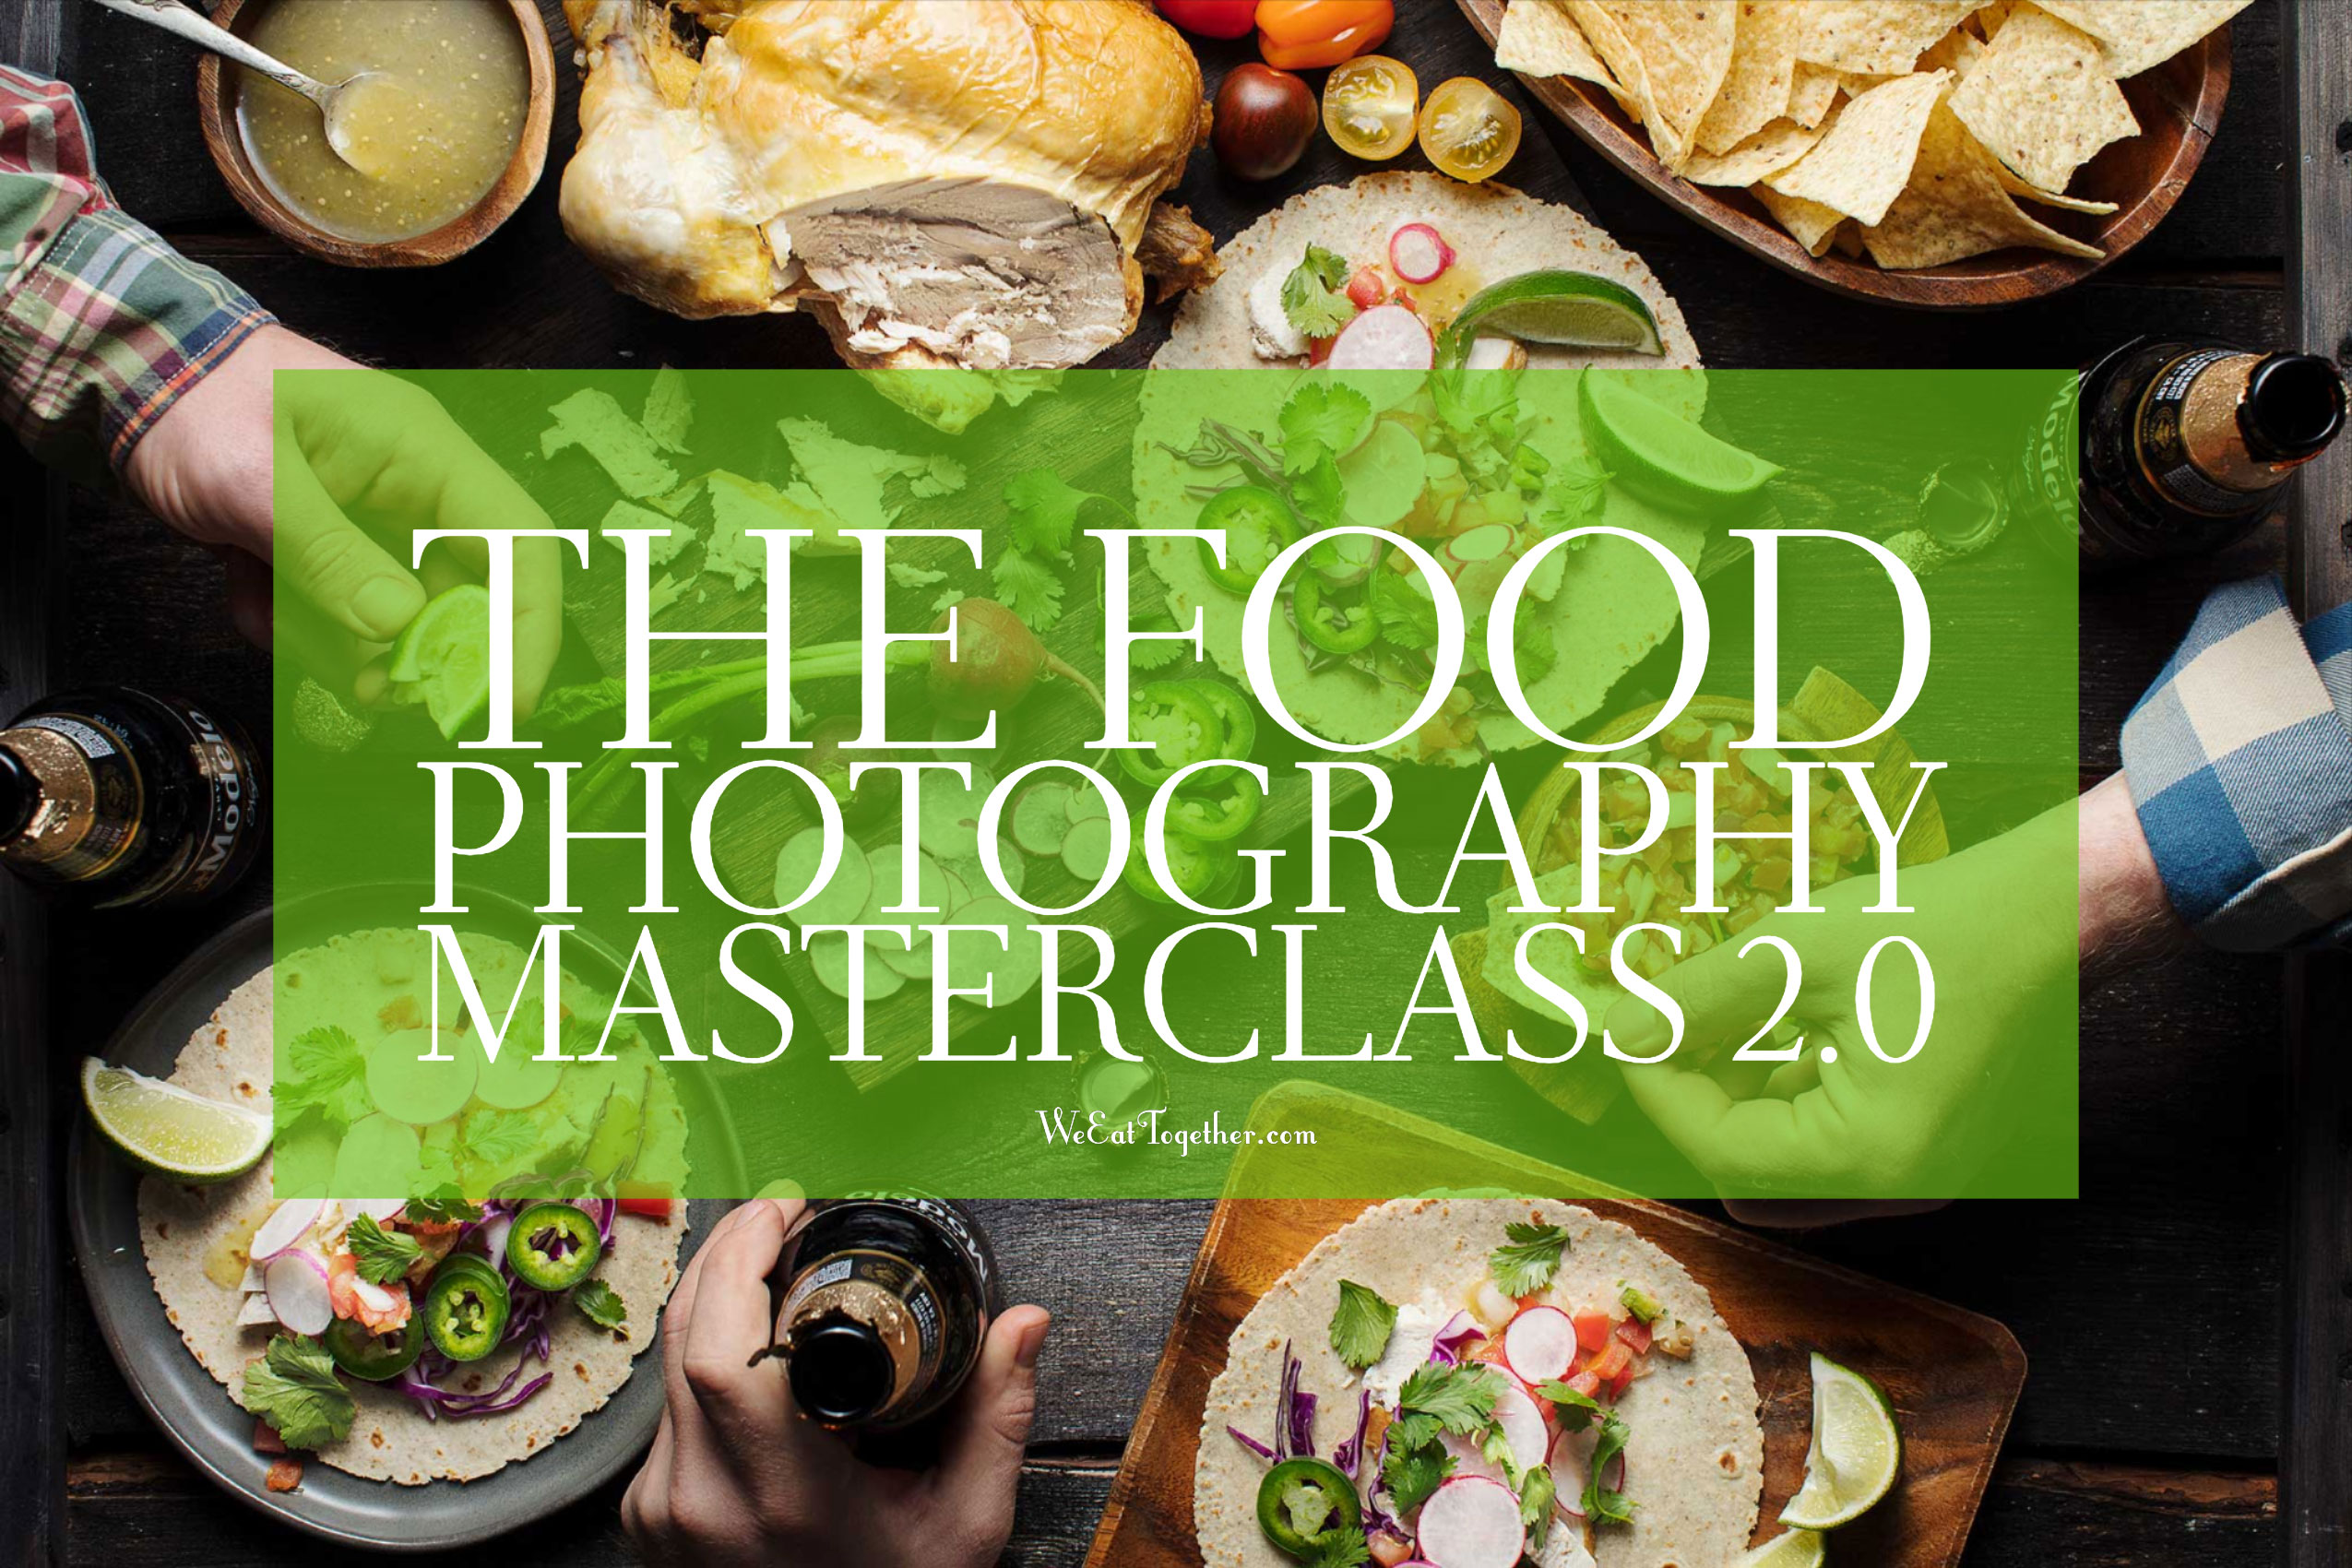
I’m really proud of my Food Photography Masterclass. I created it with the sole intention of inspiring other photographers and foodies to start cooking up great food images!
Be sure to check out these other great articles packed with food photography tips!
This is not a sponsored post, however this post does contain affiliate links to some great photography gear, products or services I currently use or have used in the past. If you plan on shopping for some new great stuff, please click through the link and I'll receive a small commission. Every purchase helps me continue on my never ending quest to provide amazing content.
Check Out Some Of Our Latest Articles, Guides, Tips & Tutorials On We Eat Together!