If you have every wanted to make professional looking beverage photography, but thought you just don't have enough lights then take a look at my video above. It's a simple and easy to follow, one light tutorial. All you need is good pre-shoot planing combined with a little post production magic and the results will have you creating some beautiful beverage images.
If you want to dive more into beverage photography or simply want to master artificial lights then you have to check out my Advanced Food & Beverage Photography Short Course here. It's packed with hours of tutorials both in studio lighting and post-production. Download it and keep it for life!
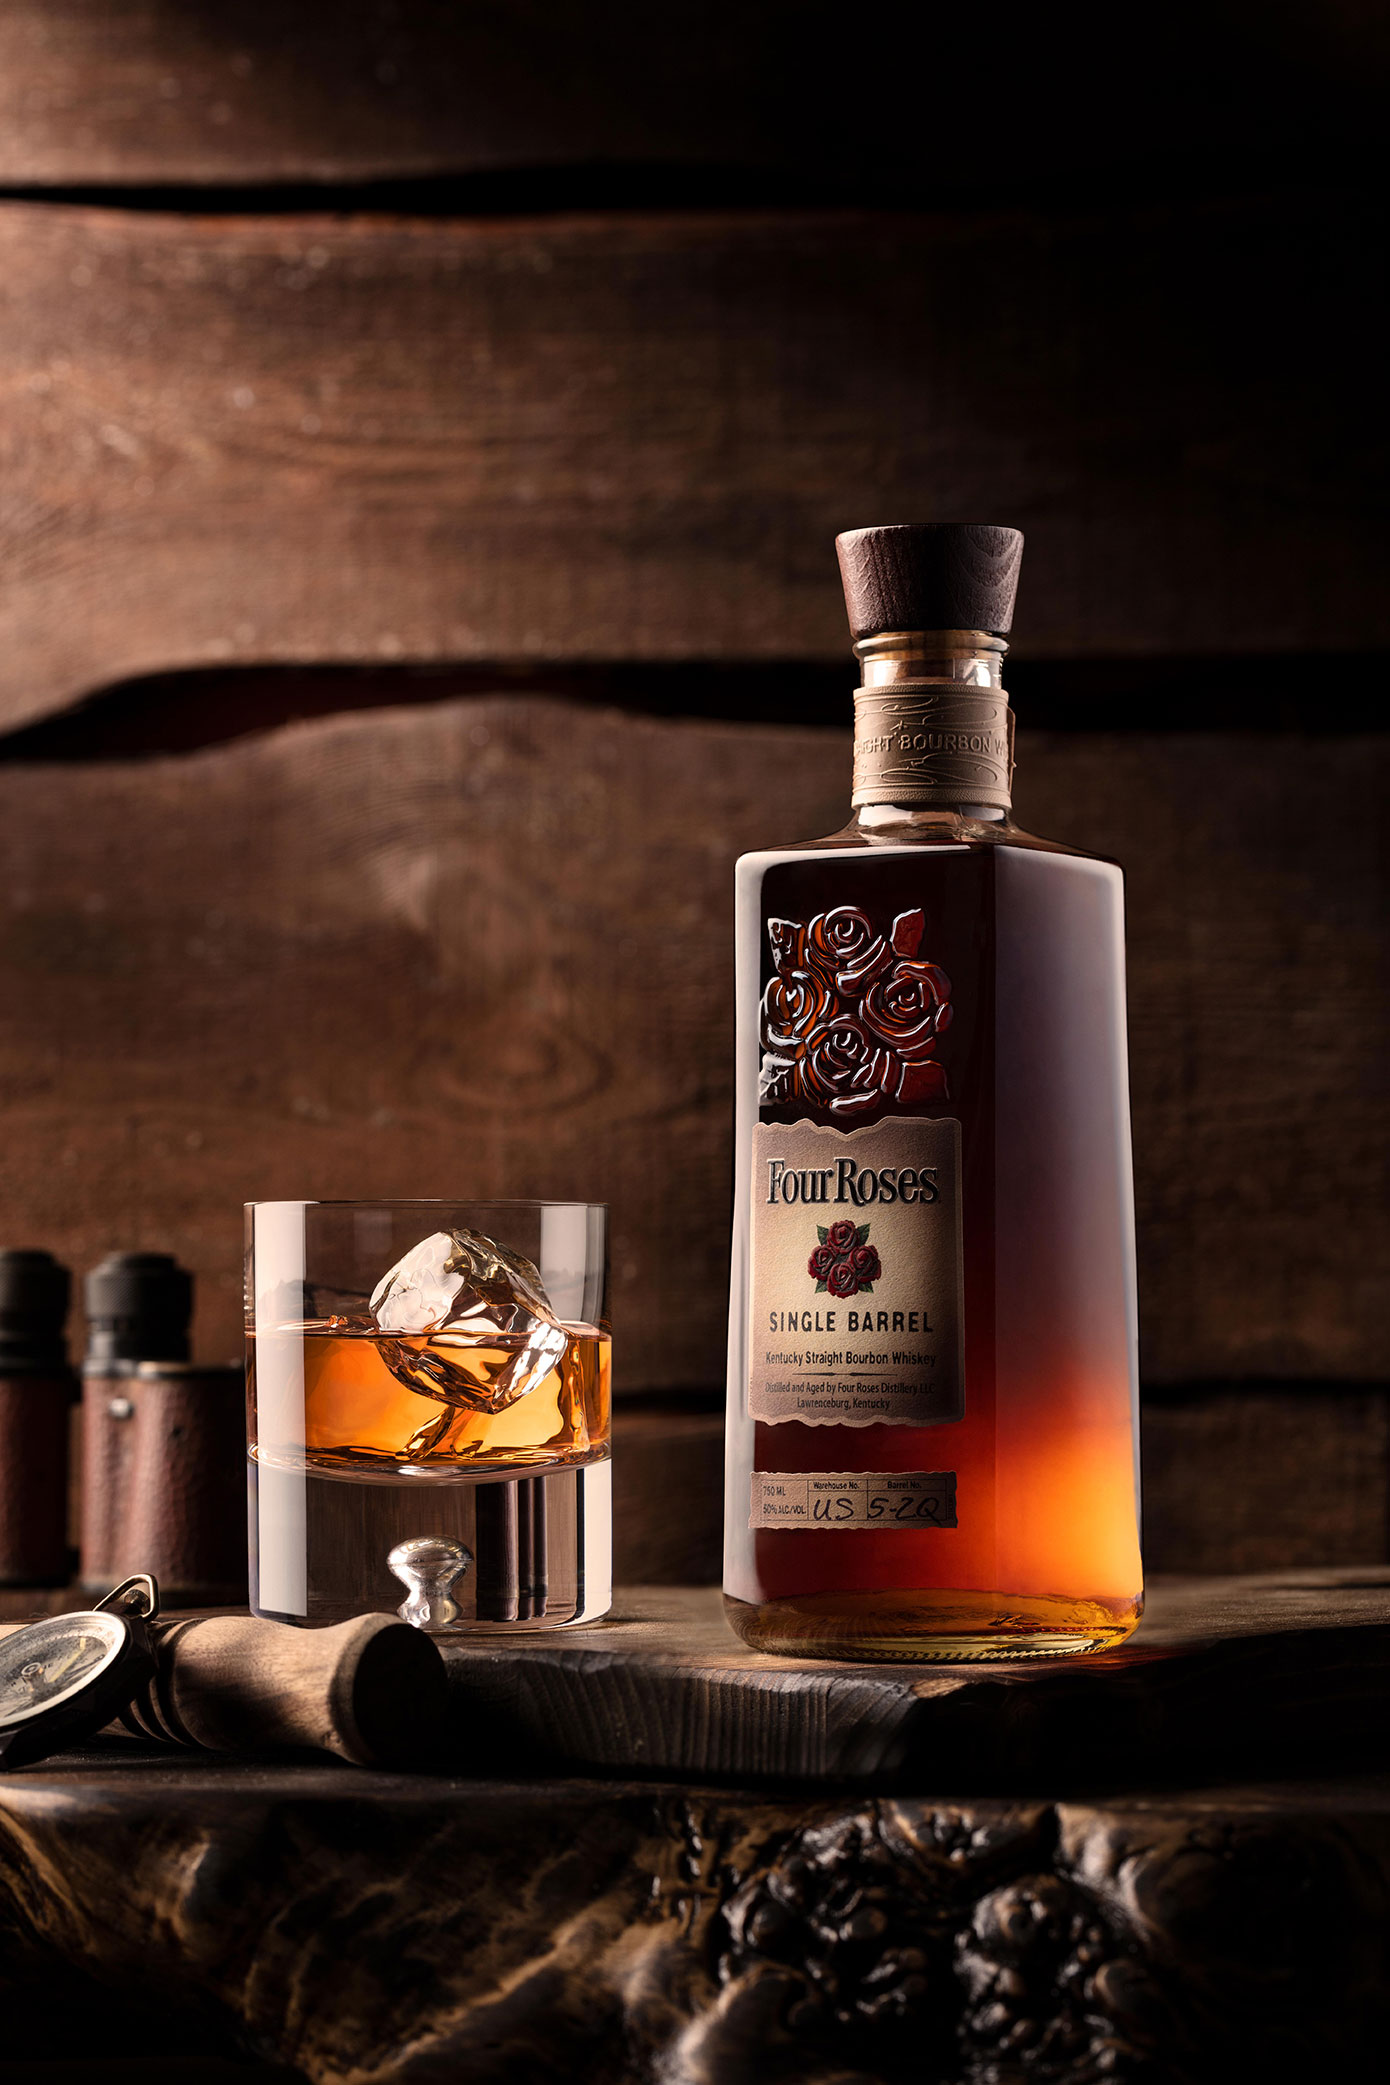
The video is pretty detailed, but to make the image above with only a single light, you'll want to first take a look at the shape of your bottle and make a good game plan for your beverage shoot. My image was made from combining 5 shots together in post-production and the equipment I used was:
My Canon EOS 5Ds you see here. It's a great camera for beverage photography as the large megapixel sensor allows for some serious detail and cropping power. However, if you're shopping around, check out this list of the best camera for food photography.
My Canon 100mm Macro f2.8L Lens here, which in my opinion is probably the best lens for food or beverage photography if your a Canon shooter. However, you can pretty much get this lens in any brand out there and you won't be disappointed.
For my beverage photography lighting, I usually reach for my studio strobes. They provide me with the consistency I need and are really easy to slap different modifiers on to shape the light in interesting ways. The lighting I used to create this image was:
The Elinchrom ELC PRO HD 500w strobes here, I've been using for a few years now and they've been great. On the budget side, they happen to be packed with some amazing features that are not just great for beverage photography, but with high speed flash abilities they're also great if you want to dive (pun intended) into liquid and splash photography.
One of the reasons why I like shooting with Elinchrom for my lights is because their modifiers are so reasonably priced. My main modifier is the large soft-box, however this is the updated version the Elinchrom Rotalux 30x90cm Stripbox here. I'm planing on upgrading to this since it's a lot narrower in dimensions and will be easier to cram into tight spaces.
The Elinchrom Snoot with grid here is how I'm able to get that beautiful dramatic light scraping across my backgrounds. It's a rather cheap modifier, that adds some big punch to your beverage photography. It narrows the light to a small beam which is perfect for not only the backgrounds, but I love hitting the bottle's label with it as well.
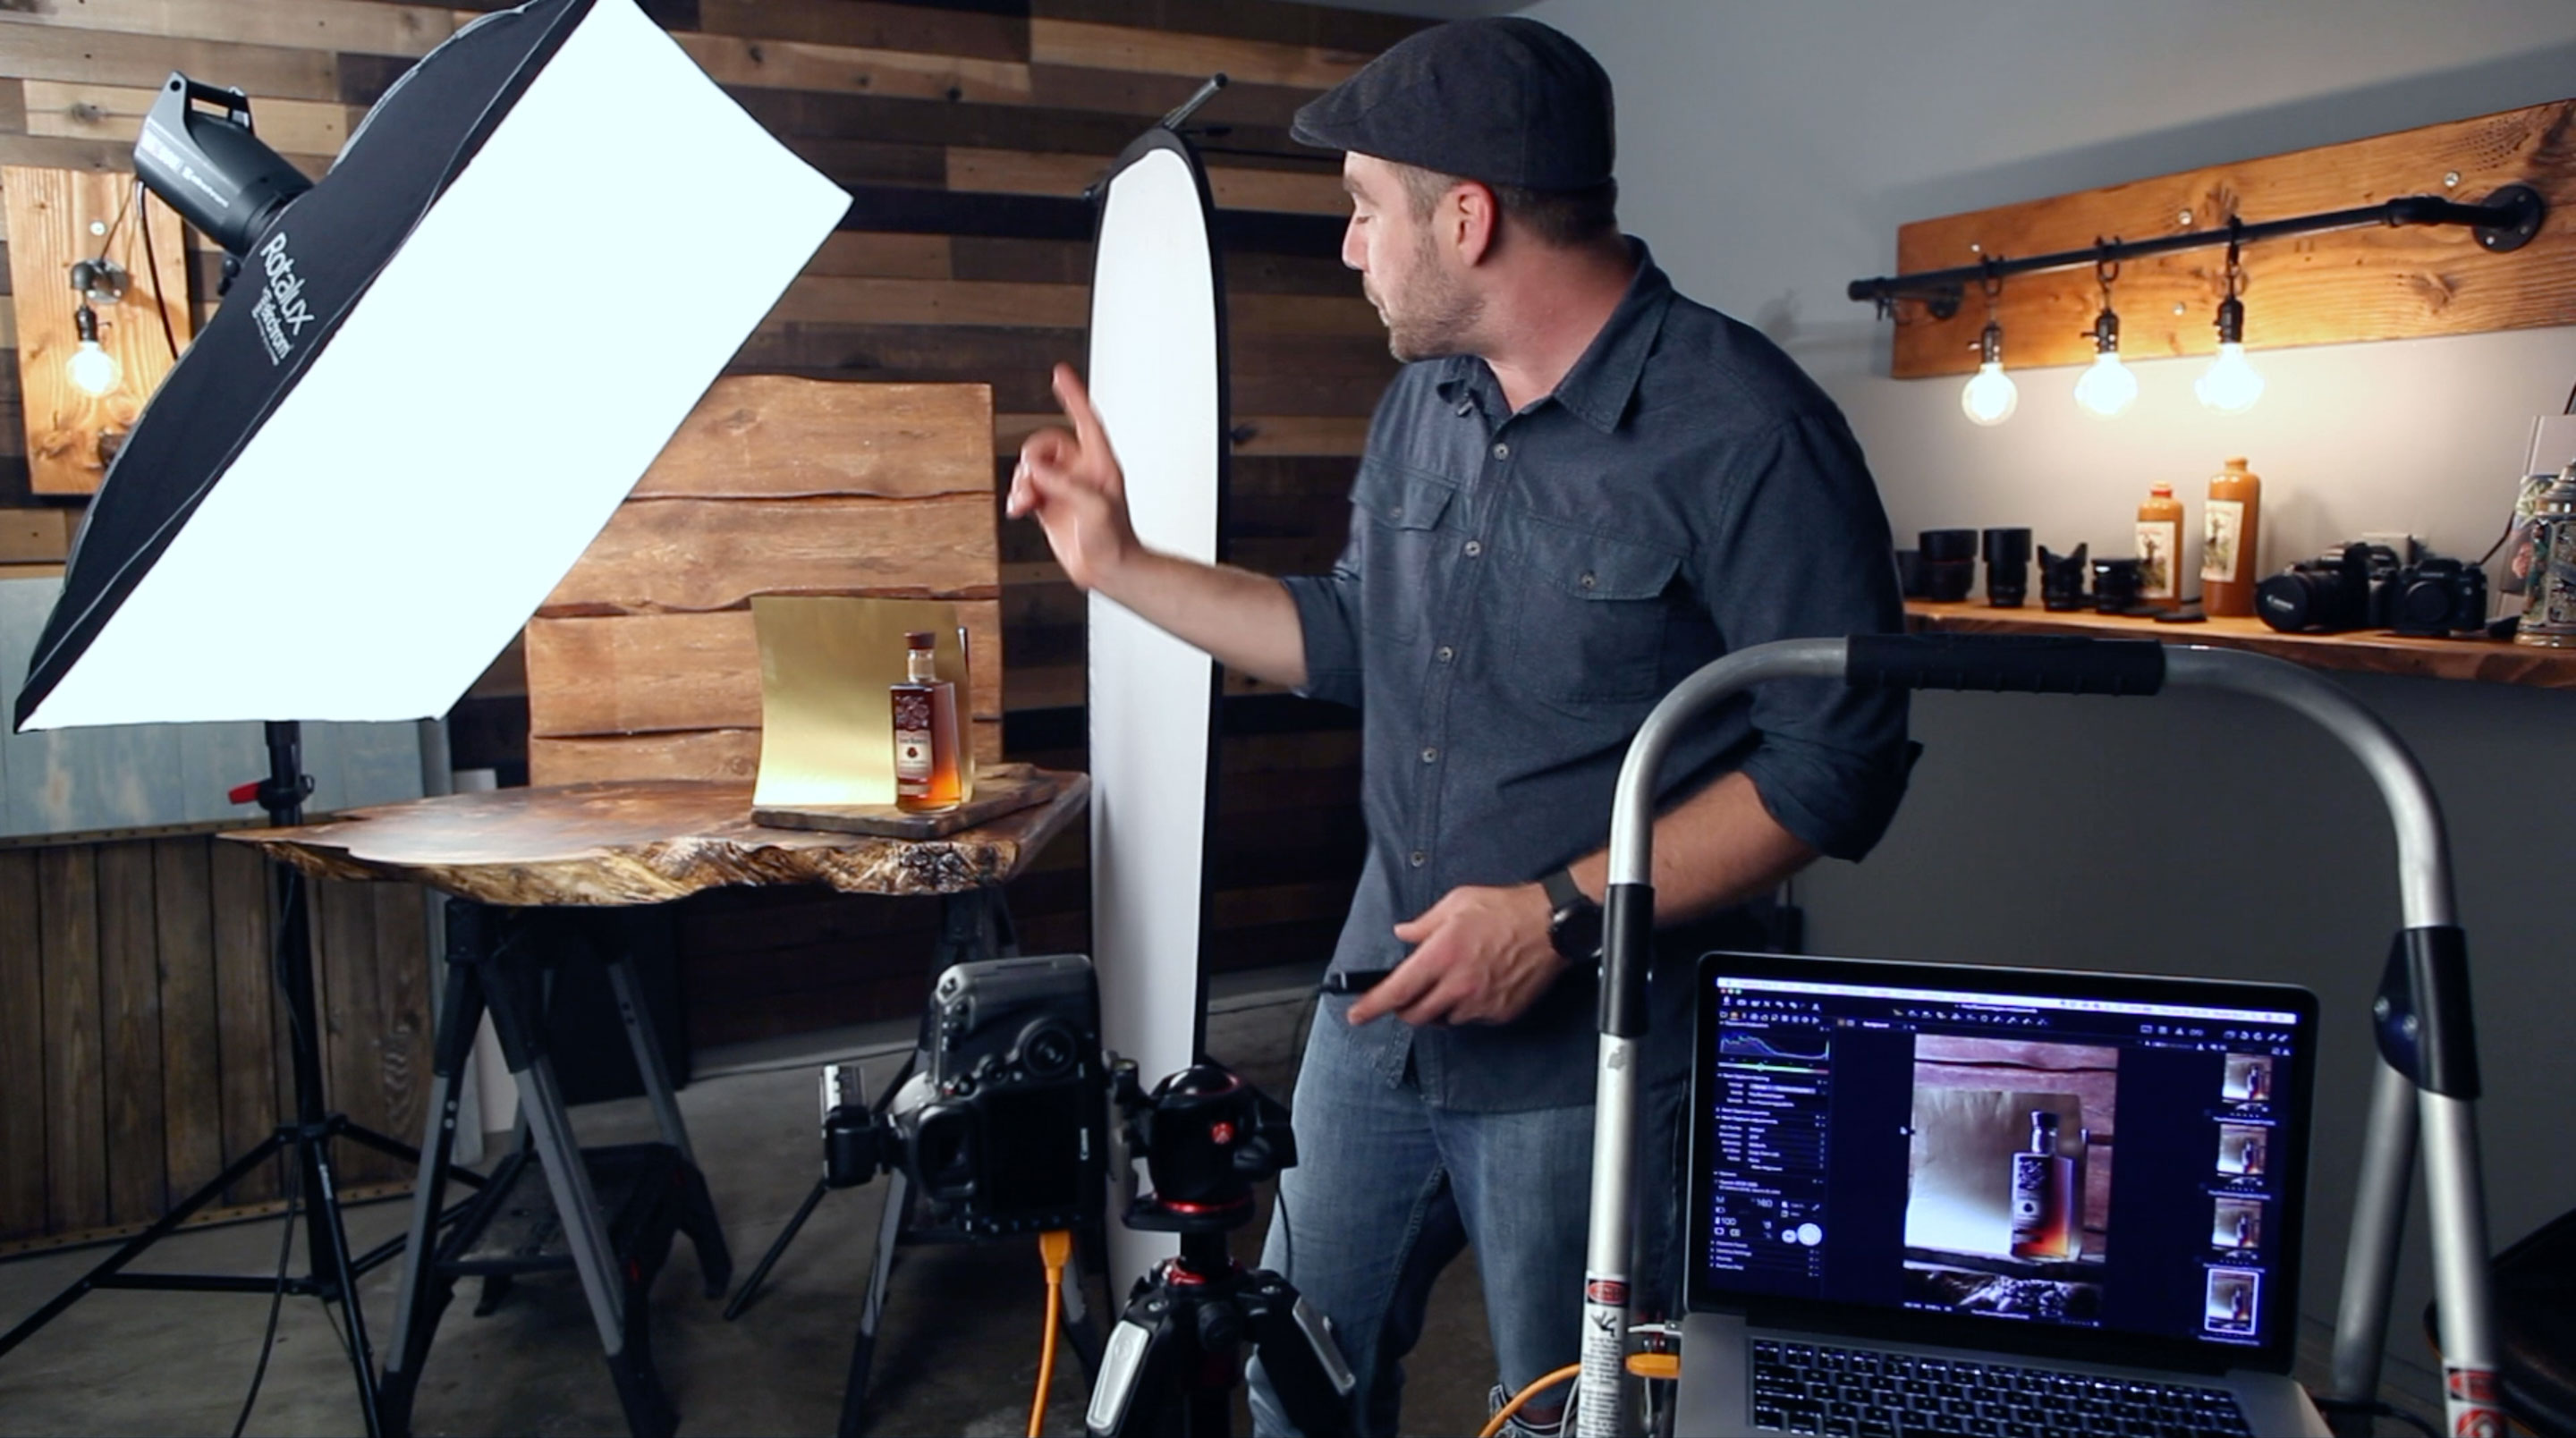
The game plan I use for most of my beverage photography, is to get as much done as I can with a single image. If you can use one light to hit, bounce, and reflect all in one photo, then you're on the right path. This will save you huge amounts of time in post production later. For my Four Roses Bourbon shot, using a gold reflector, a diffusor and a soft-box, I made one key image that would create the majority of my composite later on in Photoshop.
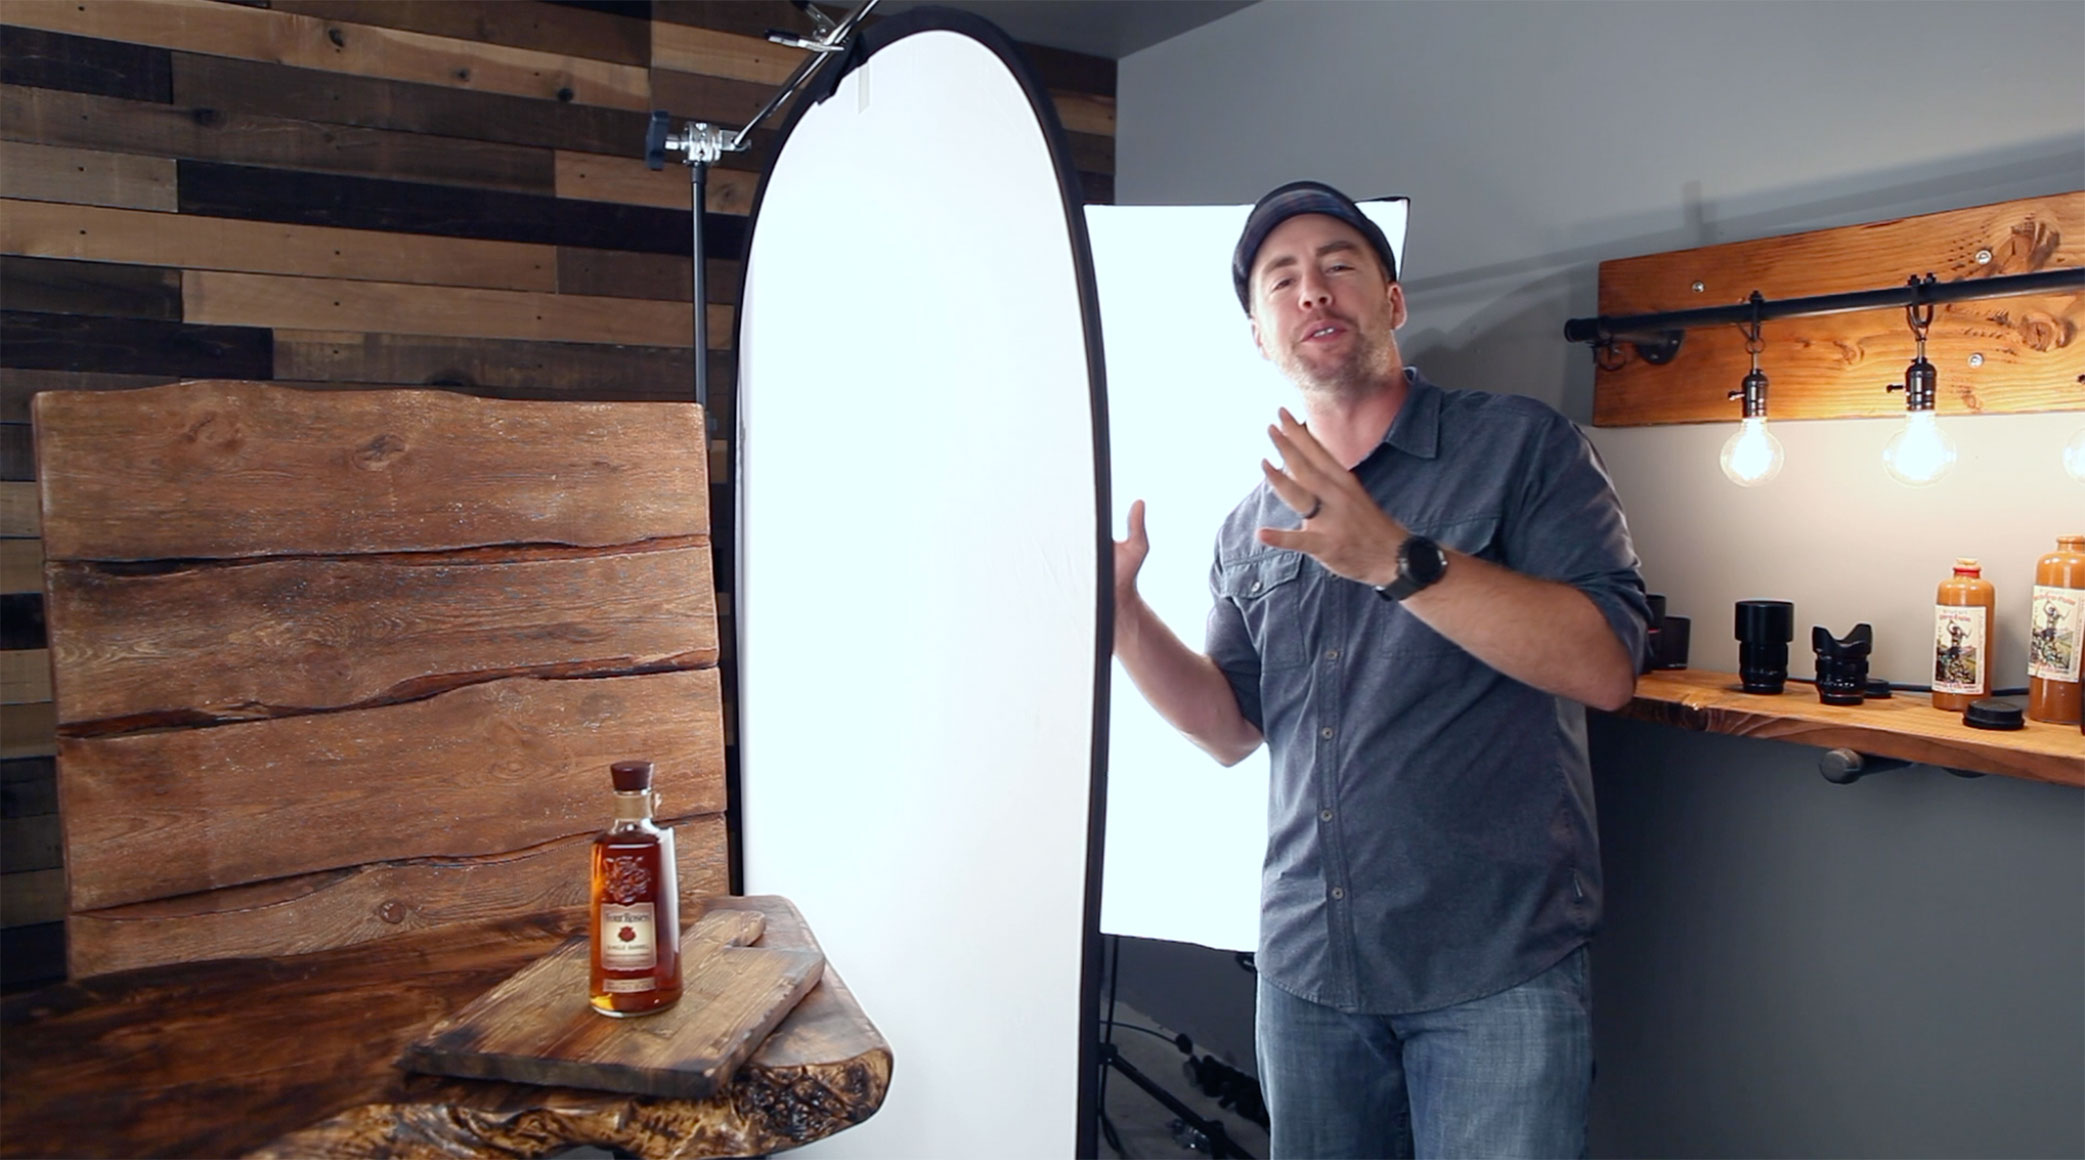
After creating that key image, it's time to re-position the light and show off the smaller details of the bottle's shape. For my bourbon shot, I move the light to the right hand side, behind the diffusor, to highlight the top edge and the bottle's cap. This combined with the key image above, adds a nice gradation of light down the right hand side and more separation between the bourbon and my background.
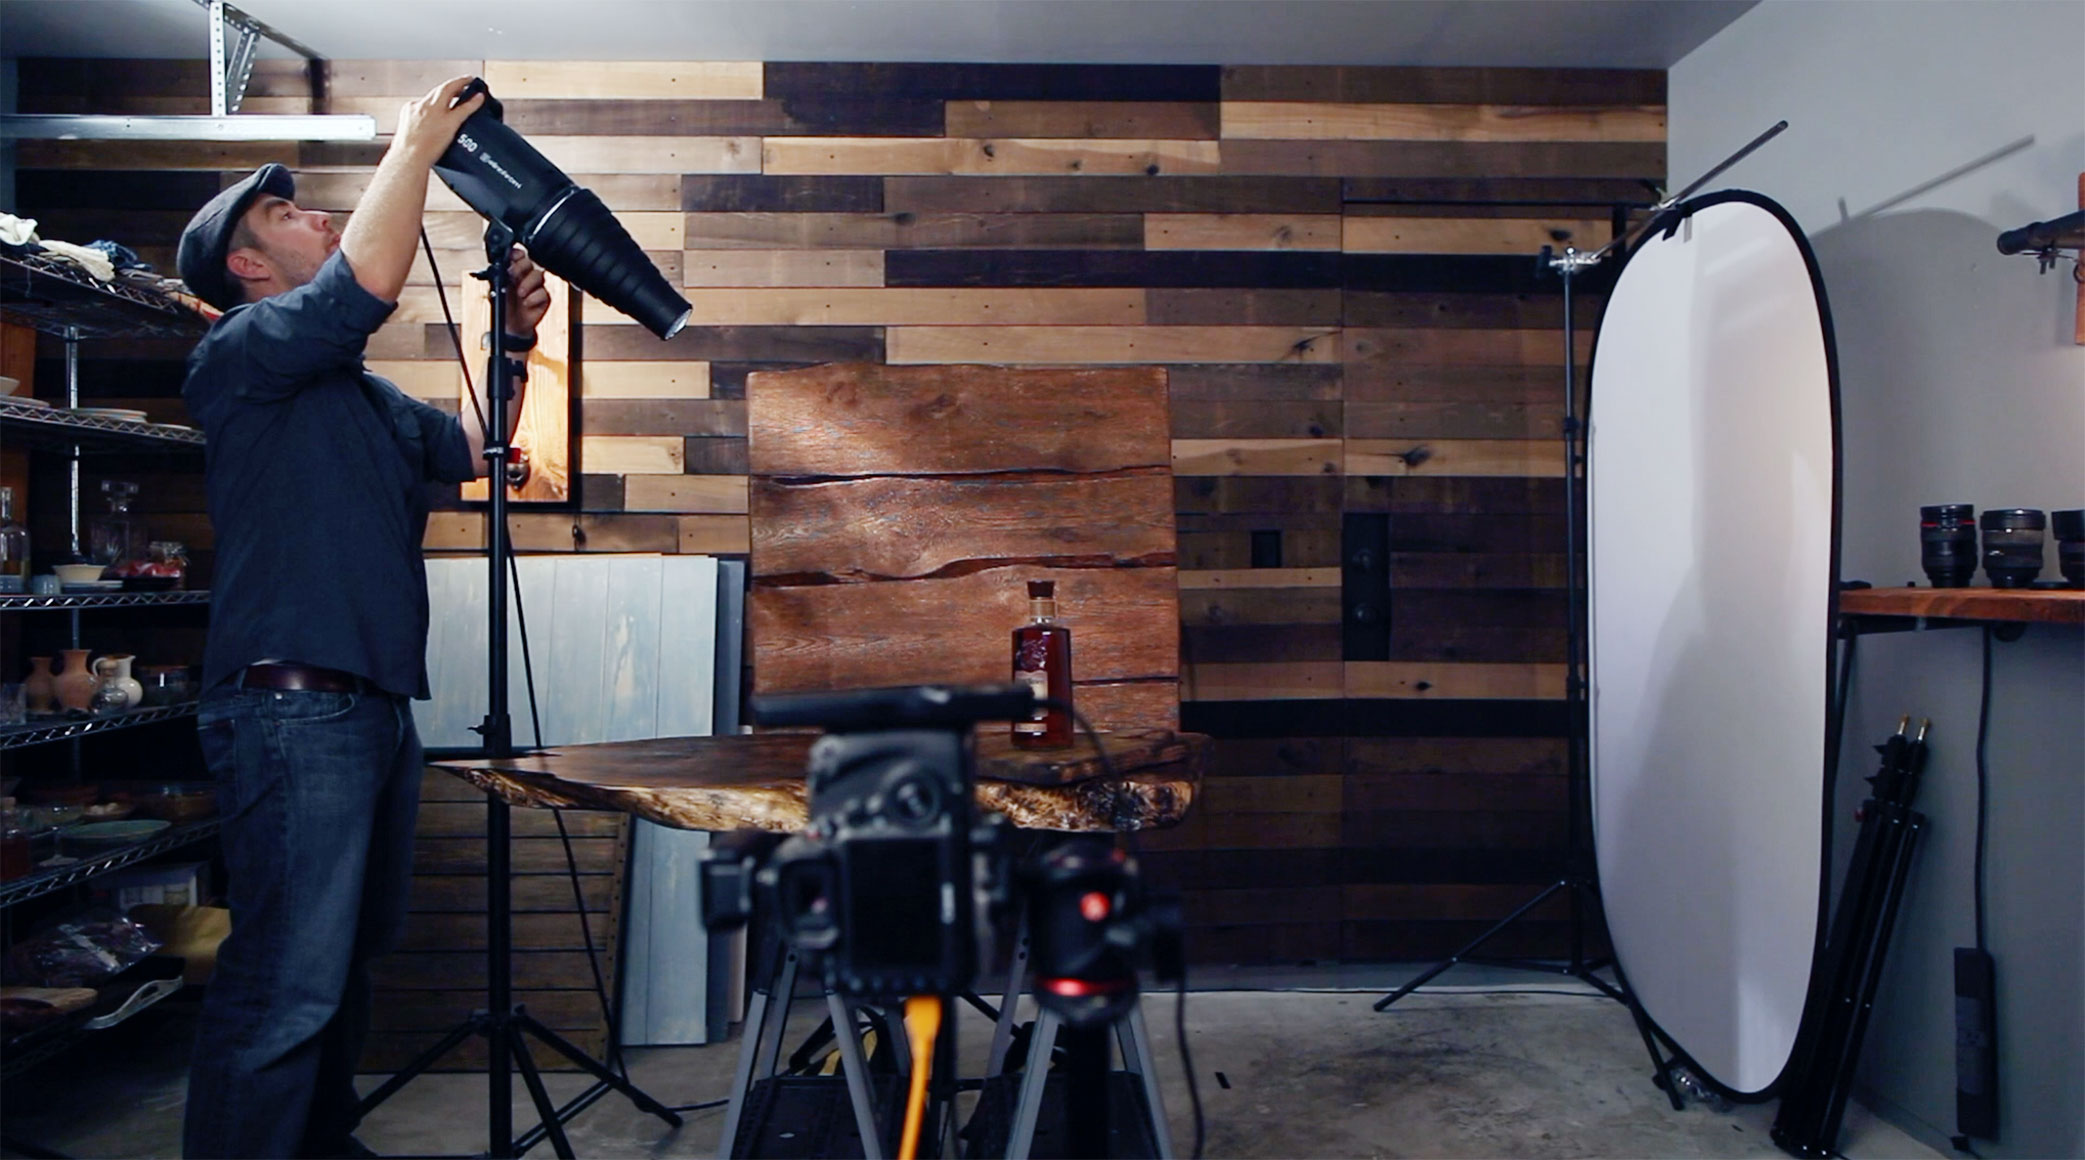
For the last image, it's time to bring out that snoot to give the background a beautiful touch of dramatic light. For my shot, I positioned the snoot so the beam of light on the background would follow the same direction as the light in my key image. This adds to the illusion that my main light source is somewhere off frame, lighting both my background and my bottle at the same time.
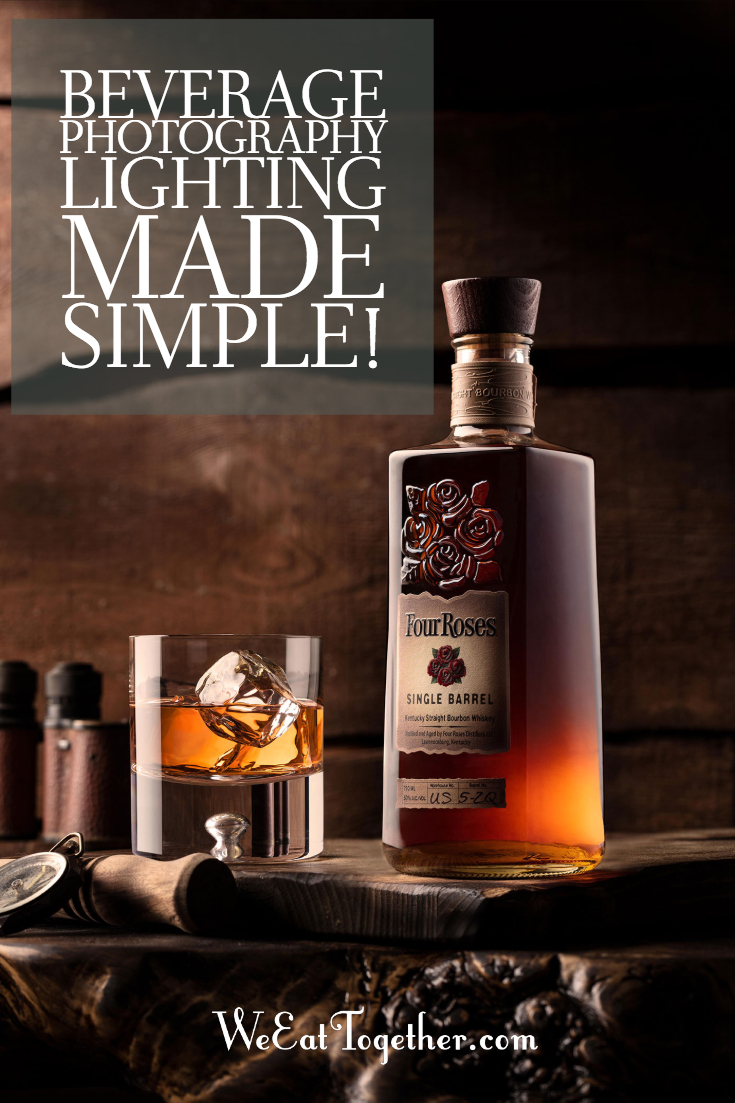
If you want to see how this image is put together inside the computer, be sure to watch the video above or you can dive into my Advanced Food & Beverage Short Course right here! You'll find hours of post-production tutorials to get you well on your way creating stunning beverage photography.
Disclosure: This is not a sponsored post, however this post does contain affiliate links to some great photography gear, products or services I currently use or have used in the past. If you plan on shopping for some new great stuff, please click through the link and I'll receive a small commission. Every purchase helps me continue on my never ending quest to provide amazing content. If you would like to view my disclosure policy click HERE.
