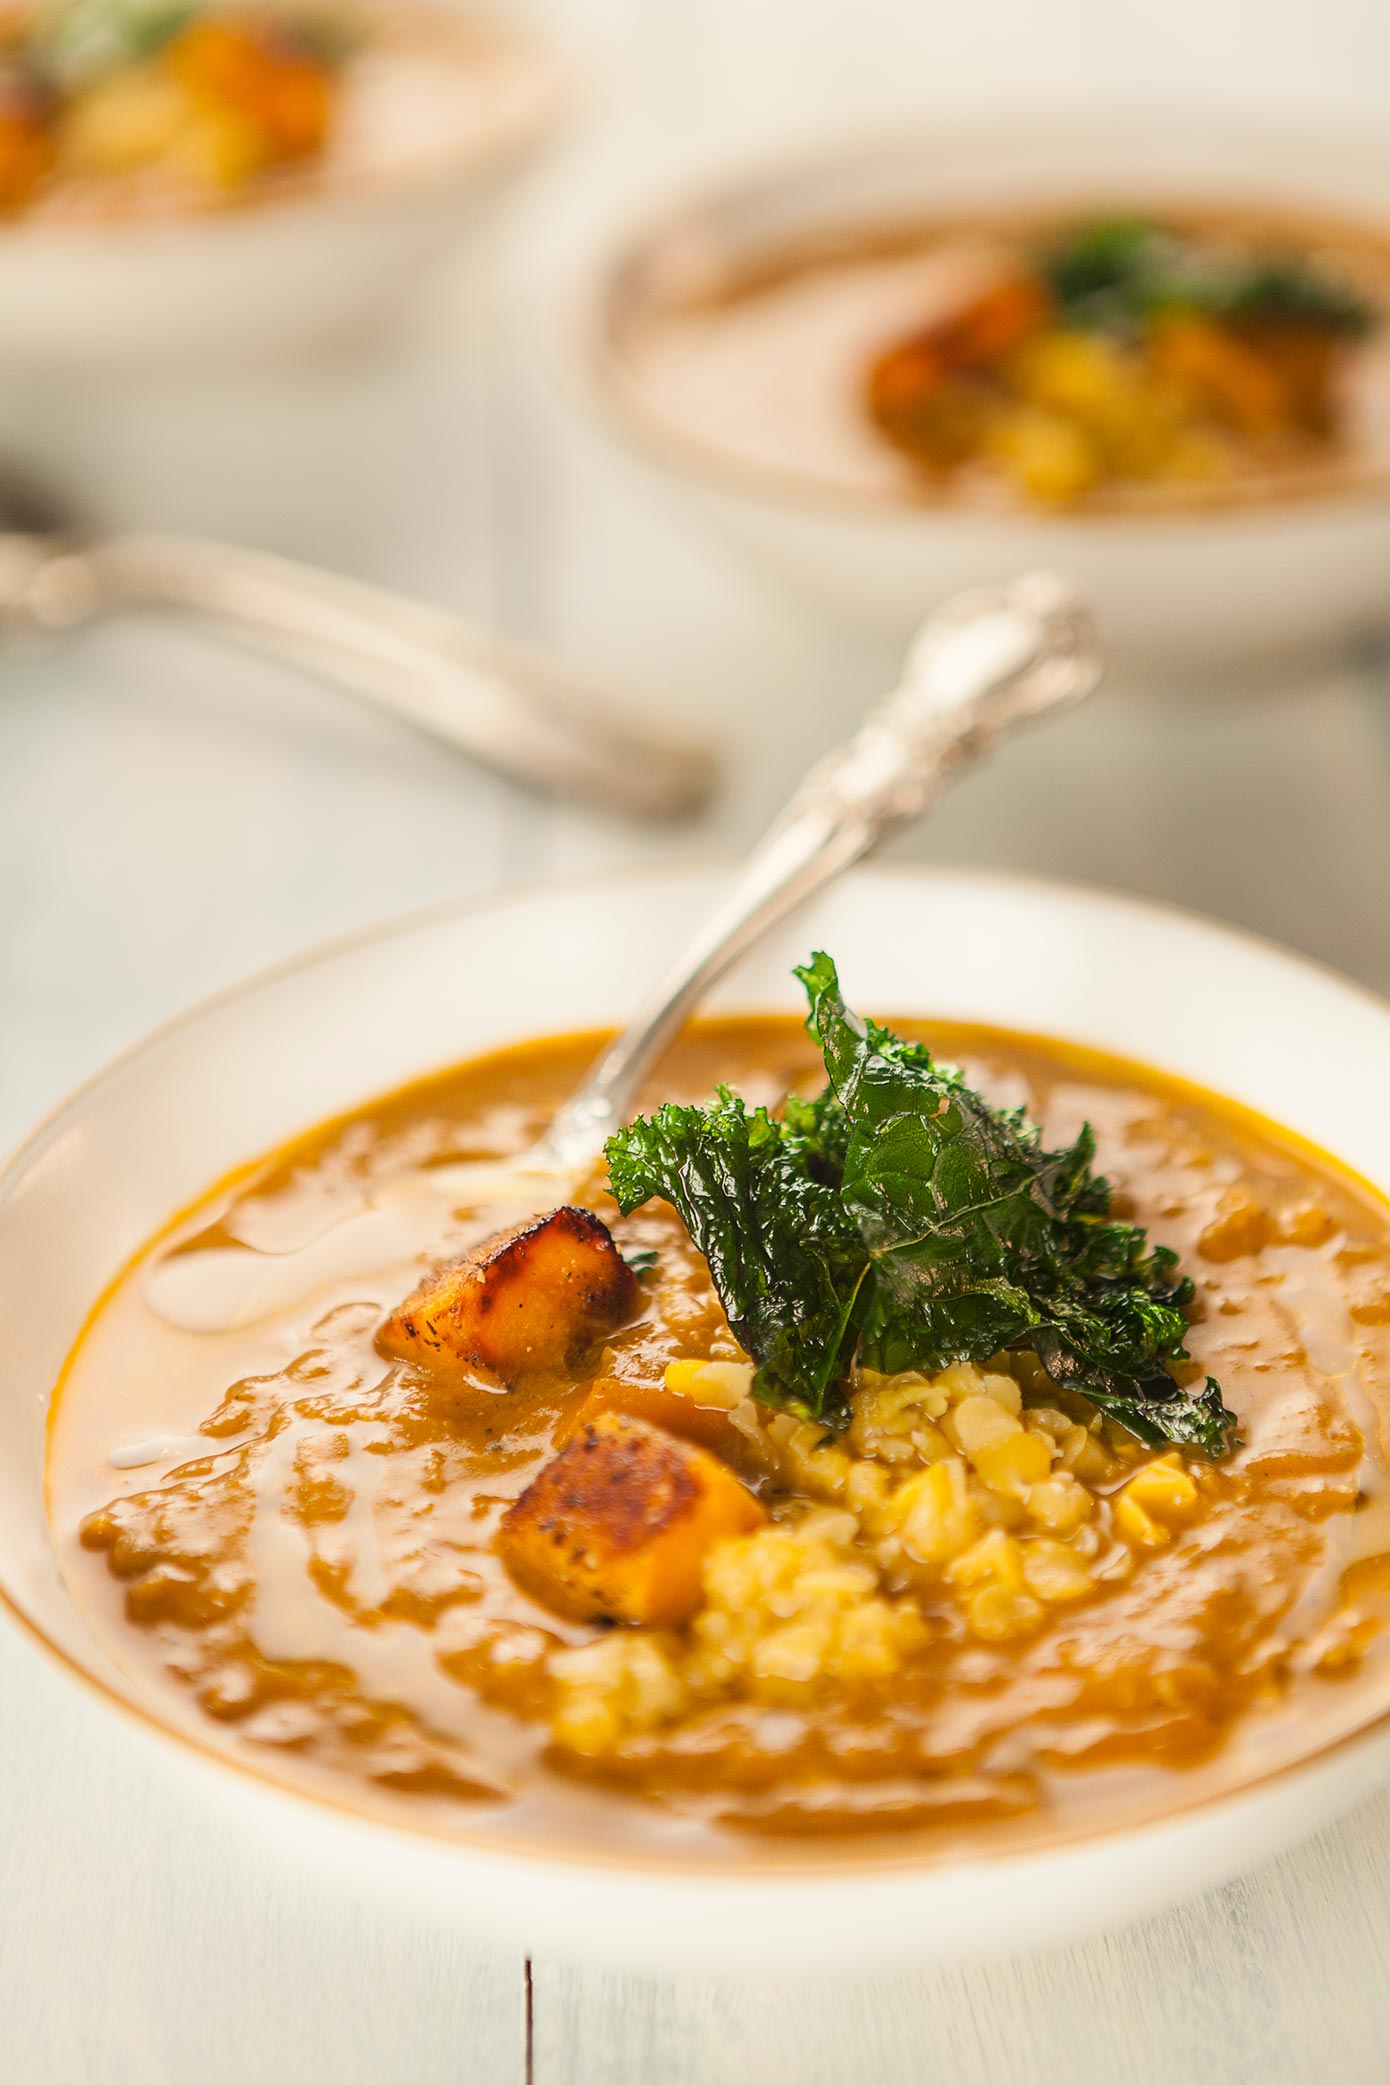
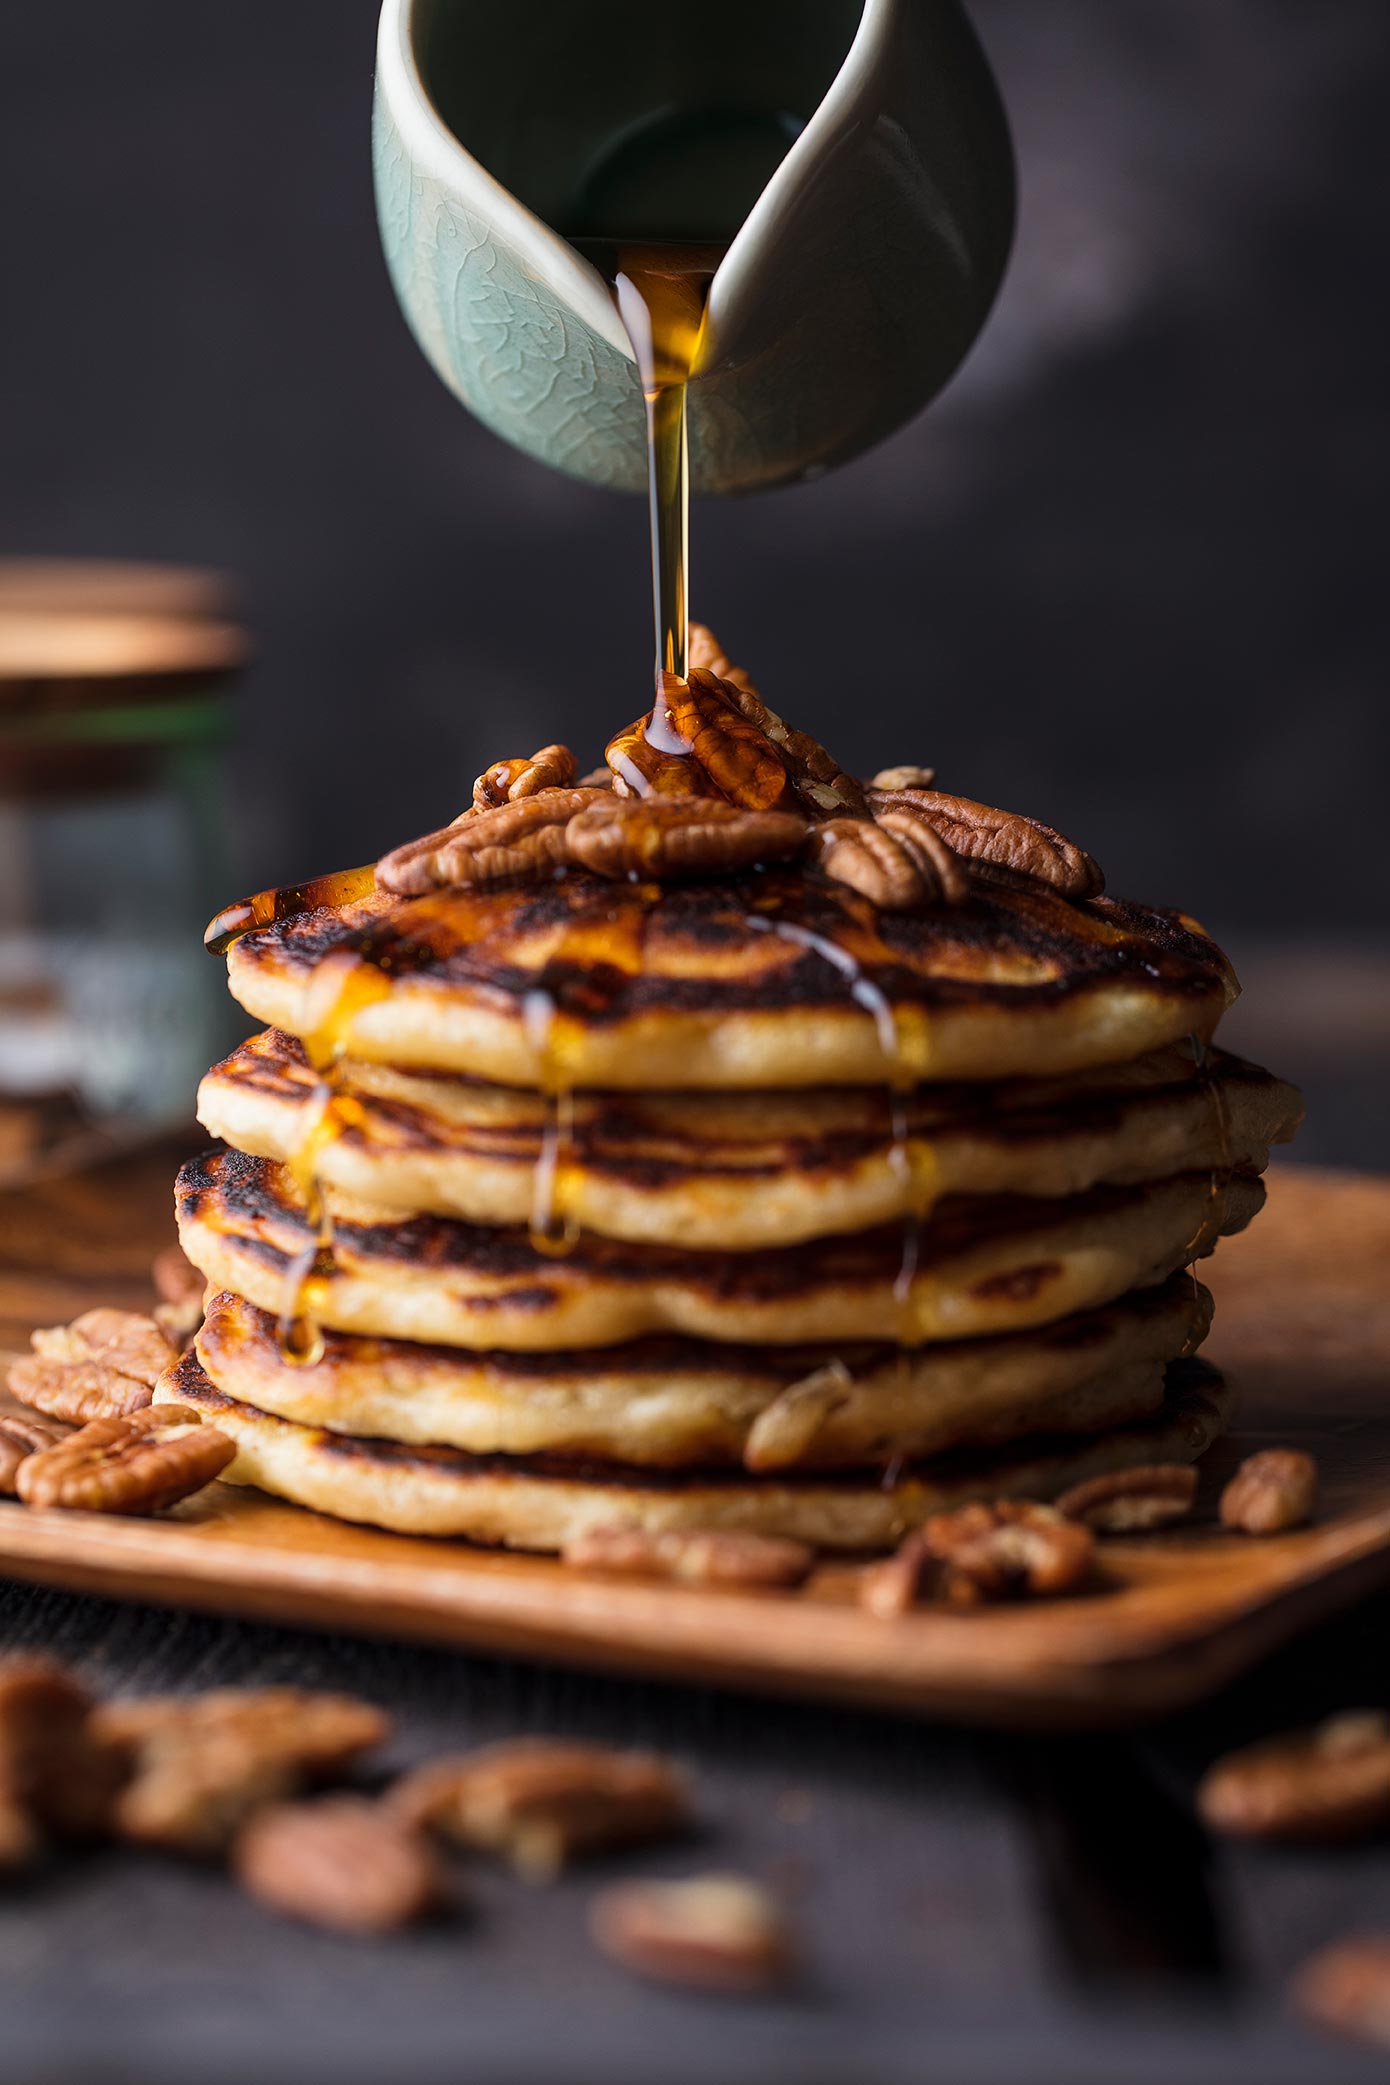
One of the things I love most about food photography is that as the one with the camera, you have the control to be as real or unreal as you need to achieve that perfect food image. Everyone starts with an empty table and builds this little world inside the viewfinder, but sometimes it takes a little skill and a few tricks up your sleeve to make that food photo come to life. So I've put together a quick video together with 6 of my favorite food photography tricks that I think every budding and pro food photographer should have in their arsenal.
Find a ton more great food photography tips and tricks on the WeEatTogether YouTube Channel HERE!
The lovely people over at SLR Lounge and Fstoppers wrote up two great articles about it over HERE and HERE!
If you would love to go even more in-depth with these food photography tricks and so much more be sure to grab up one of my great online food photography courses like the Food Photography Masterclass HERE!
6 Simple Food Photography Tricks !
I recommend you watch the video above so you can see them in action, however here are the six food photography tricks explained a little further below.
1. The Wedge
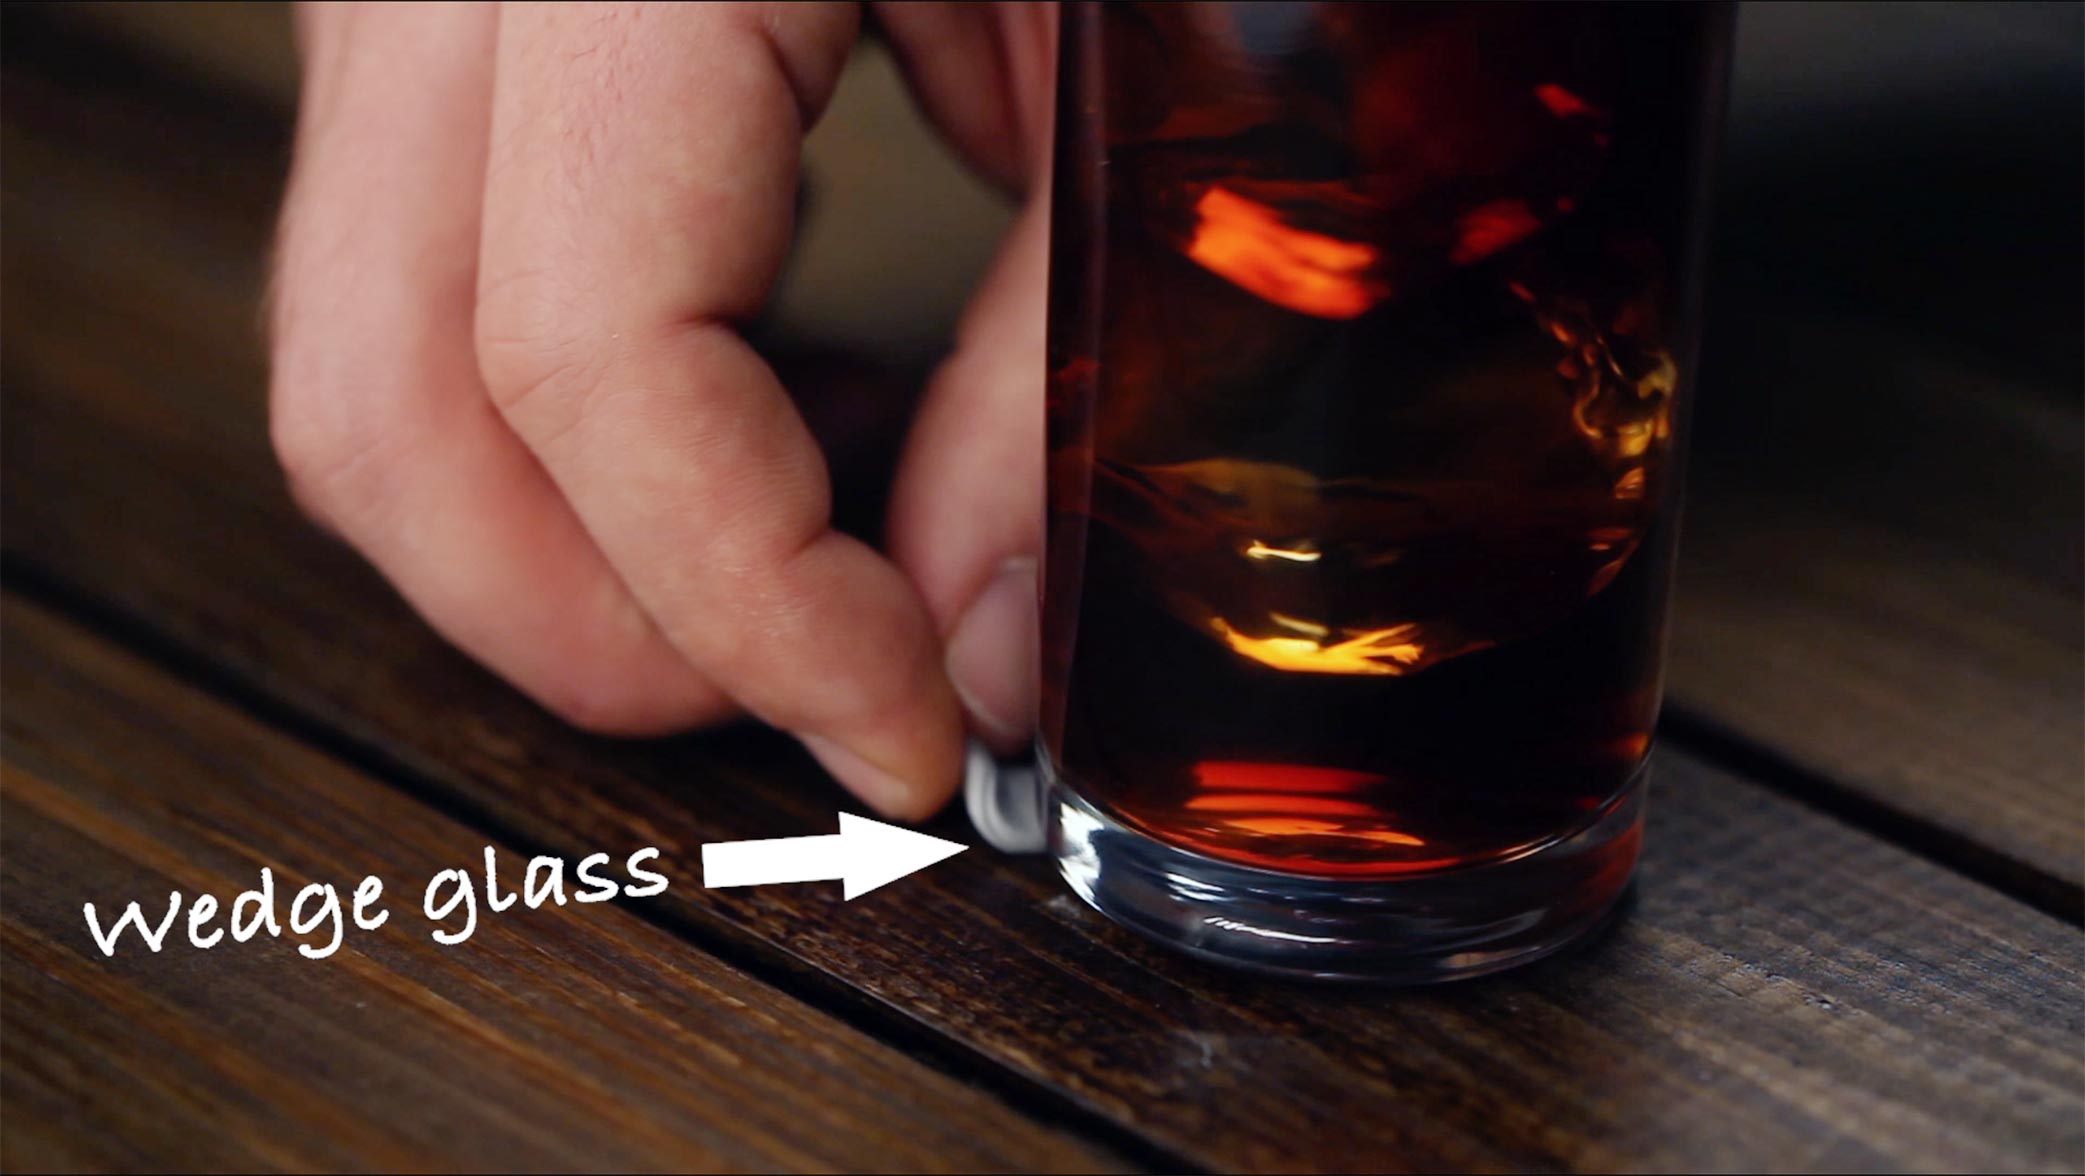
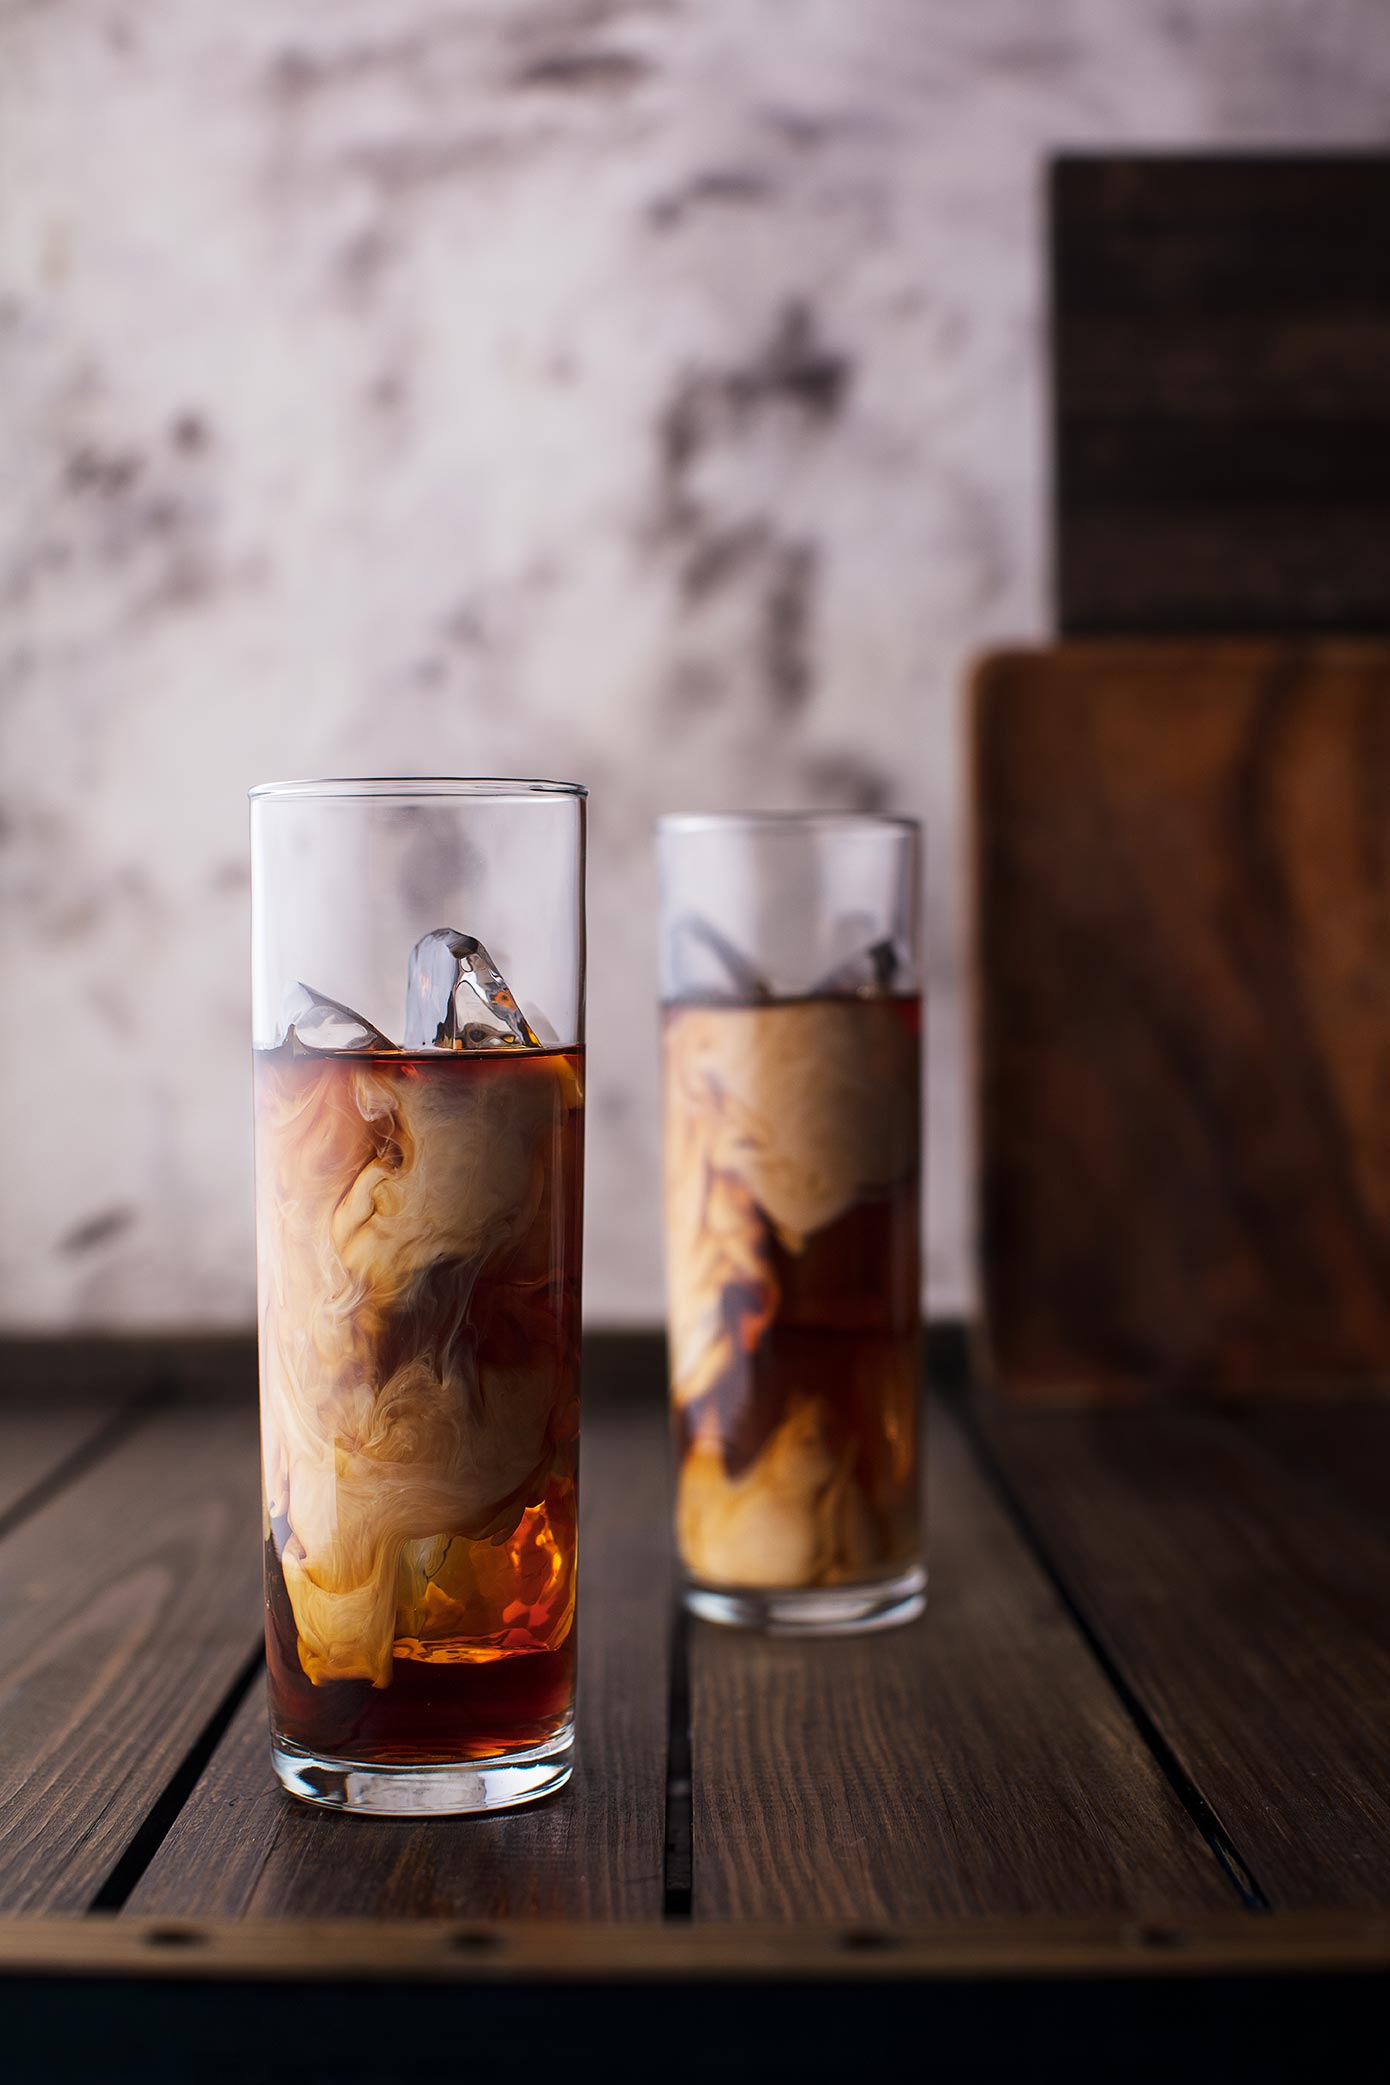
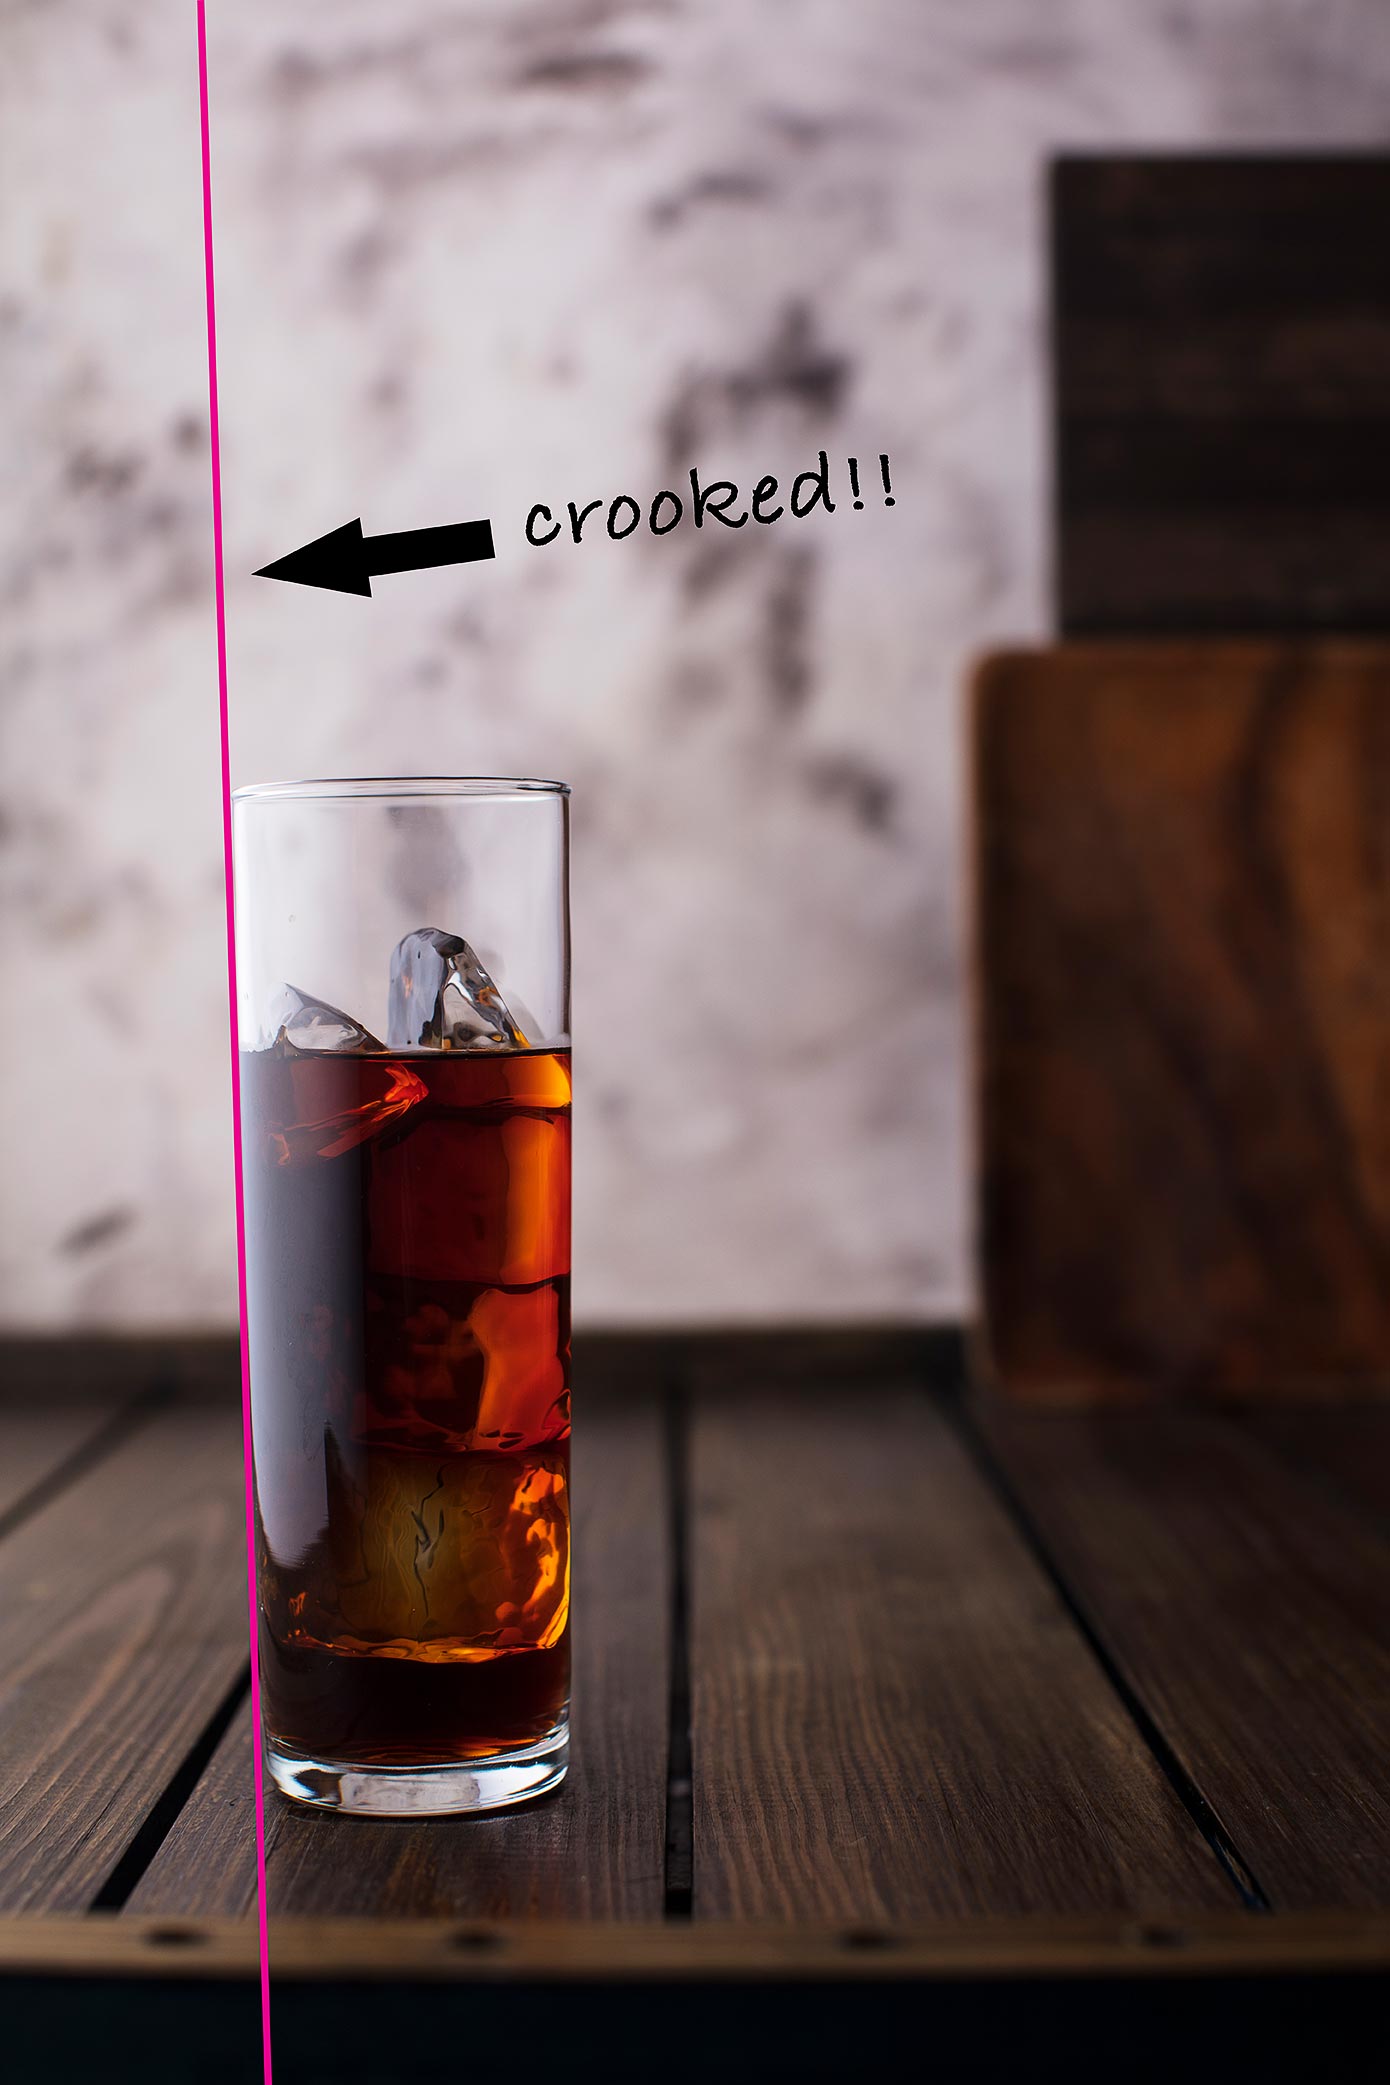
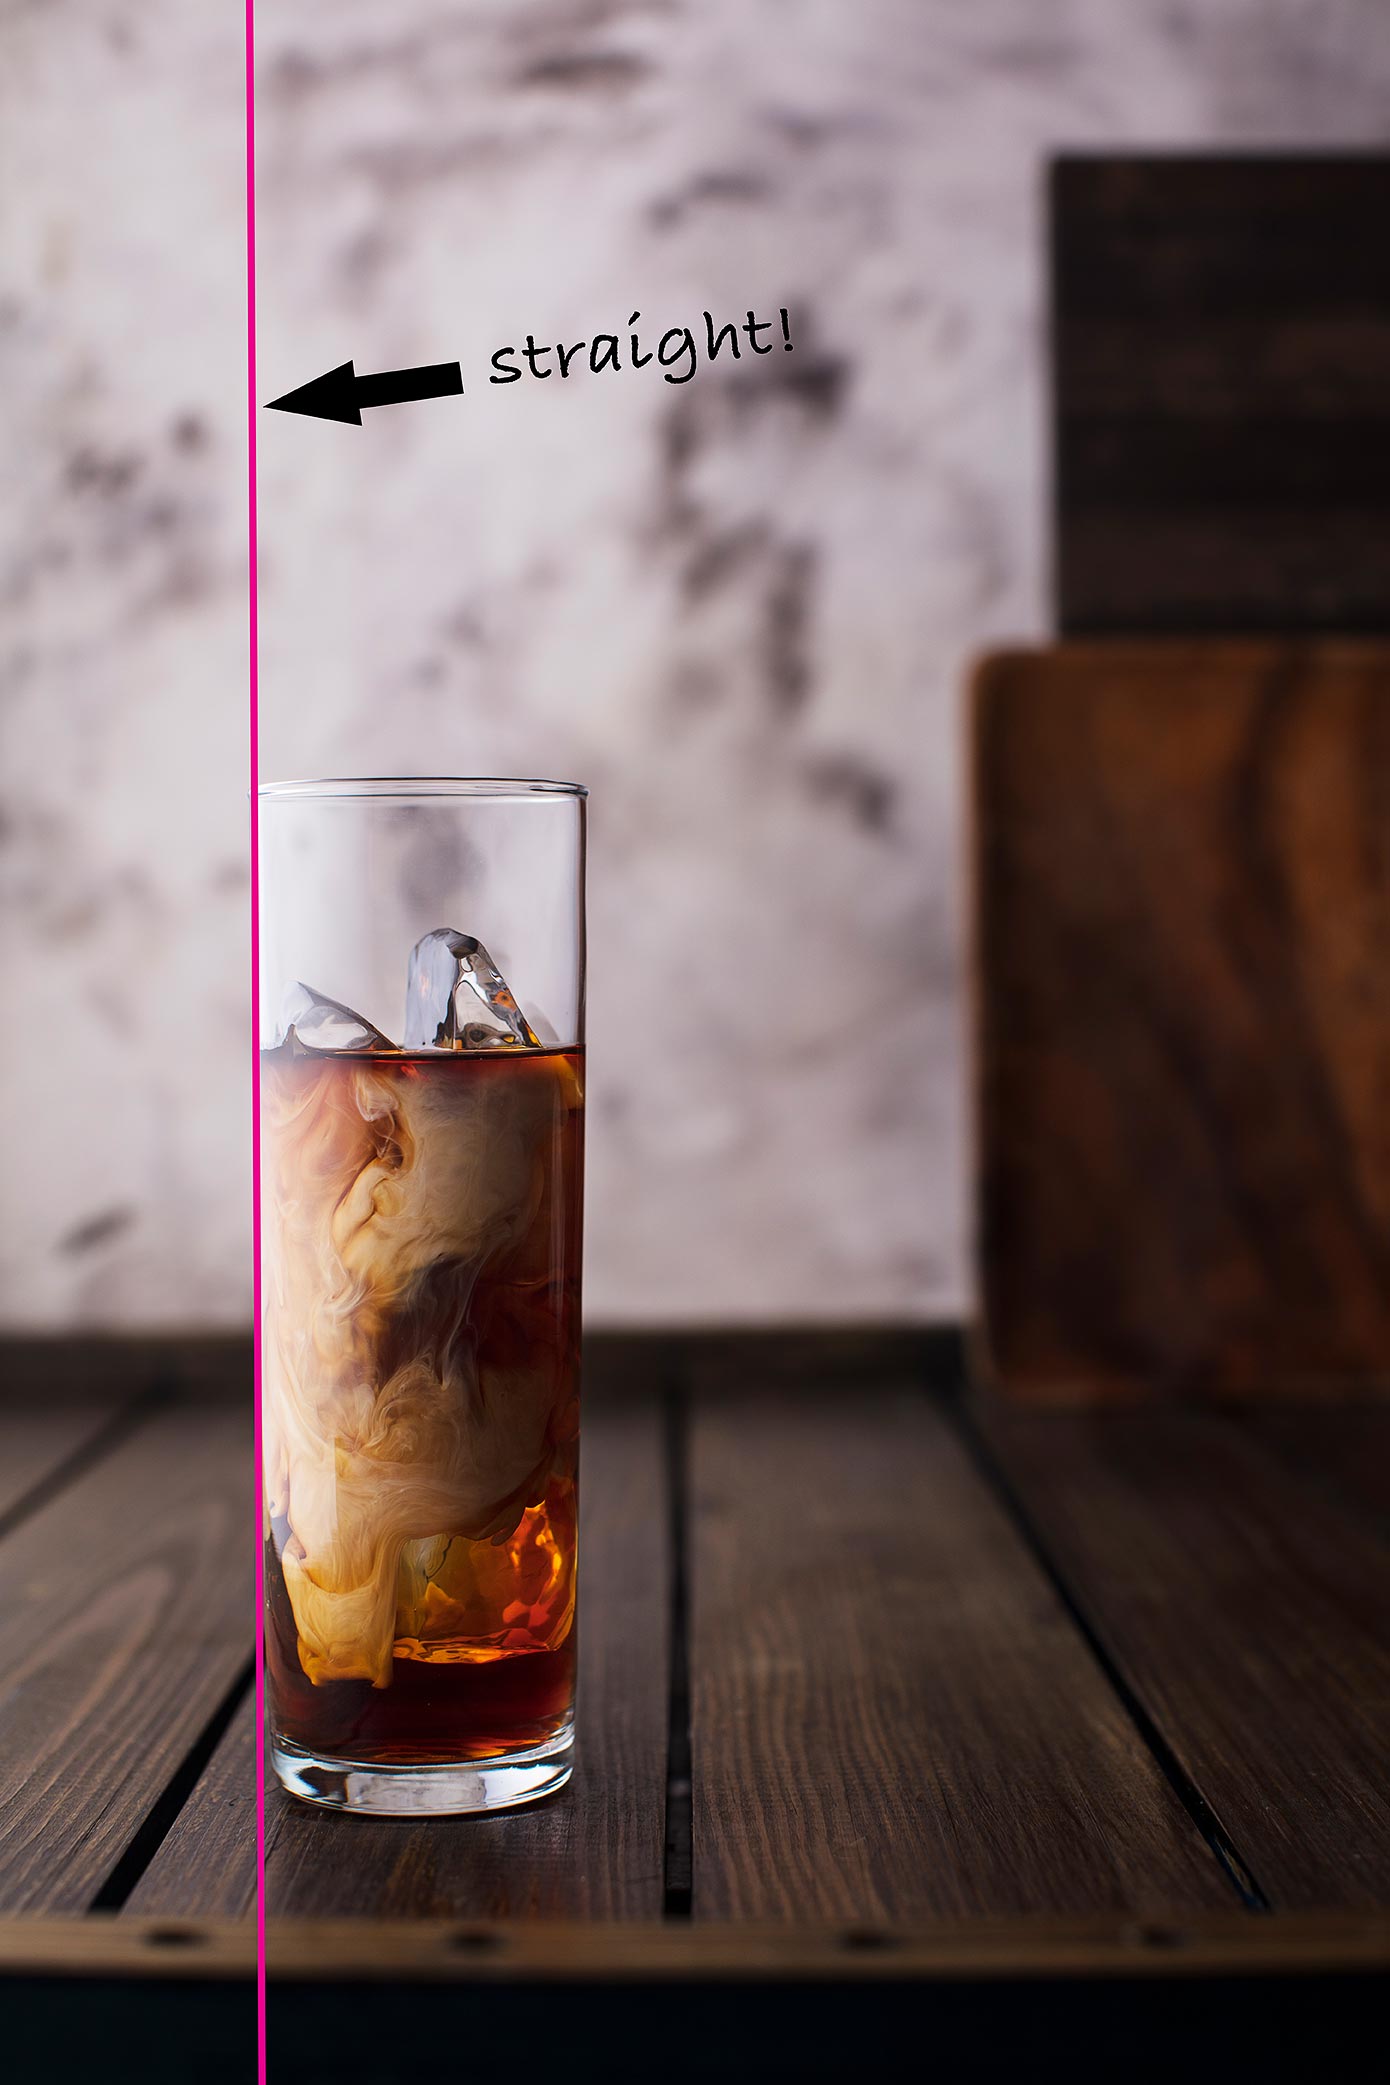
Often times tall glasses and even food can appear slanted when placed in front of your lens. Caused by straight lines interacting with the curvature of you lens, this can be easily fixed with a quick trip to the craft store. Although, the glass will look tilted to the eye, placing a small wedge made from clay will counter the lenses affect and is a simple food photography trick that you or your food stylist can use to make those tall subjects appear straight in camera.
2. Multiply Your Props
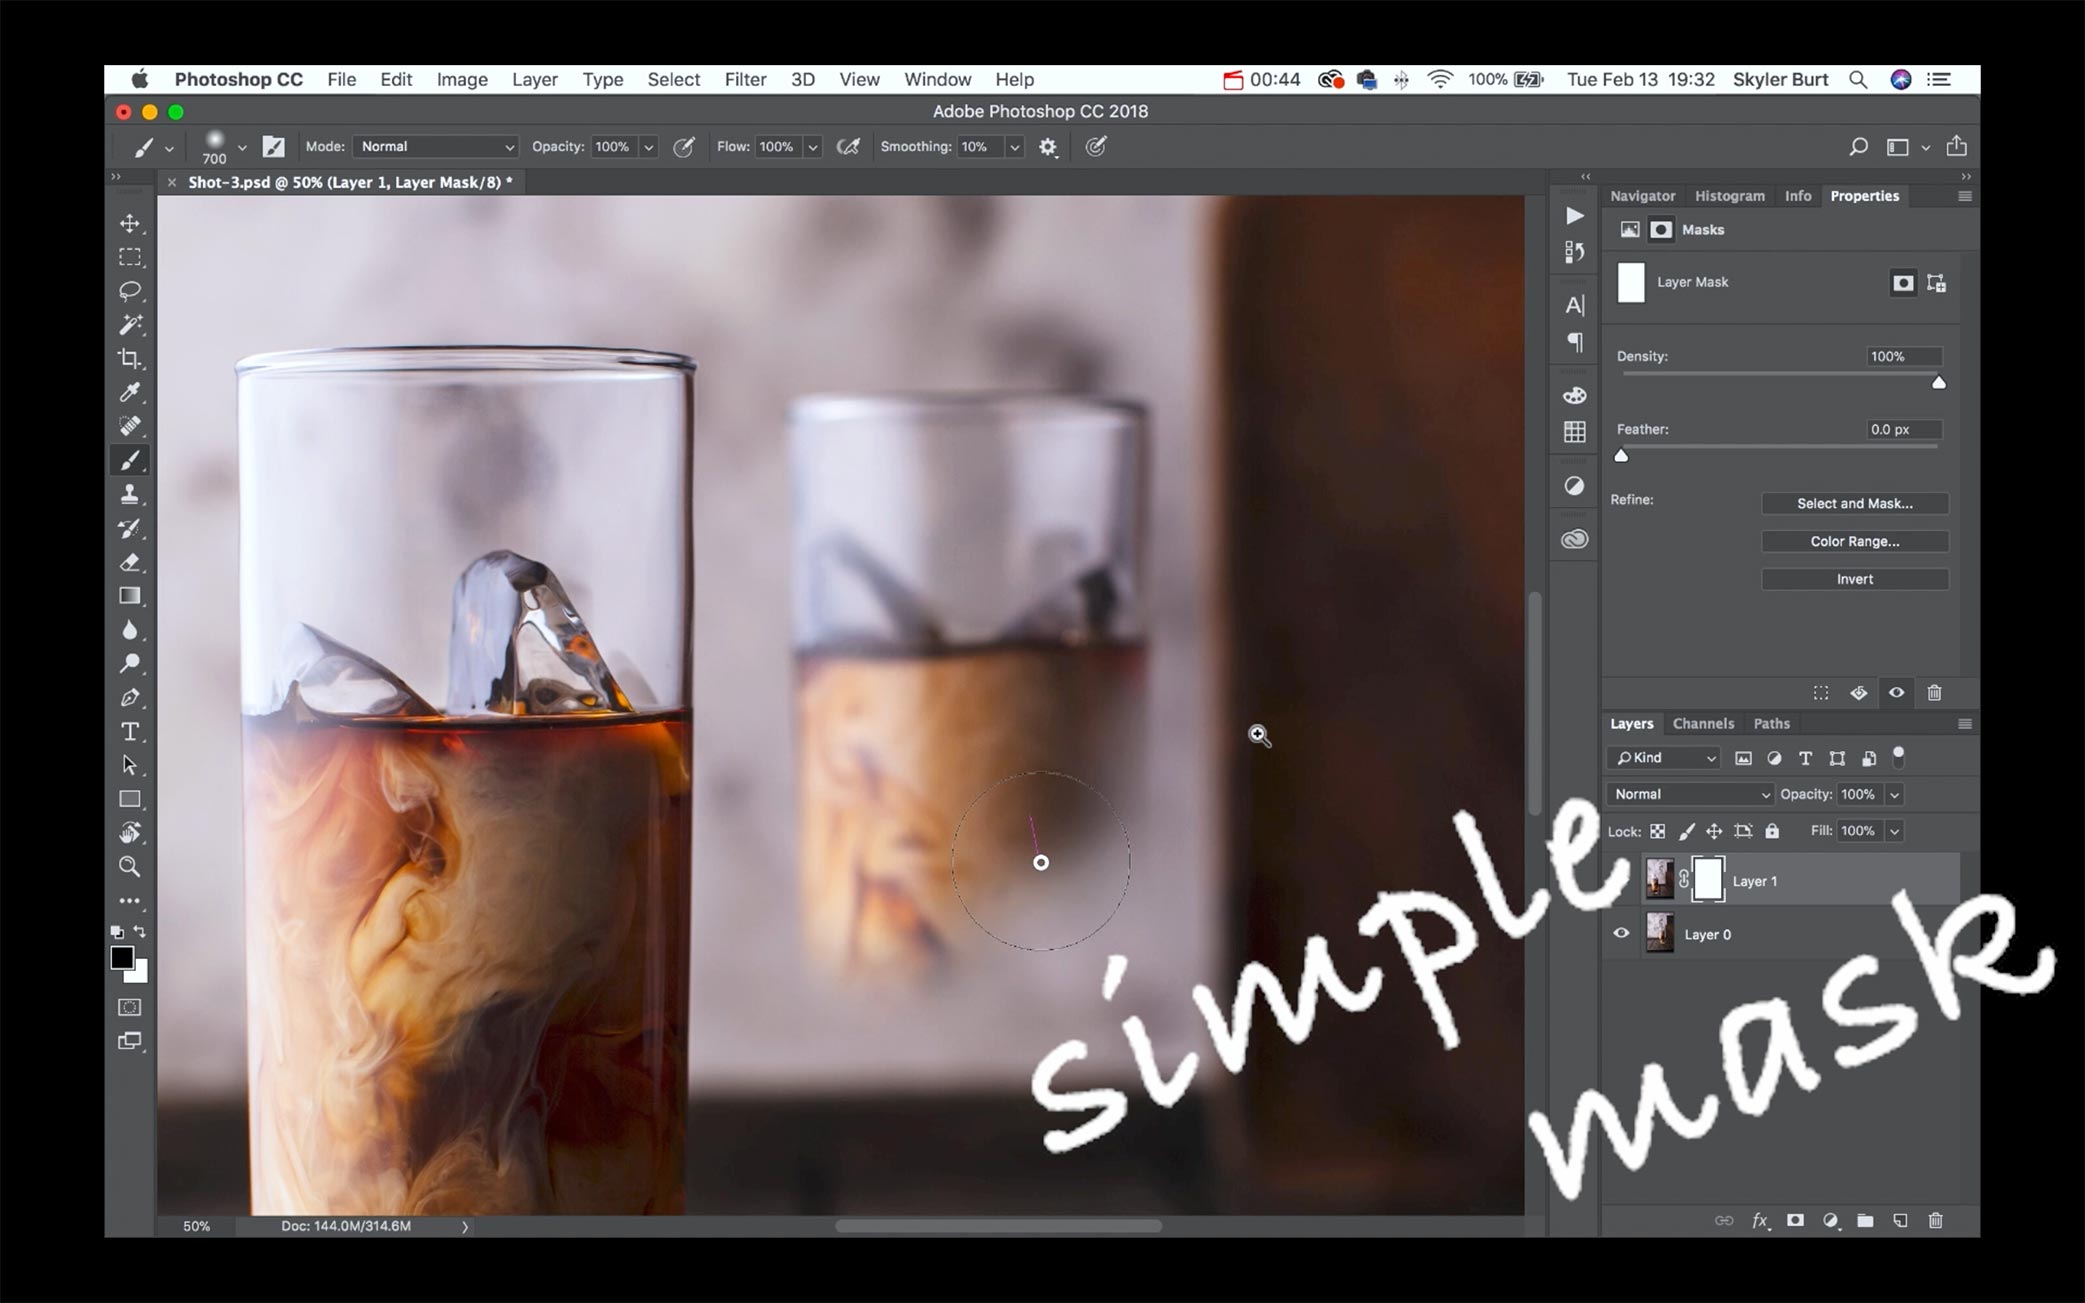
For me I have a lot of single glasses and plates floating around. No sets to serve guests on in my house. However, when I need two of something to make that perfect composition for my food photo and I only have a single glass or prop I pull out this editing food photography trick.
To pull this off you need a tripod and Photoshop, but can be done in 3 simple steps.
Step 1: Using a tripod photograph your subject while leaving room in your composition.
Step 2: Re-style your subject and place it back into the empty space of your composition and take another shot.
Step 3: Open both food images into Photoshop, place one image directly on top of the other, add a layer mask, grab your brush and mask the second subject into the photo with the first.
And as simple as that, with a little editing for food photography you now have a nice composition and the viewer is none the wiser. If you would like to learn more about using Photoshop to multiply your props for your food photos, you can find a great tutorial about it here.
If your looking for a great tripod for your food photography or any other great food photography gear, check out my gear guide here!
3. The Bowl
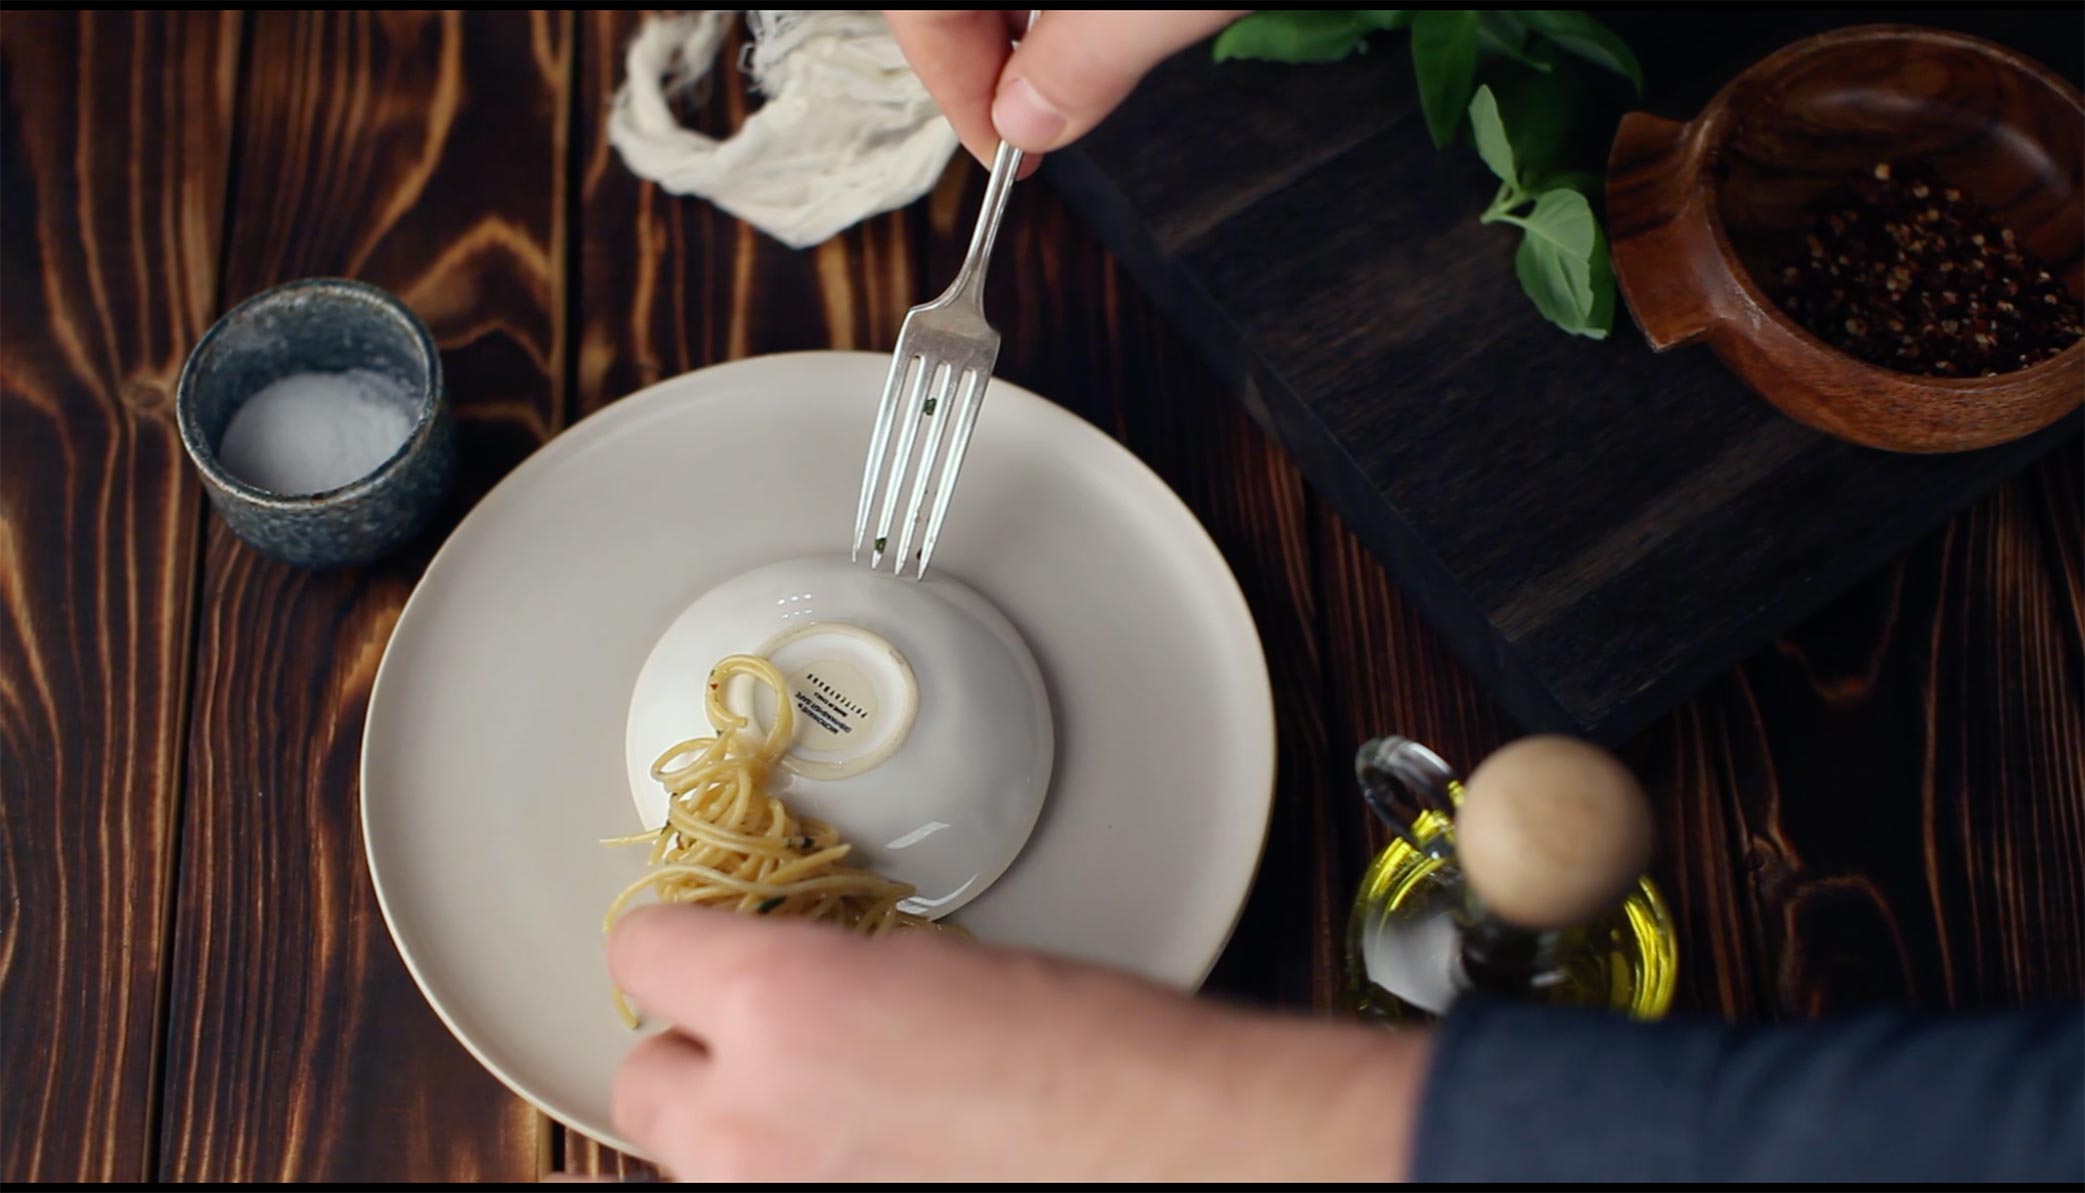
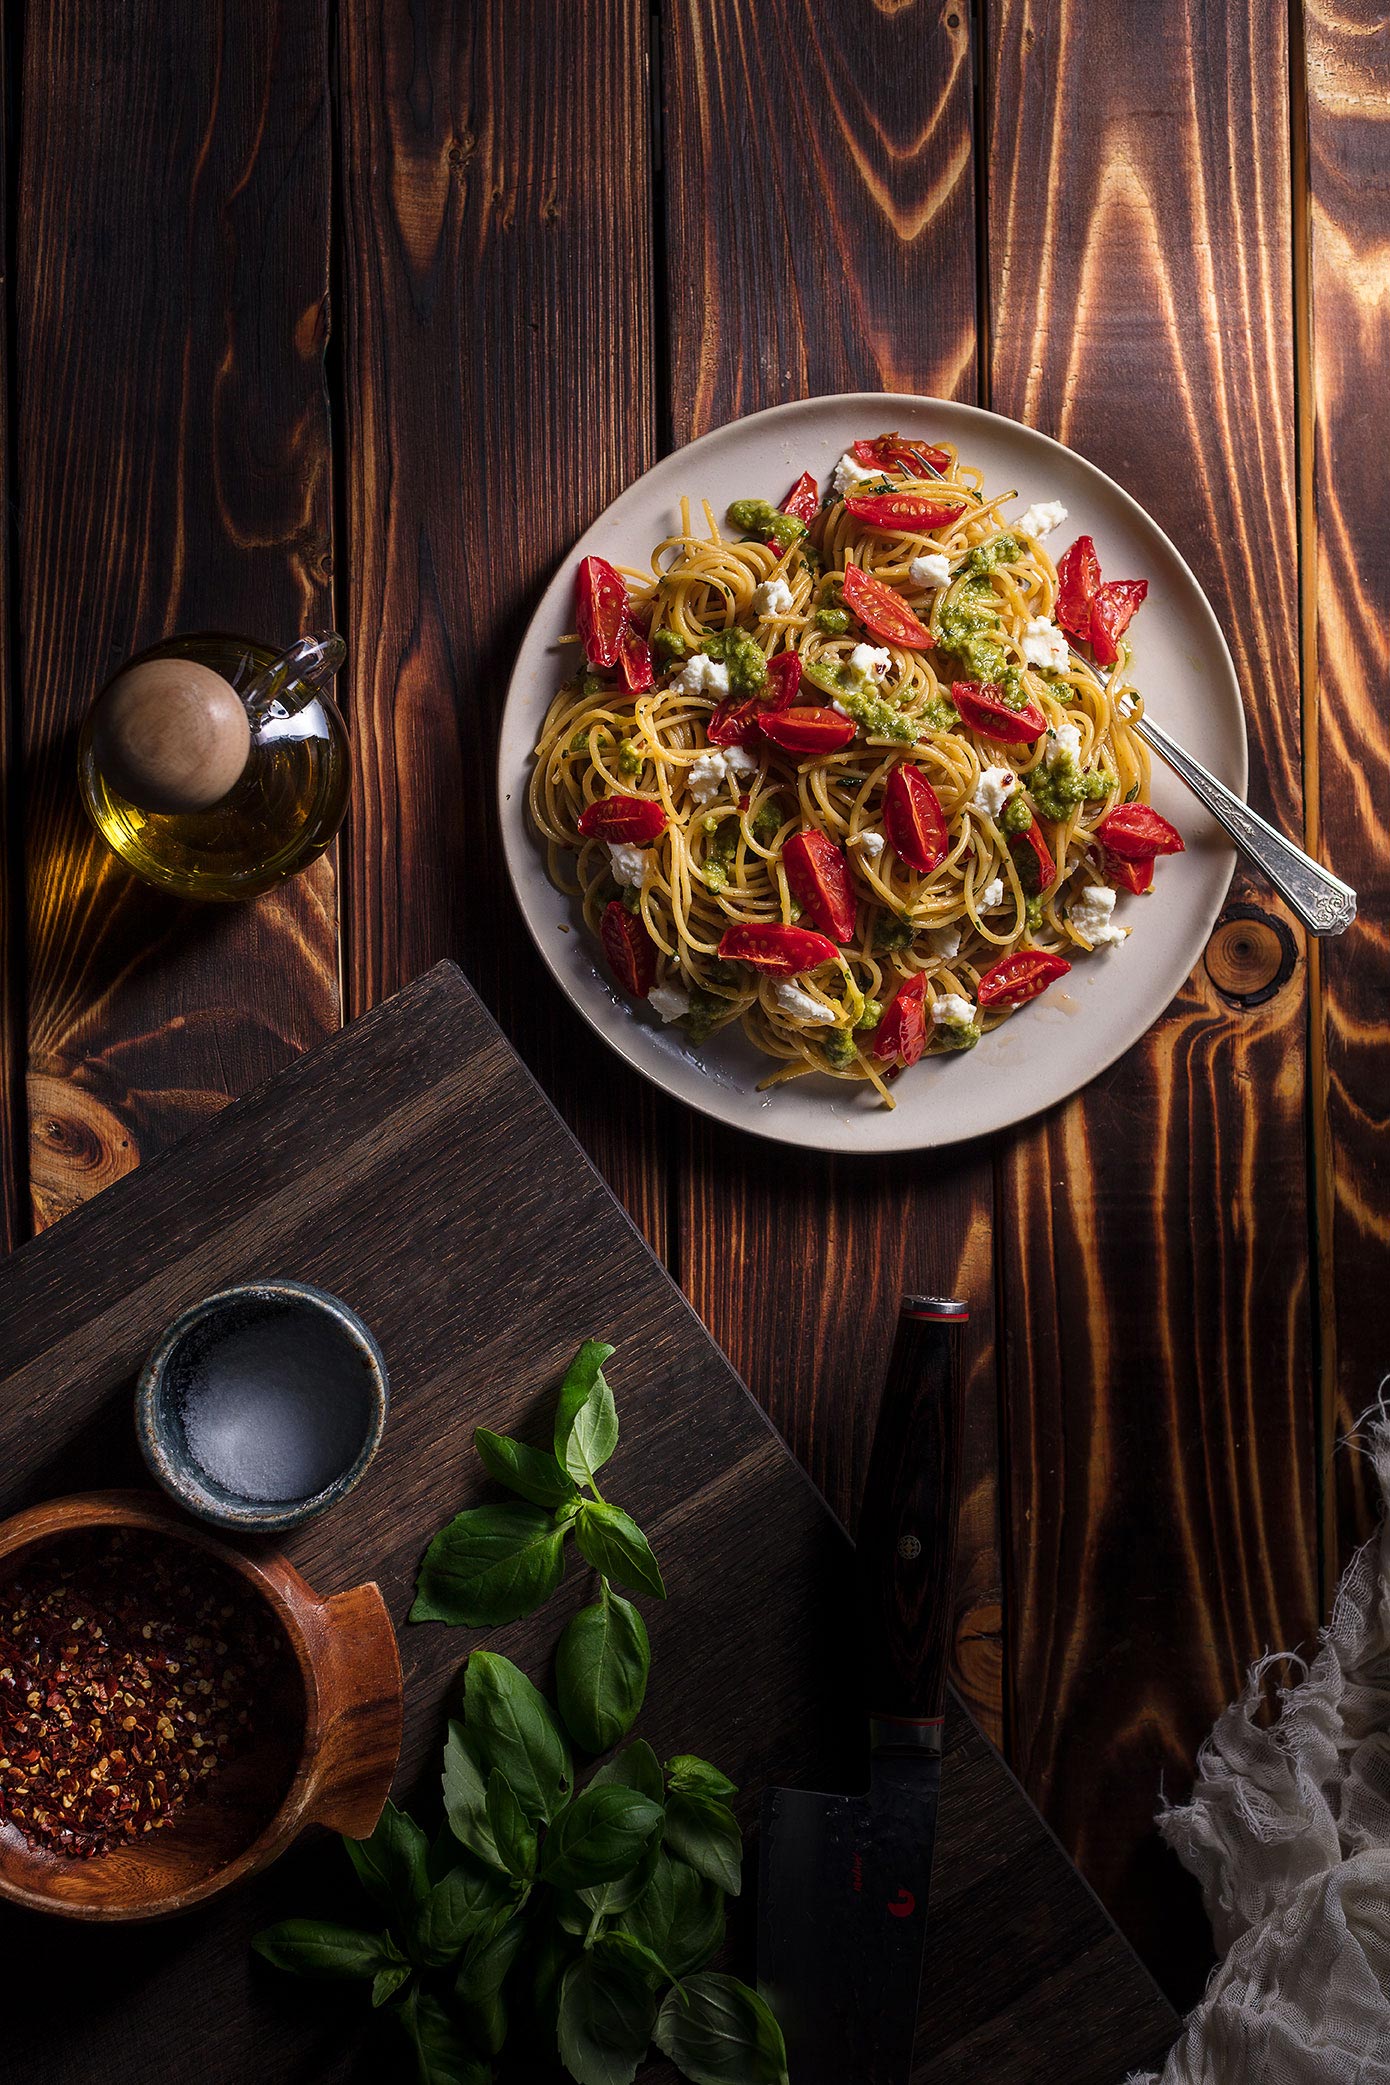
This is a great food styling trick to puff up pasta and salads. Often times when your photographing foods like pasta, when you go to style the food on the plate the noodles will fall flat. Placing a small ramekin or round bowl under the food will allow you to raise up and show off all of those beautiful ingredients in a neat little mound on the plate. This food photography trick also works for propping up ingredients in shots of soup, but I would actually recommend creating an entirely false bottom like in the trick below.
4. Two gobos equals one Beam
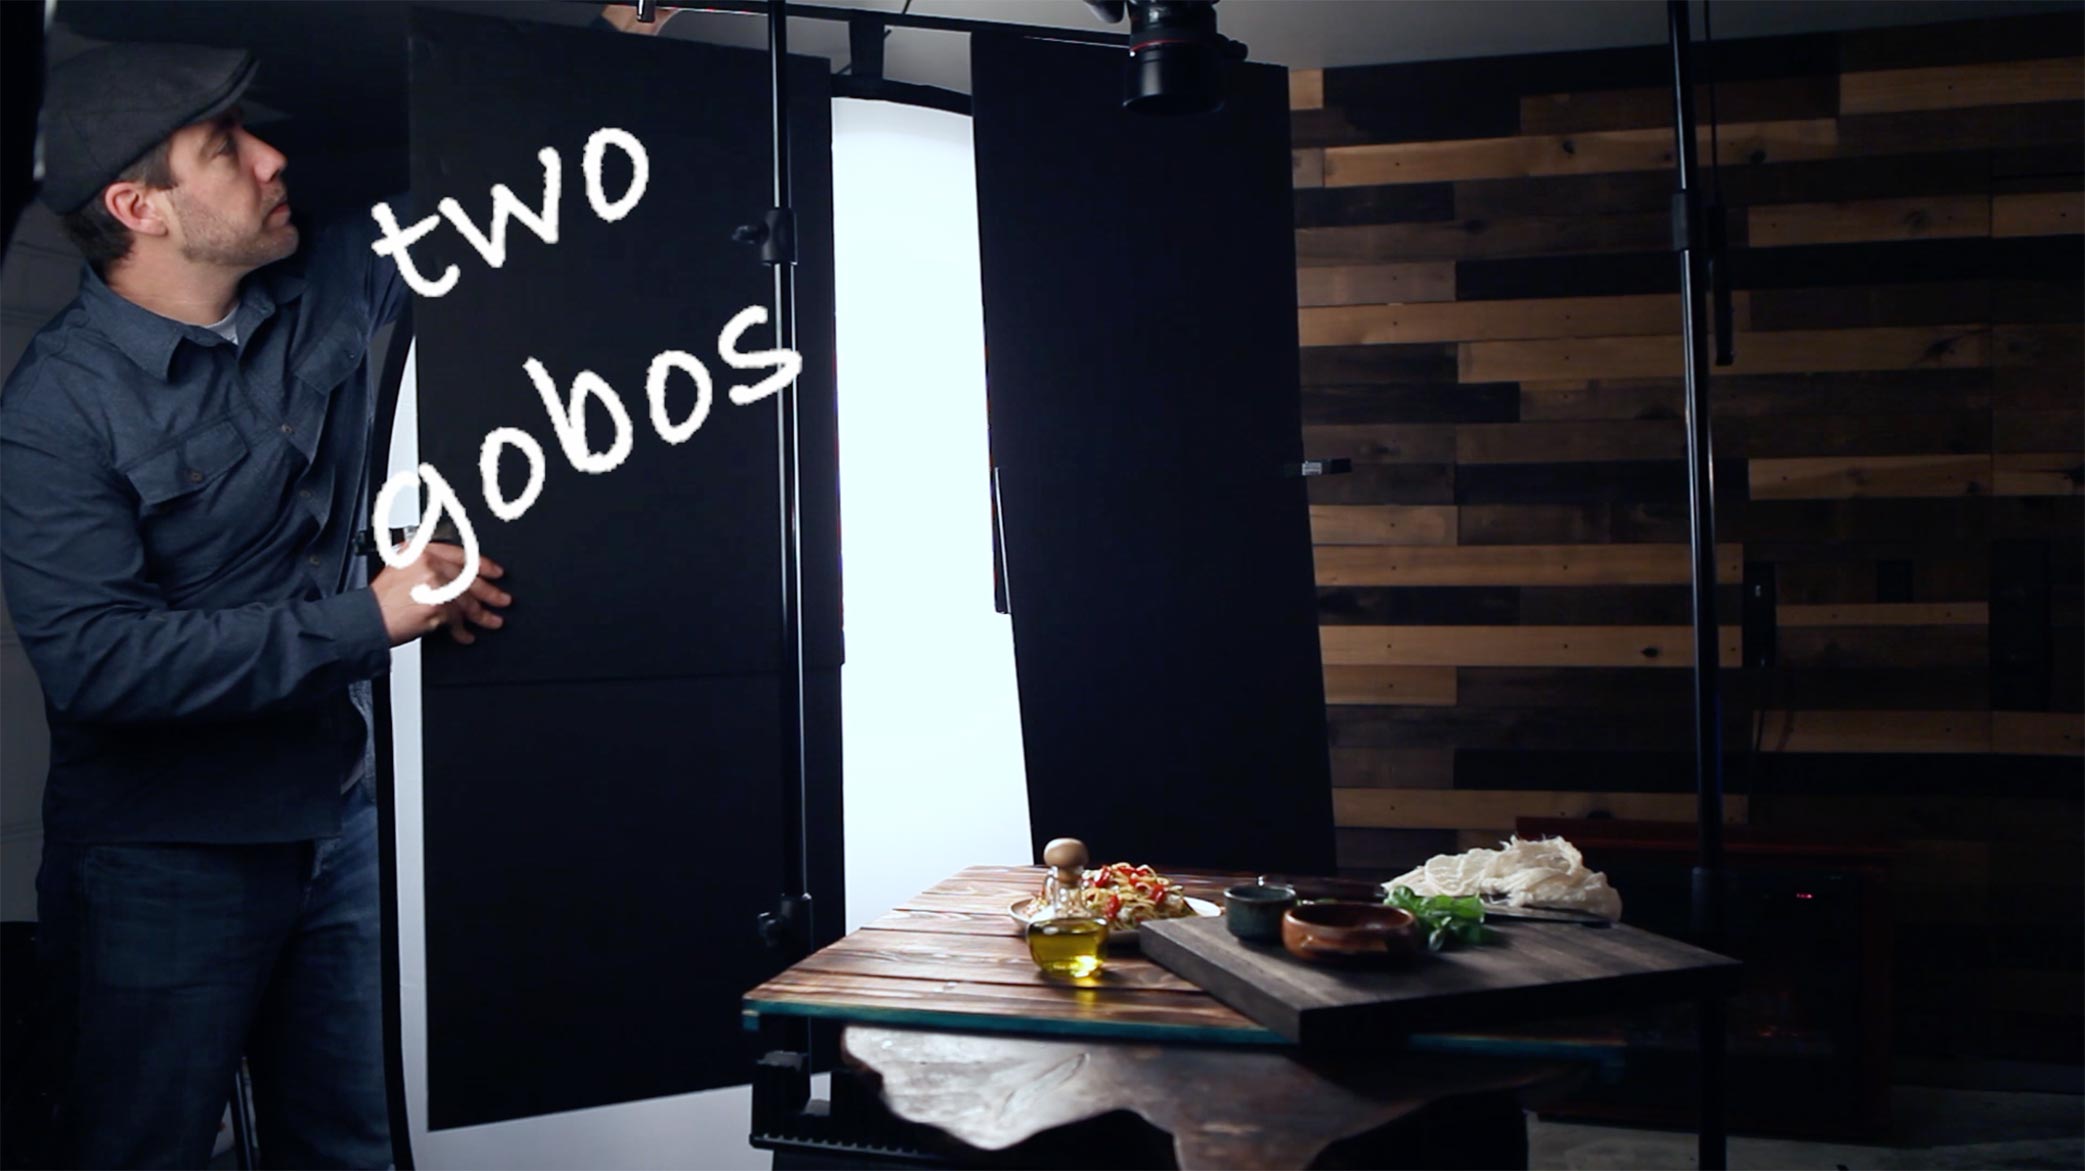
We've all seen those food images where somehow the universe has aligned to shine the perfect beam of light on a beautifully styled recipe. And because the shadows and light frame the subject, these images really well at grabbing the viewers attention. However, whether you're using natural or artificial light, it's surprisingly not that difficult to re-create.
Grab a few black foam core cards at your local craft store. By leaning these cards up against your window or hanging them from a stand you can use them as "gobos" to block the light on either side of the frame. You don't have to make the beam fall right down the center either, I prefer to make my composition first using my props and food, then once I have everything styled, I'll block the light using the cards so I have a nice beam of light framing my dish.
5. MASA! The False Bottom
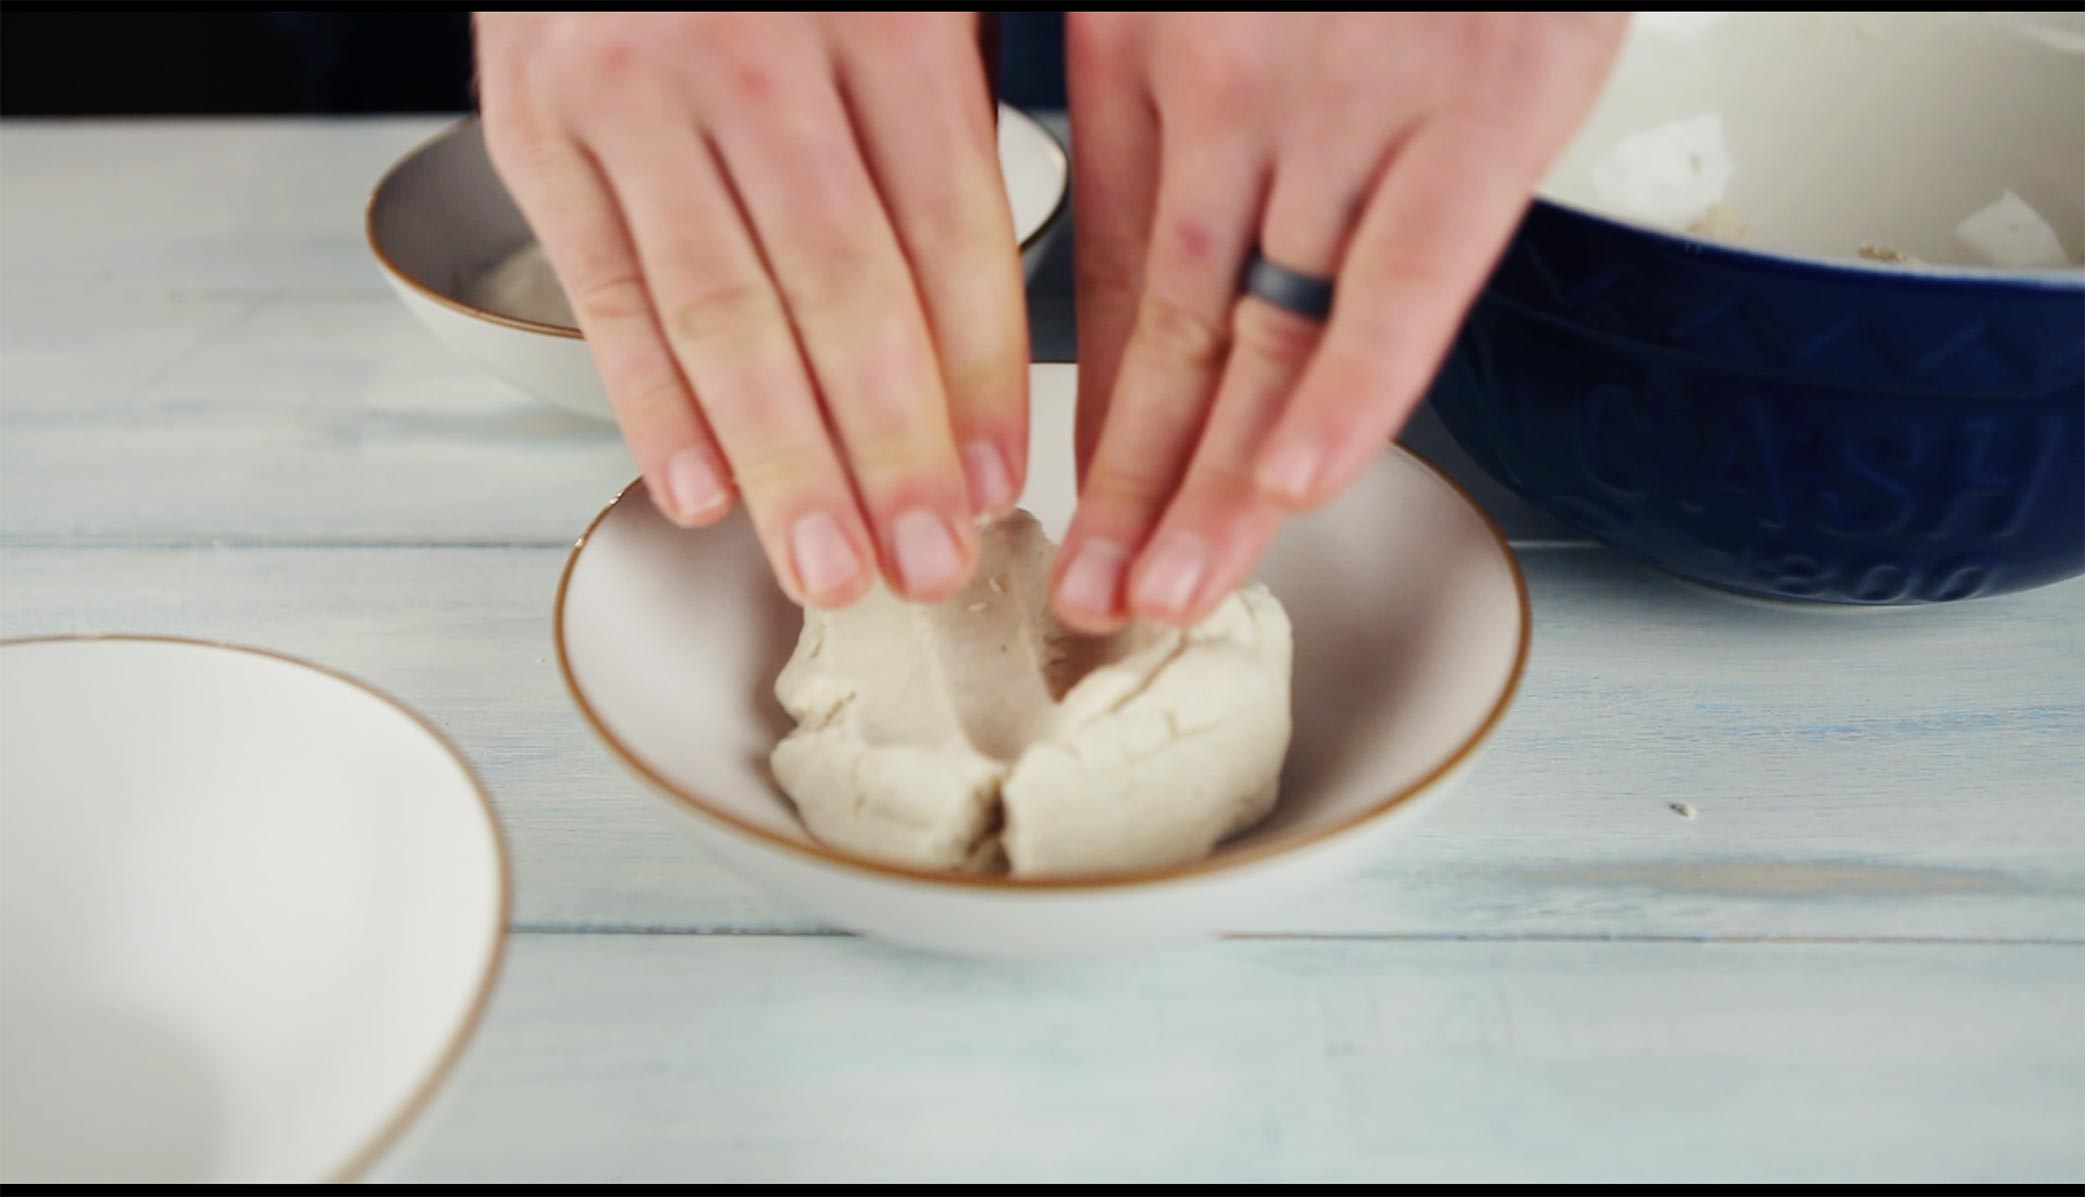
If you've tried to make a food image of soup you'll know that one of the hardest styling tricks to achieve is showing your viewer what's inside the soup. These important bits of the story sink faster than you can click the shutter! However, having your perfect ingredients and garnish resting magically in all of their glory on the top of you soup is actually really easy.
Masa to the rescue!
Use the following recipe for Masa and easily create a false bottom for you soups and stews that will not only save your ingredients from sinking, but will also save you from wasting food just to make a picture!
In a large bowl mix together by hand
3.5 cups Masa Harina (I prefer to use Maseca Instant Masa Corn Flour which you can find here)
2 cups Water
Once the masa dough comes together and you can remove it from the bowl, take chunks of the dough and start pressing it into the bottom of your props to form the false bottom. The masa's thickness and density will allow the soup to rest on top saving you from having to fill the entire bowl, cup or pot. The masa will also create a nice little pad to stick and rest ingredients on. In my opinion it's probably one of the best food photography tricks out there.
There are so many uses for masa in food photography. Soups, salads, cups of hot coco with marshmallows basically any situation where you would not normally see the bottom of the prop and you would like to not only save on food, but have ingredients carefully rest in place.
6. The Perfect Pour
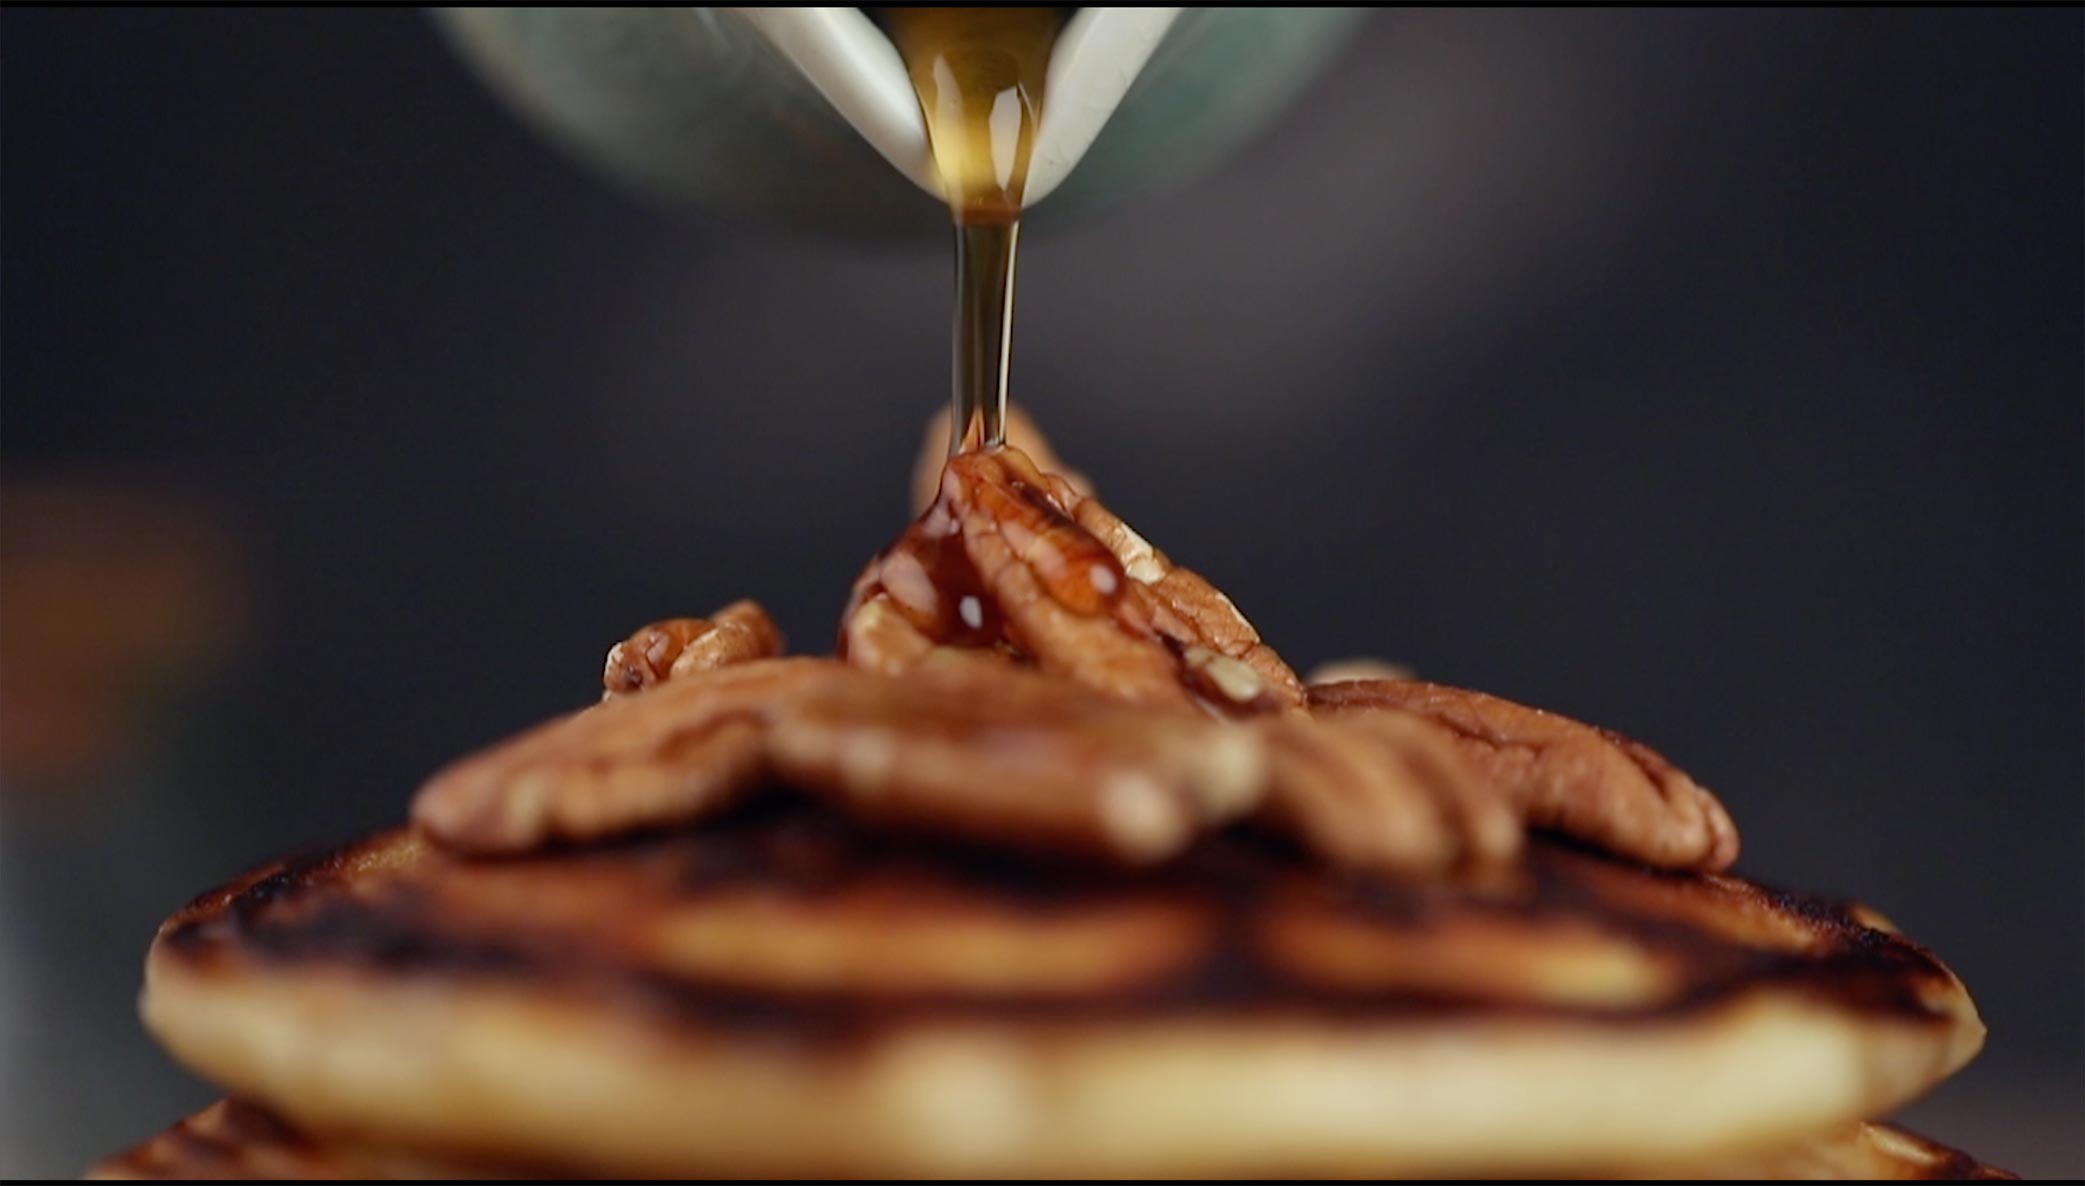
This is probably one of the most sought after food photography tricks around. Getting the perfect pour shot can not only be extremely messy, but almost nearly impossible. Although, with a little planning an the use of Photoshop you can nail this shot every time.
Using the same method as in Trick #2 lock your camera down on a tripod and follow these steps.
Step 1: Start off by photographing your food using a tripod before you pour if you would like just a single pour in the image (for example, milk in a bowl of cereal or dressing on a salad)
Step 2: With each pour take an image until you have the perfect one, don't worry about making a mess or ruining your styling as you should already have that nice image from step 1.
Step 3: Using Photoshop, drag the perfect pour shot on to the shot sans pour, create a layer mask and using your brush tool, mask the two images together.
Done! Now you have an unbelievable pour shot that will make your viewers drop their jaws in awe.
Be sure to check out all of the other great tutorials on the WeEatTogether YouTube Channel HERE!
Thrive Leads Shortcode could not be rendered, please check it in Thrive Leads Section!