
Flat lay photography amazes us on Instagram and Facebook daily. They have taken the internet by storm and have graced the pages of cookbooks and magazines for years. And they are simple to make!
Flat lay photography can be super complex with loads of props on beautifully crafted food photography backdrops. Or it can be just the dish a few sprigs of rosemary and lots of negative space.
The Flat lay gives us a graphic camera angle, and with a little creativity you can turn what might be an ordinary photo into a work of art.
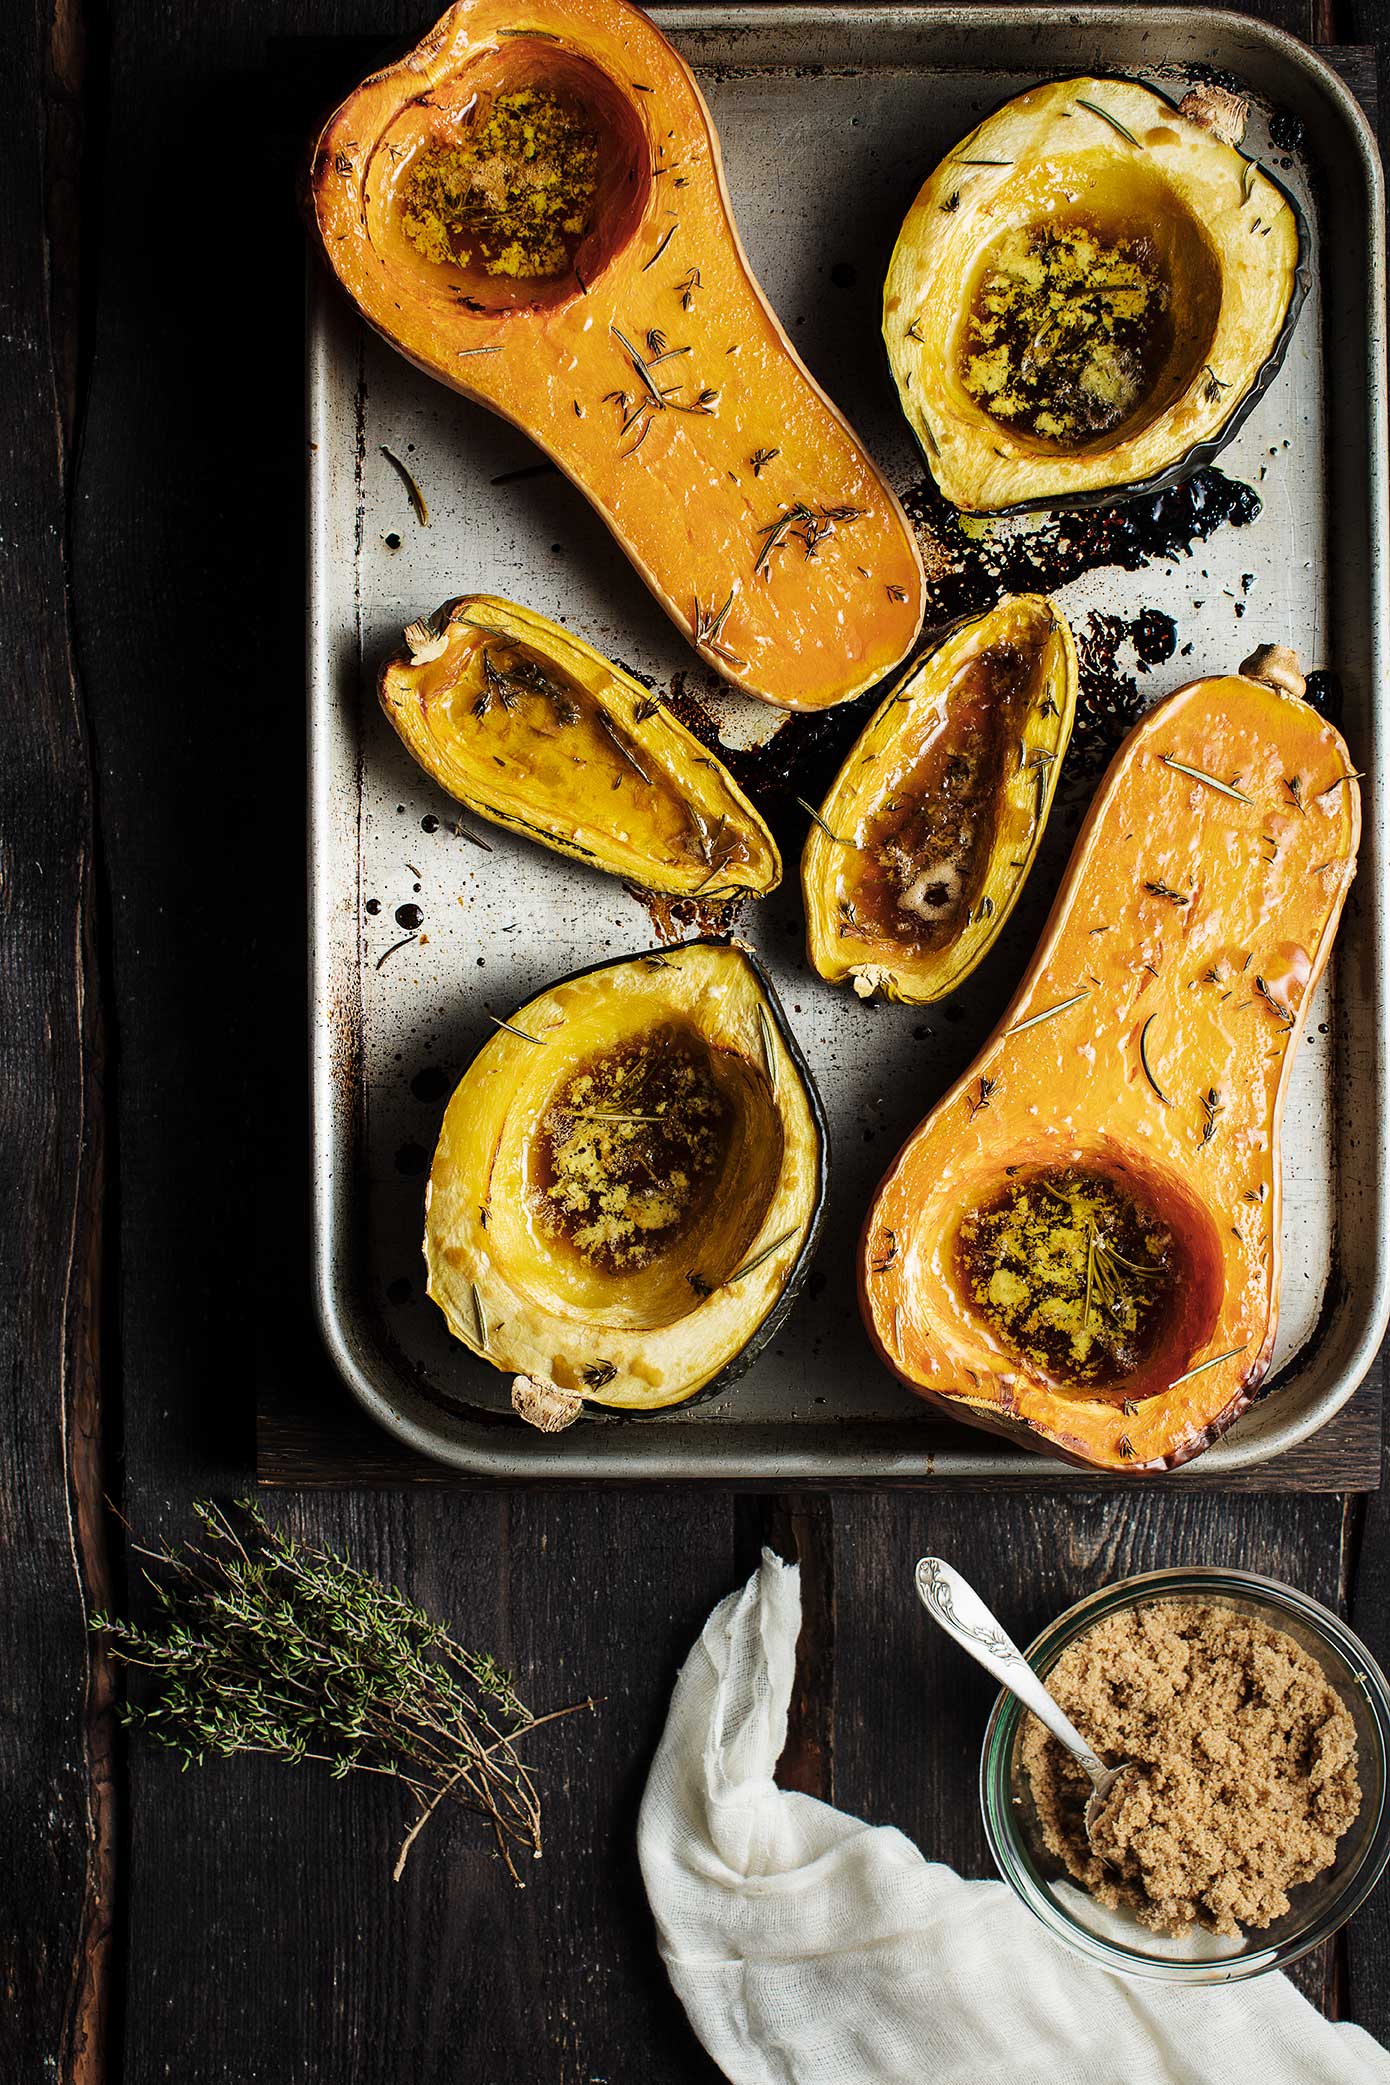
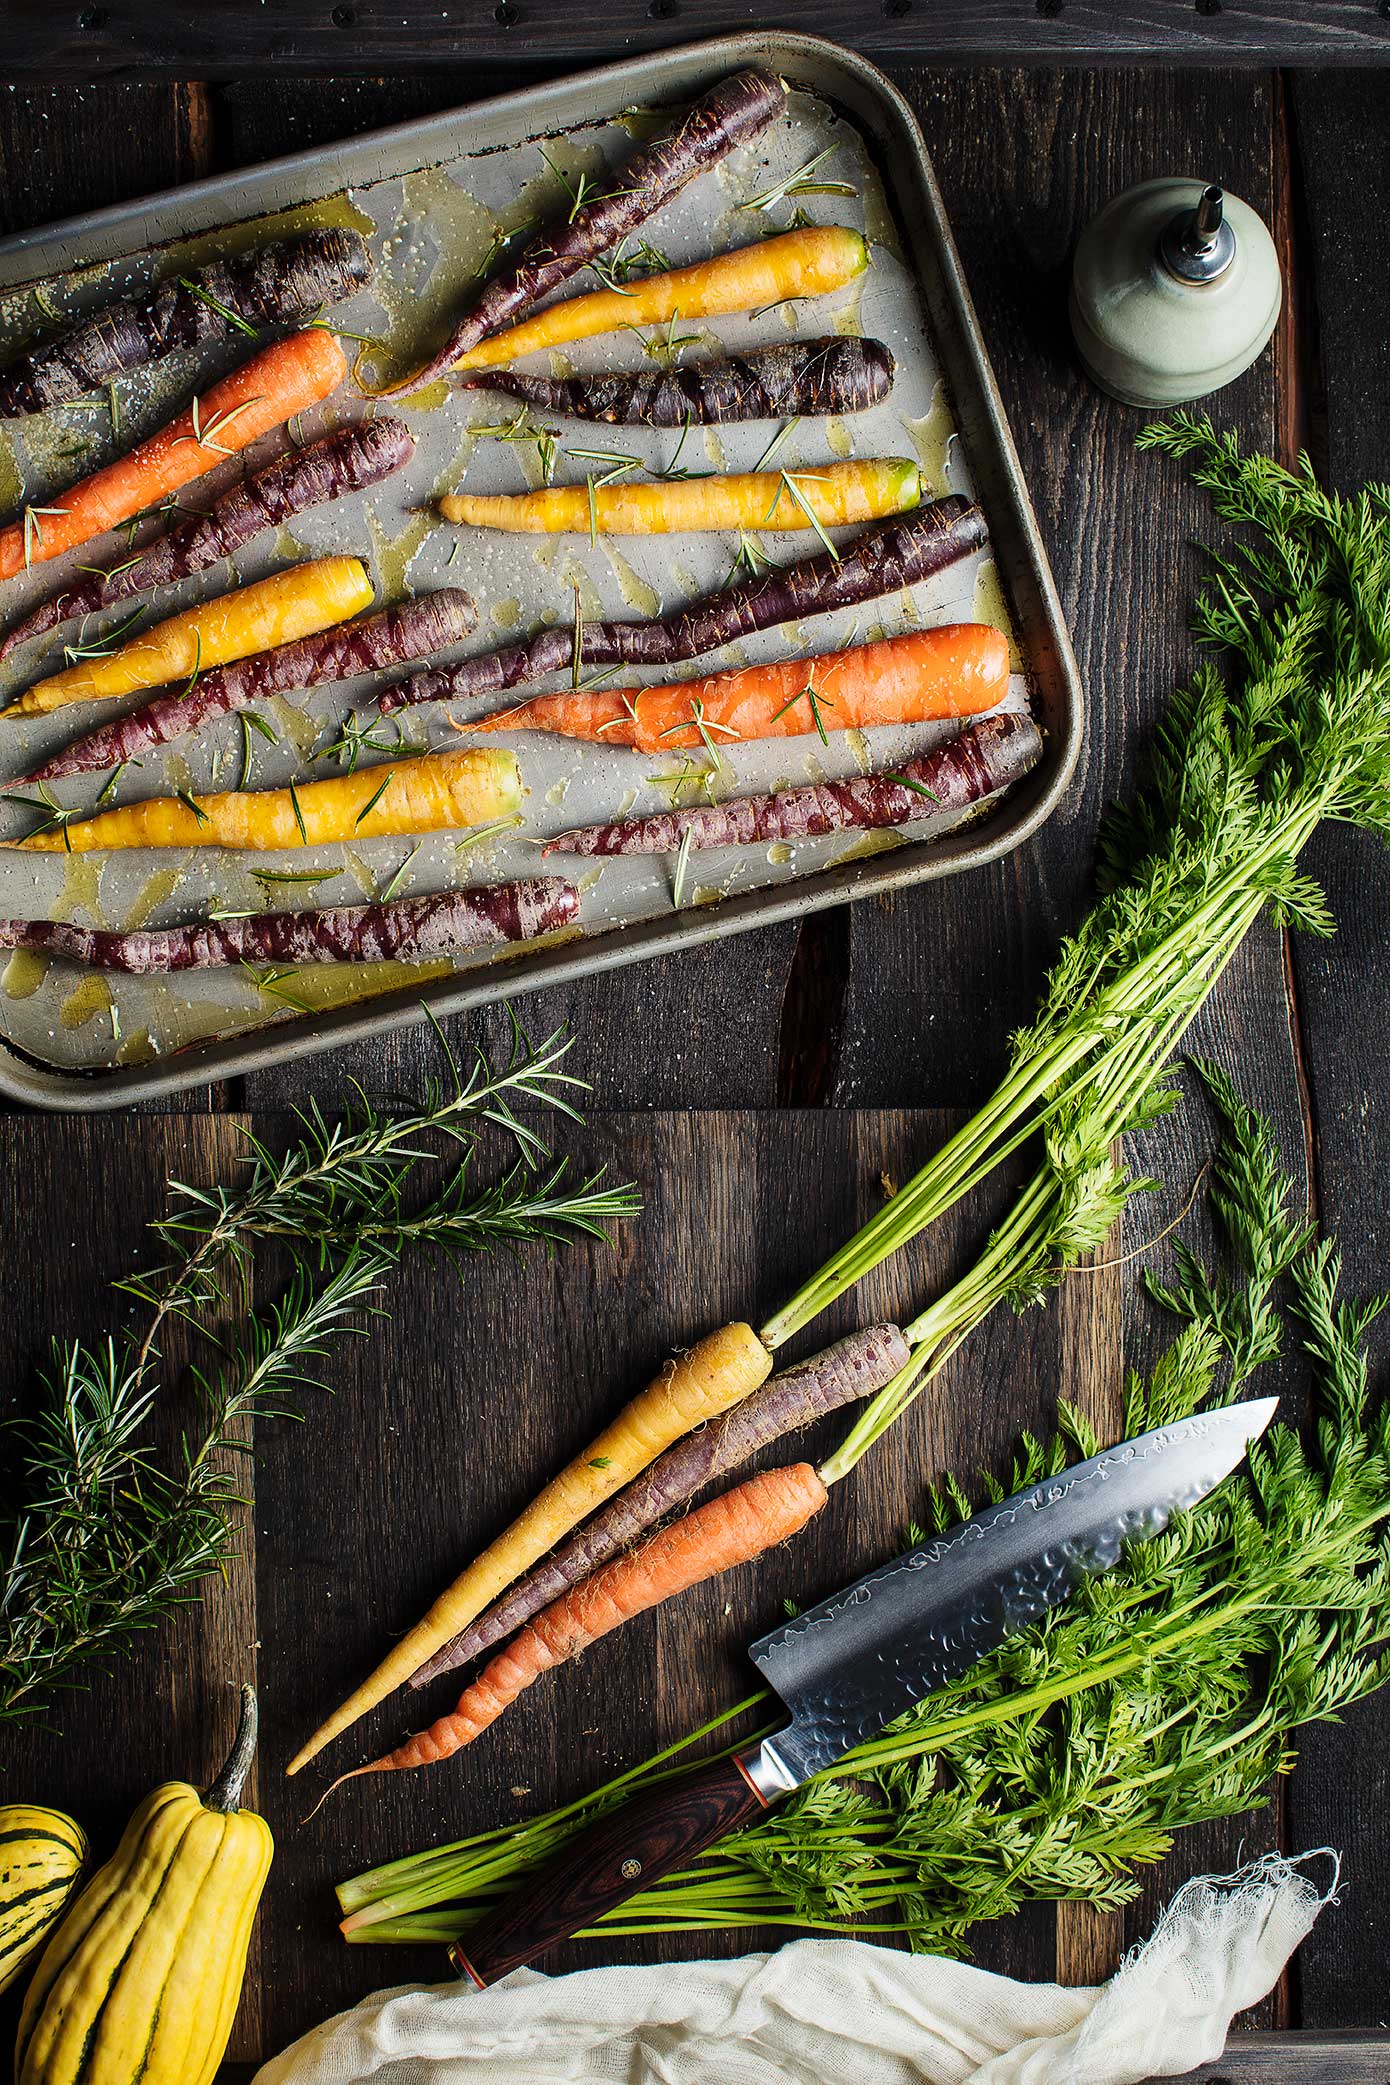
How To Easily Create Amazing Flat Lay Photography
1. Pick Your Backdrop
The backdrop you pick is really important. With the flat lay camera angle it is the foundation of your story. I have some good tips for picking out the perfect food photography backdrop here, basically you'll want one that compliments your food.
Find a background that has texture and character. A healthy balance between rustic and clean.
Stick to cooler tones that will make the food fresh where the colors pop with contrast.
Some important things to look for in backdrops for flat lay photography is the construction. Look for ones that are waterproof and stain-proof. A lot are not. It really is a bummer when your messy food shoot destroys your background.
2. Have A Focal Point And Make An Artful Composition
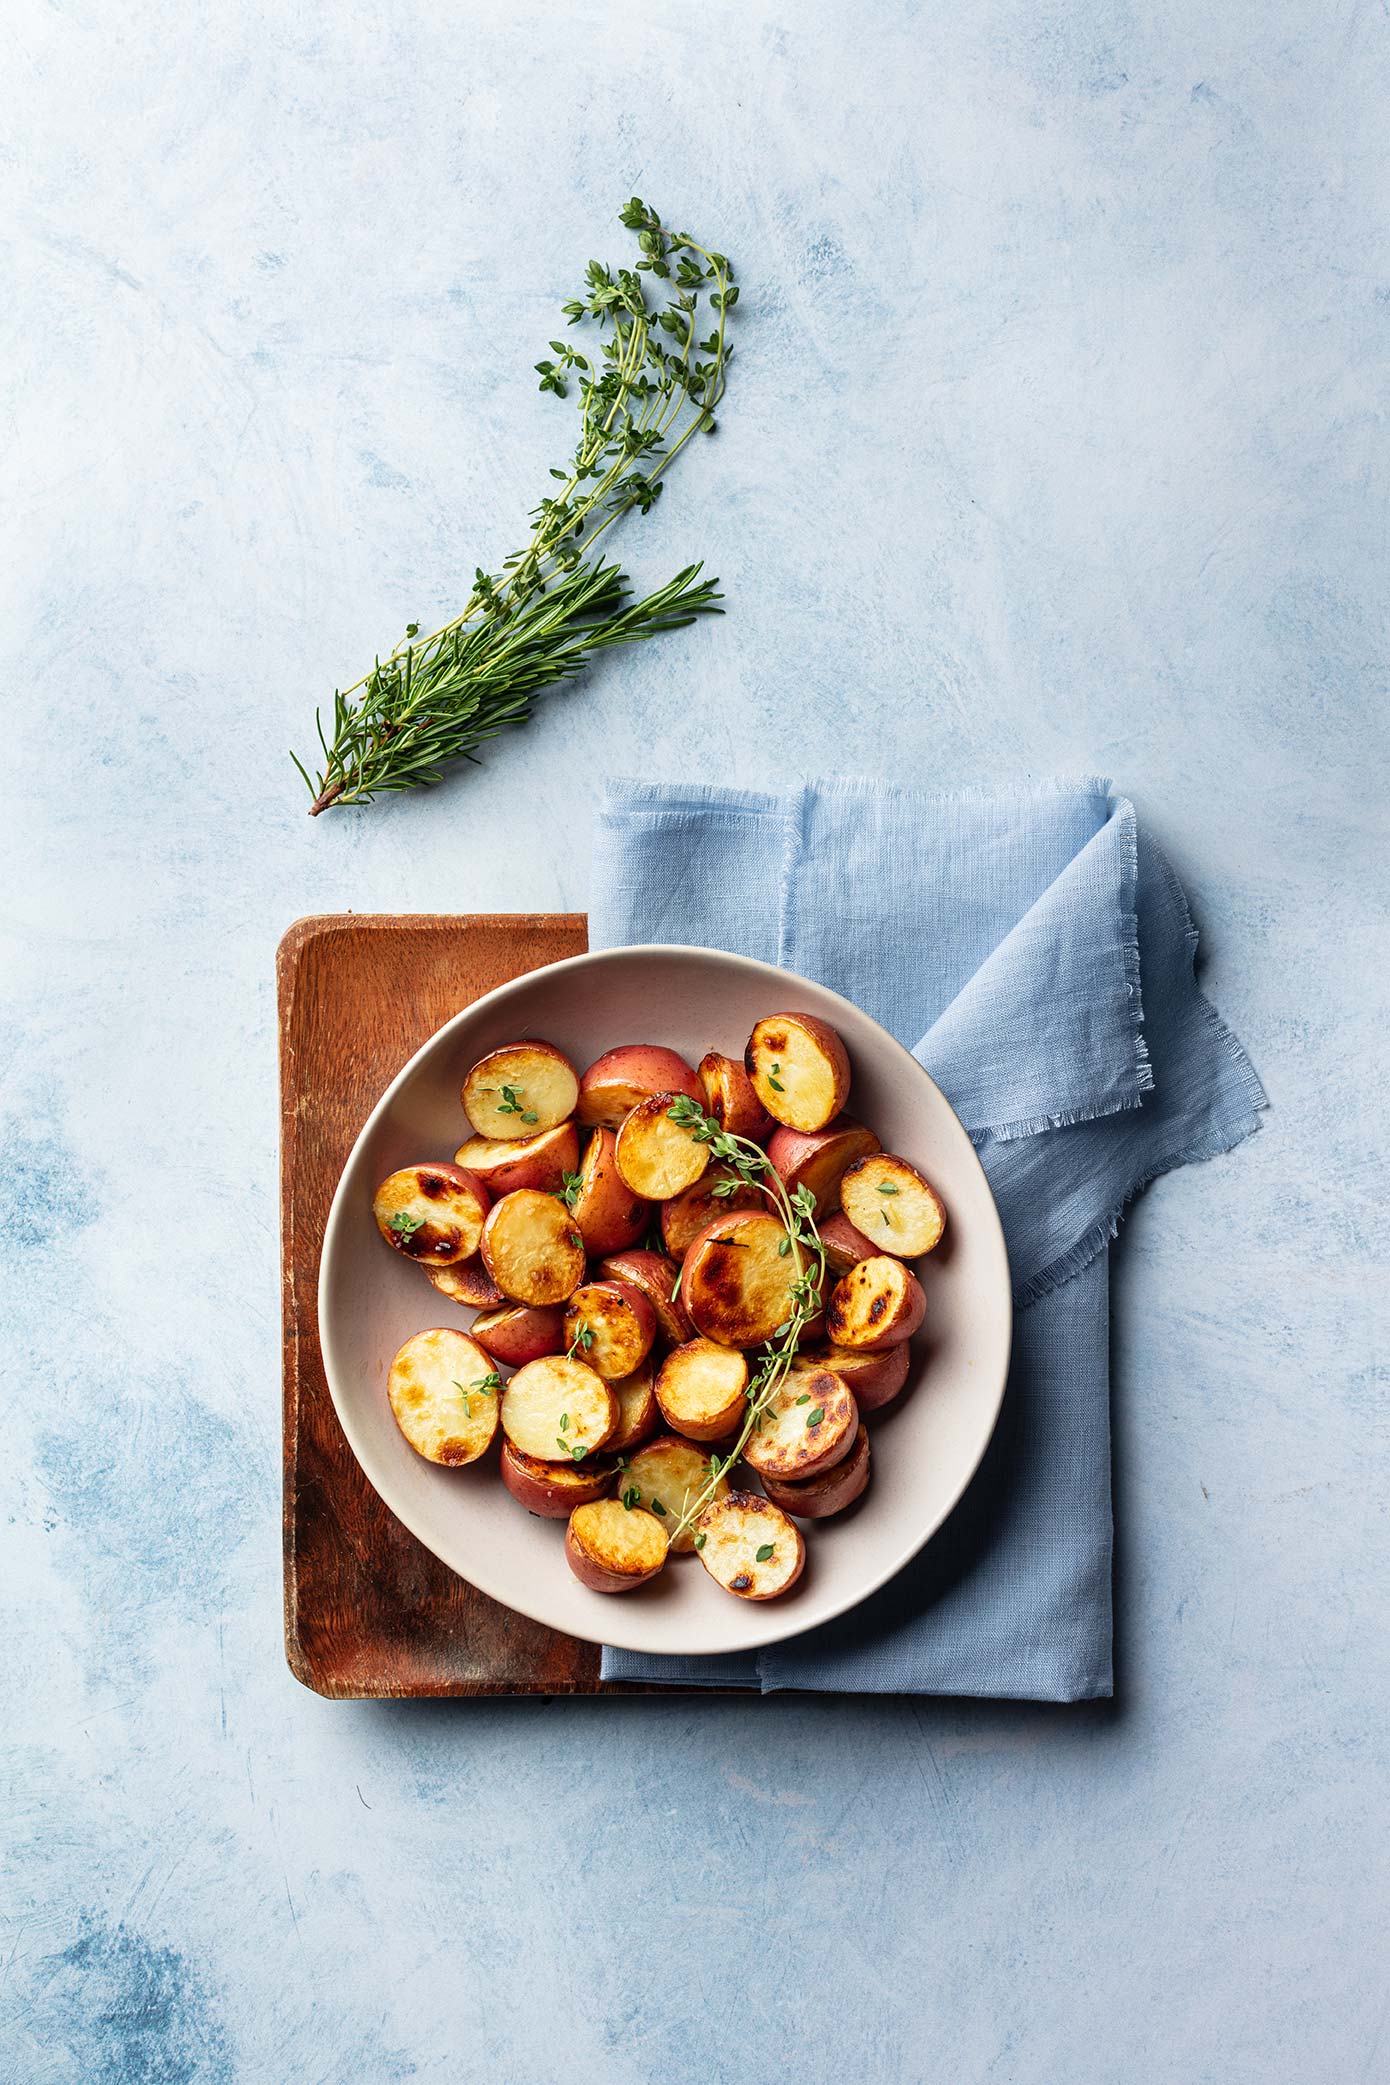
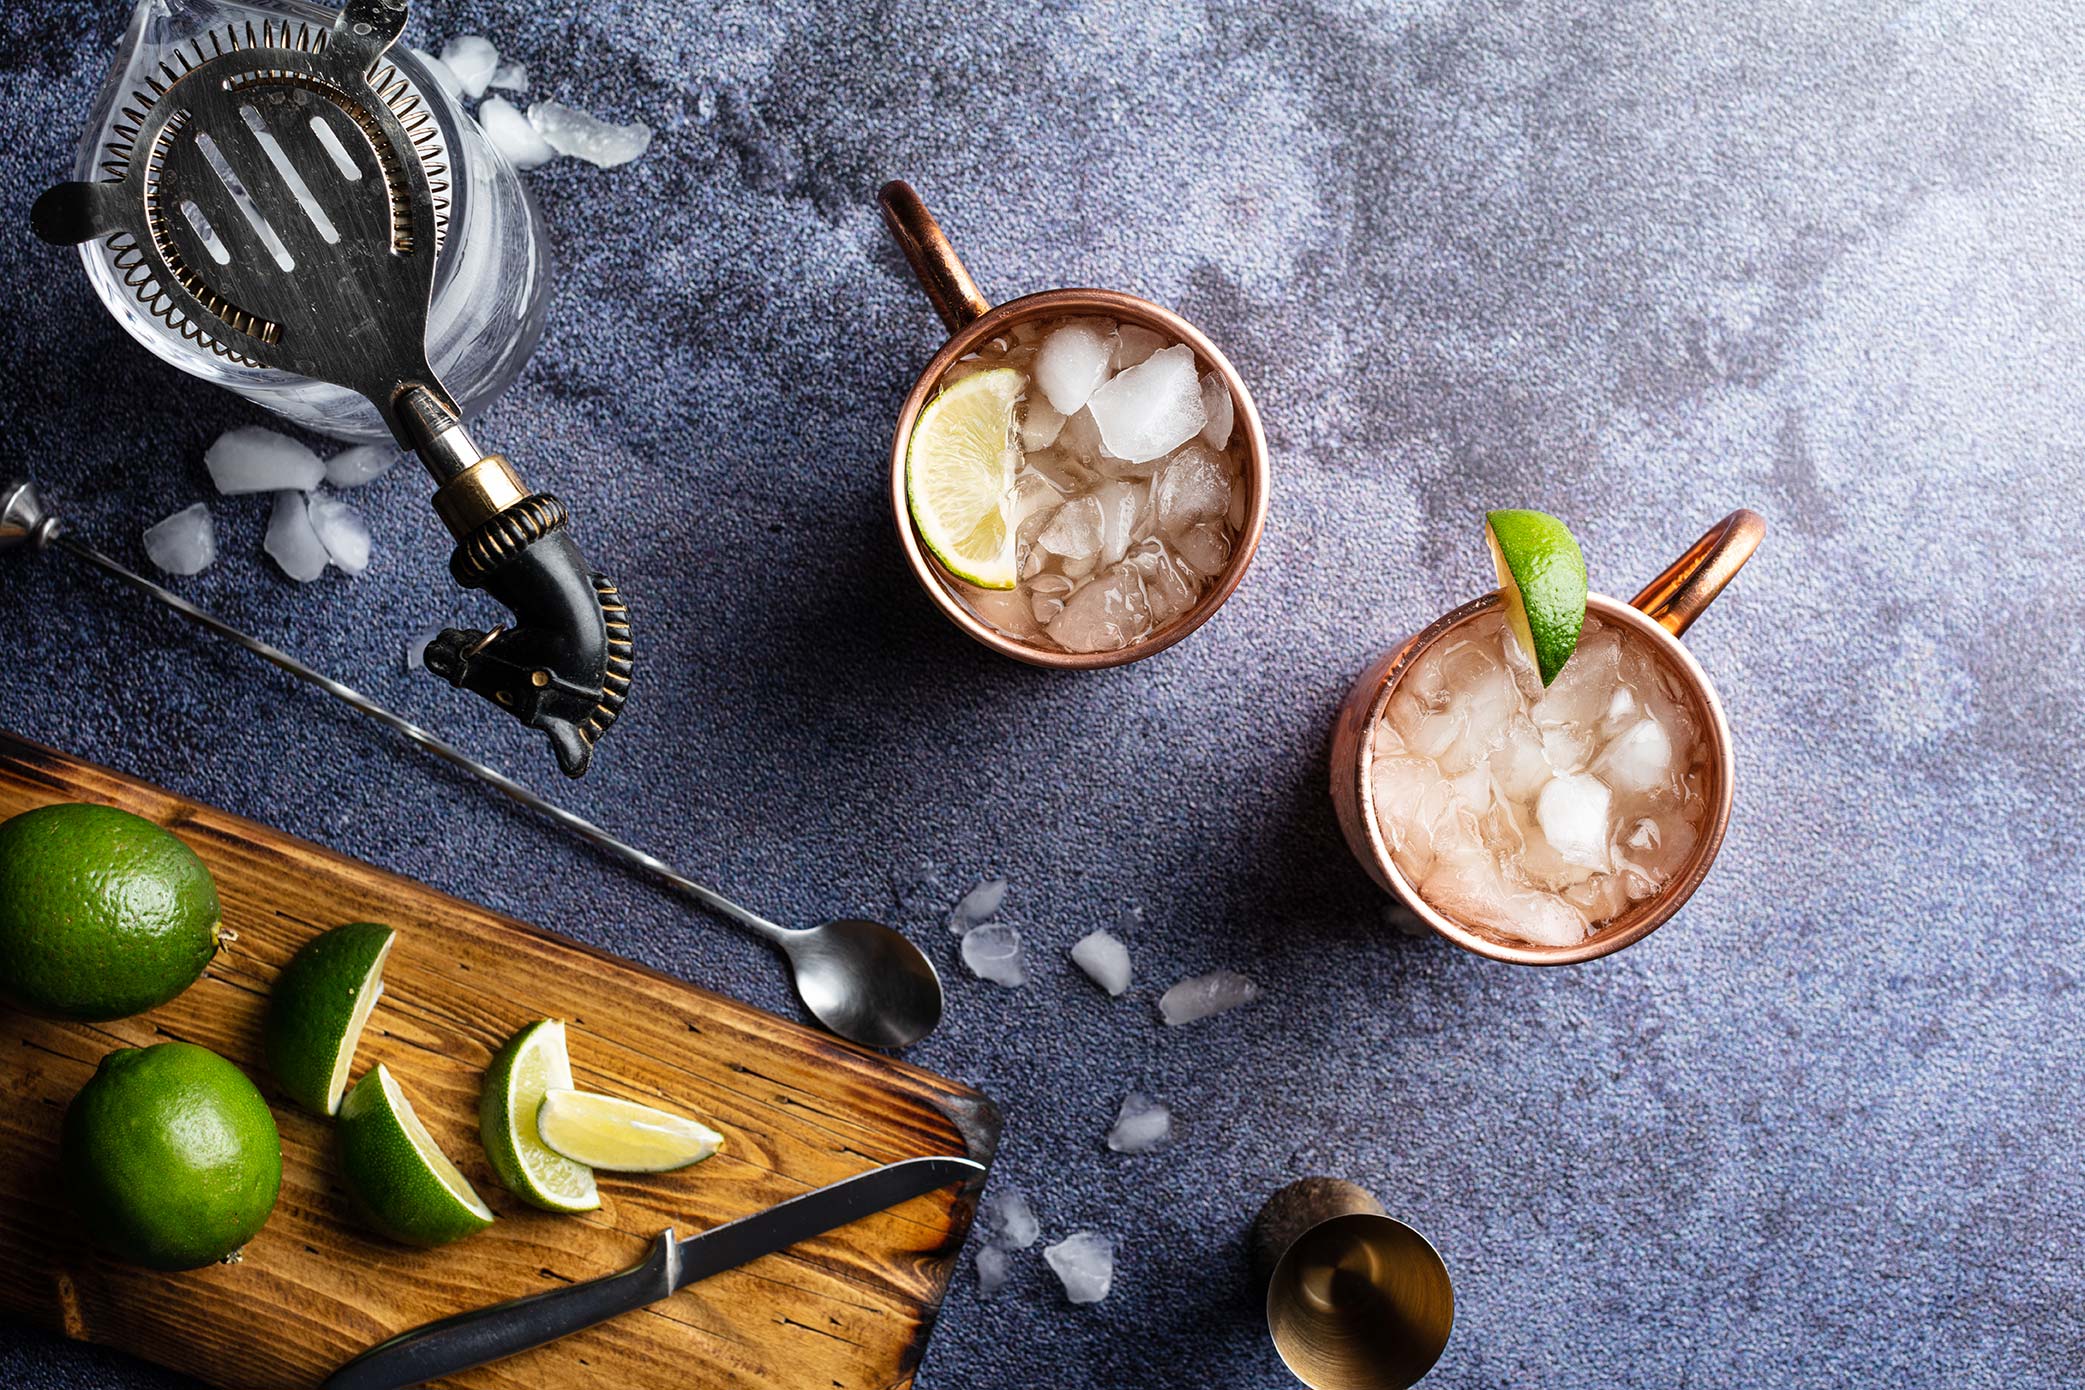
Improving your composition will really raise your food photography to the next level. The flat lay was made for it. Use props and food to create leading lines that move the viewer's eyes to your subject.
Don't get too carried away with the props, you need a focal point. A subject that stands out as the hero. Use all of those great props to lead and support your subject, but don't let them steal the show.
Leave negative space to give importance to your subject, which later you can fill with some nifty text.
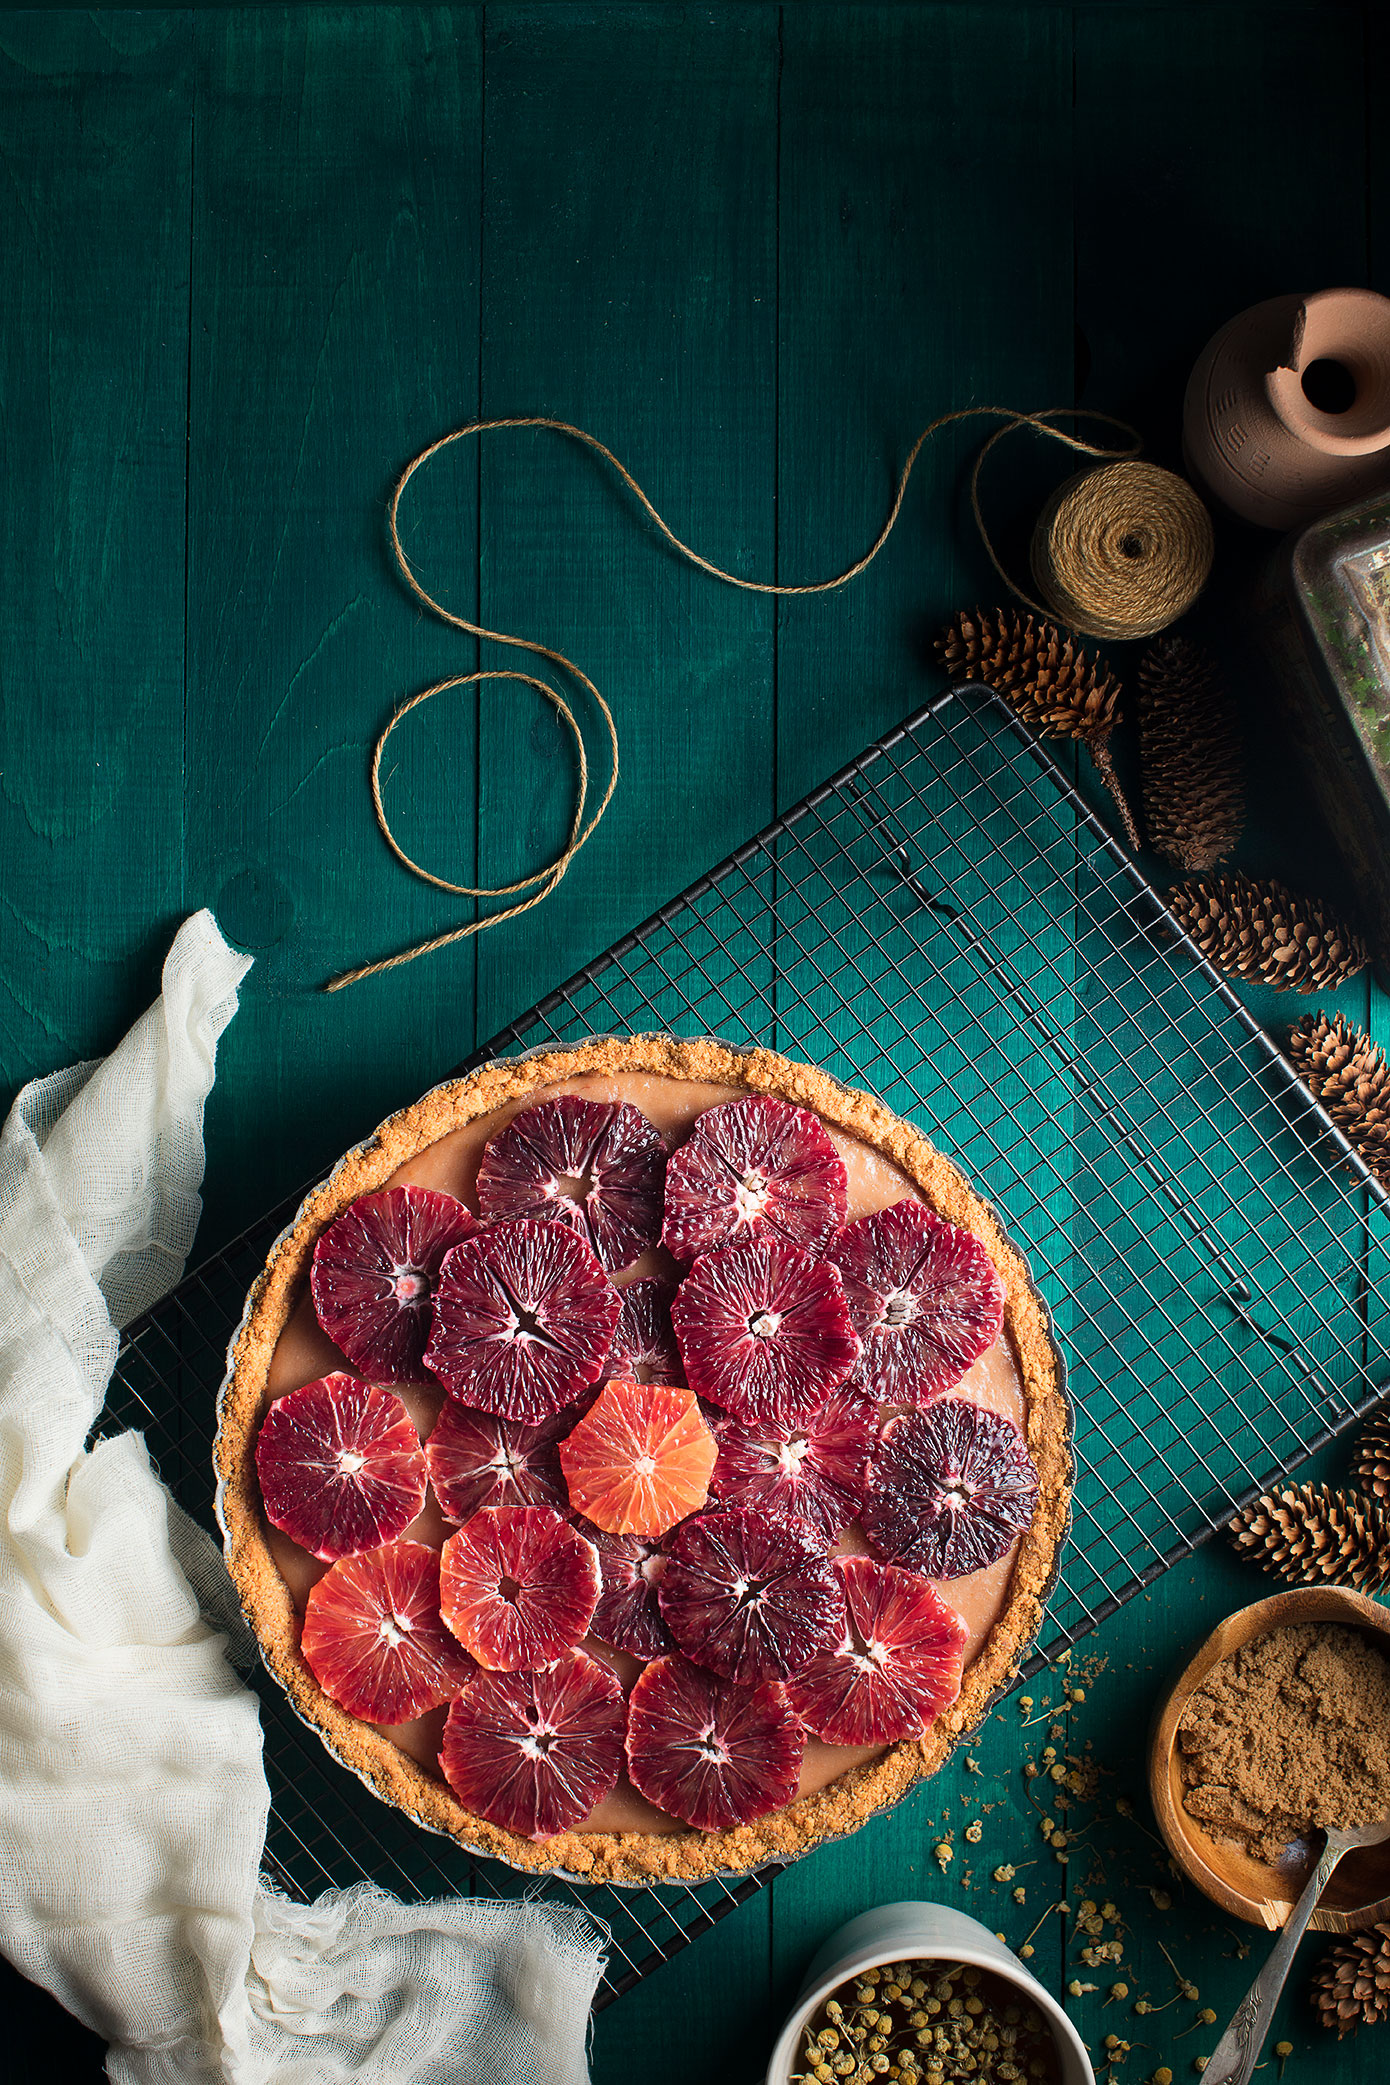
Keeping balance to your image is a little more difficult. Make sure not to have one side of the image holding all the food and props. Try spacing larger objects opposite from each other.
Dominate colors can tip the scales of balance in your composition as well. If you have a prop with a strong vibrant color, try adding popping a little slice of that color elsewhere in the photo.
3. Add The Human Element
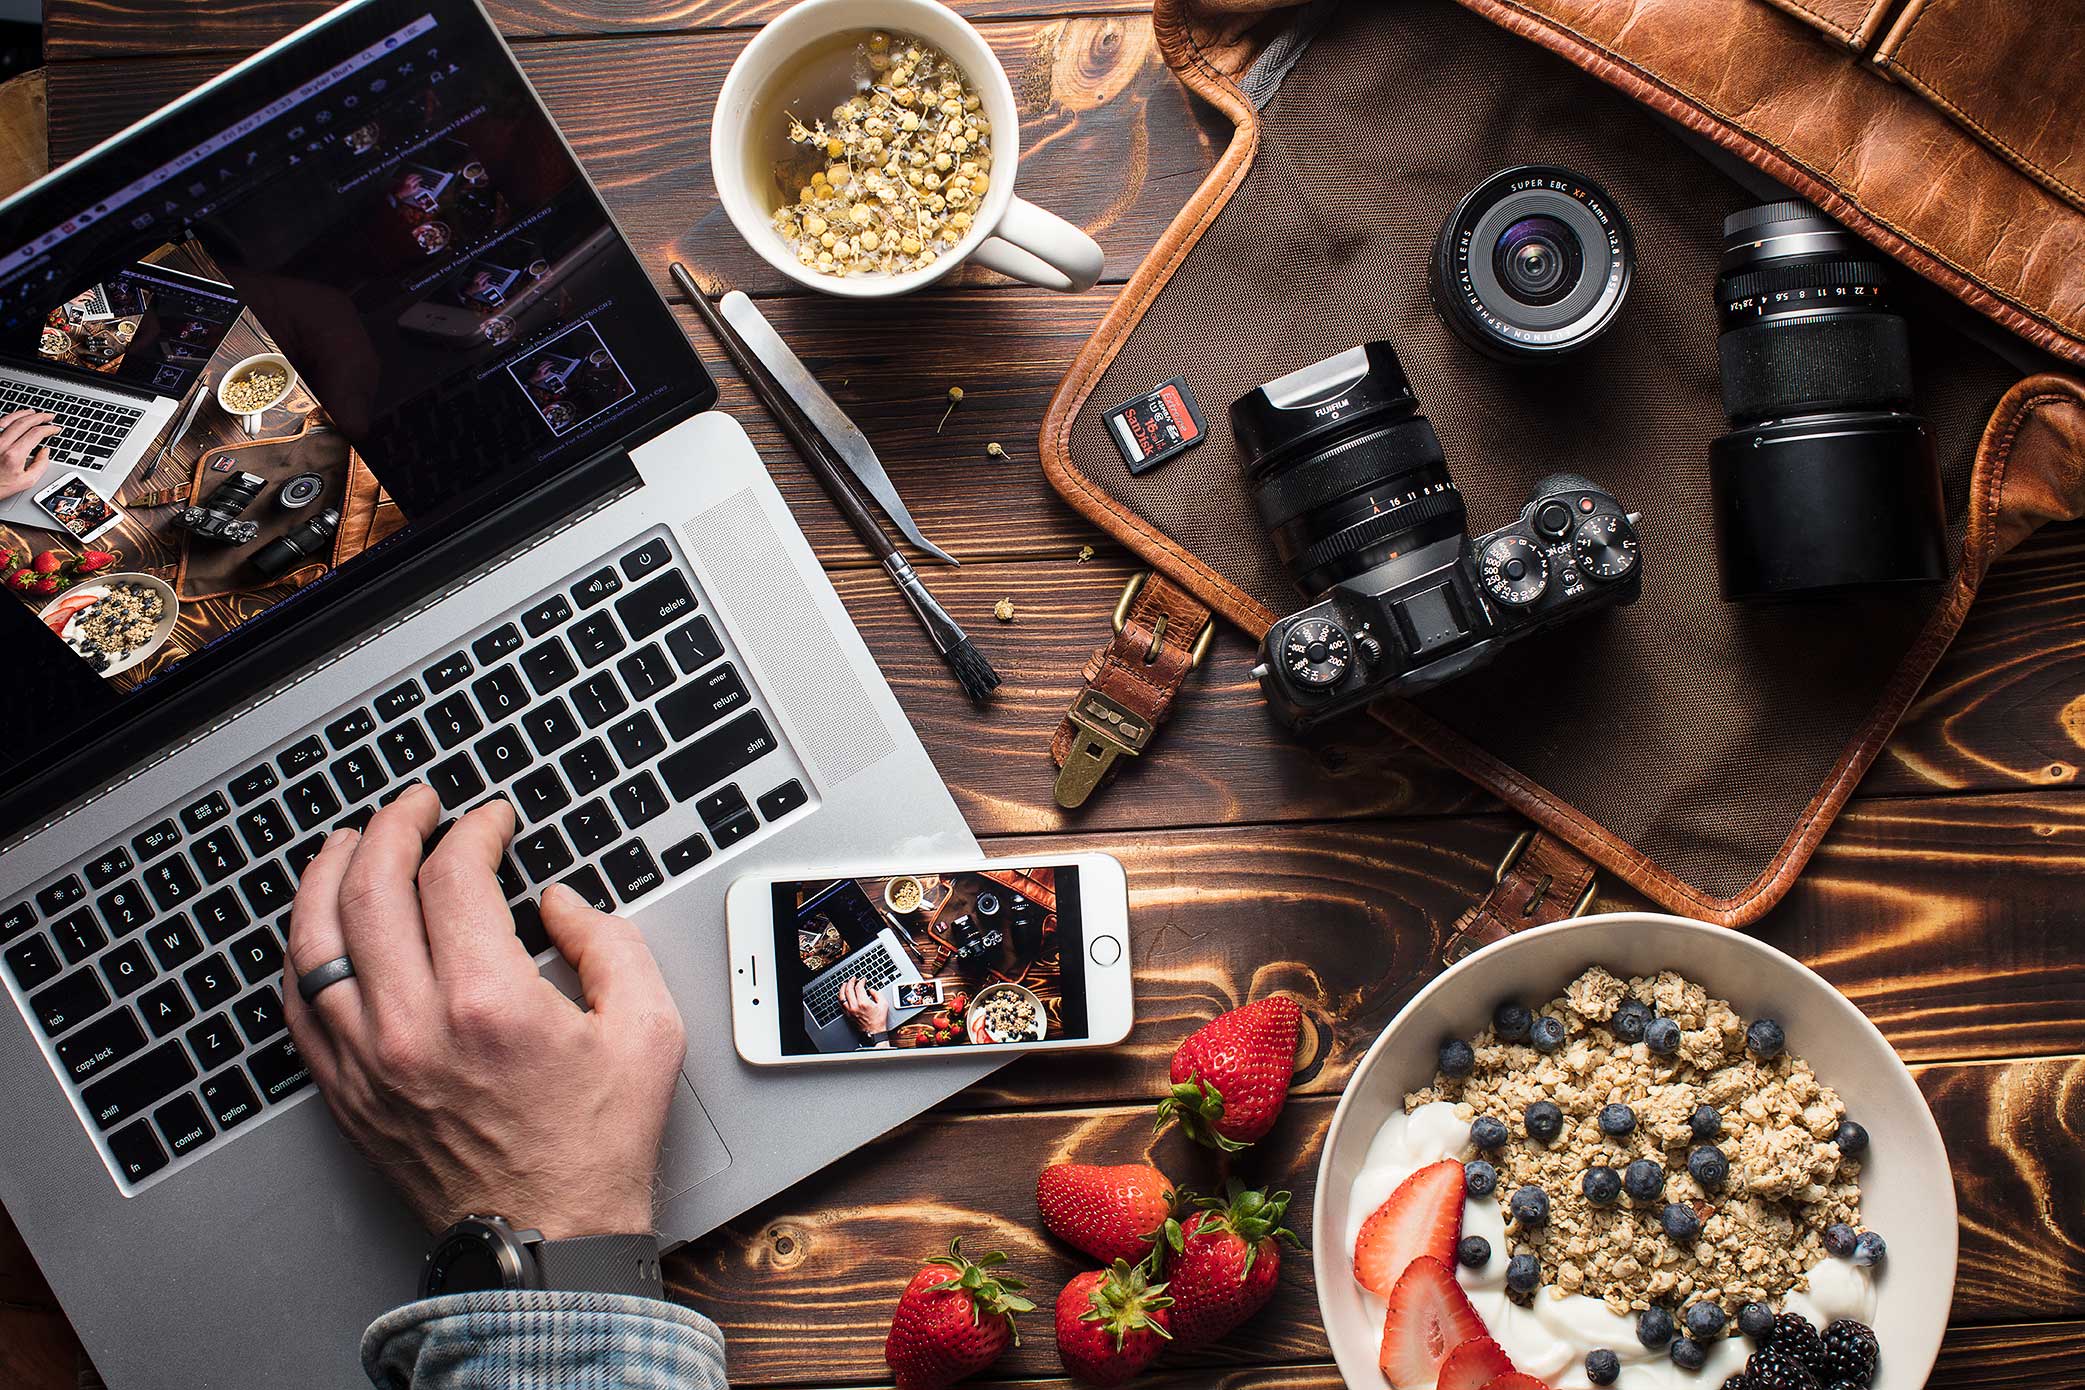
Adding that human touch is a great way to spice up your flat lay. We eat with our eyes first, so it only make sense to throw some hands into your photos.
Stirring, mixing, slicing, and chopping there are a ton of actions that make for great food photography. Try staging your scene first, and once everything is set it's time to put your hands to work.
I think it also helps us relate to the image more. We all want to imagine ourselves in the image, and even a little human element brings us in.
Don't have a model? Then use yourself, it's easy. The next tip will show you how.
4. Get The Perfect Flat Lay Camera Setup
A lot of you might already have a lot of this photography equipment lying around. I've put this video together showing you how to easily set it up.
You can see this flat lay setup throughout my Food Photography Masterclass and in most of the tutorials I post.
At the bottom of this post I've listed out each piece you need to make the perfect flat lay photography setup happen.
Currently, with the brands I’ve listed in this video, the setup will cost you less than $500. Each of these items will last you a lifetime.
However, there are cheaper brands for most of this equipment, so you could get all of this for less than a good tripod.
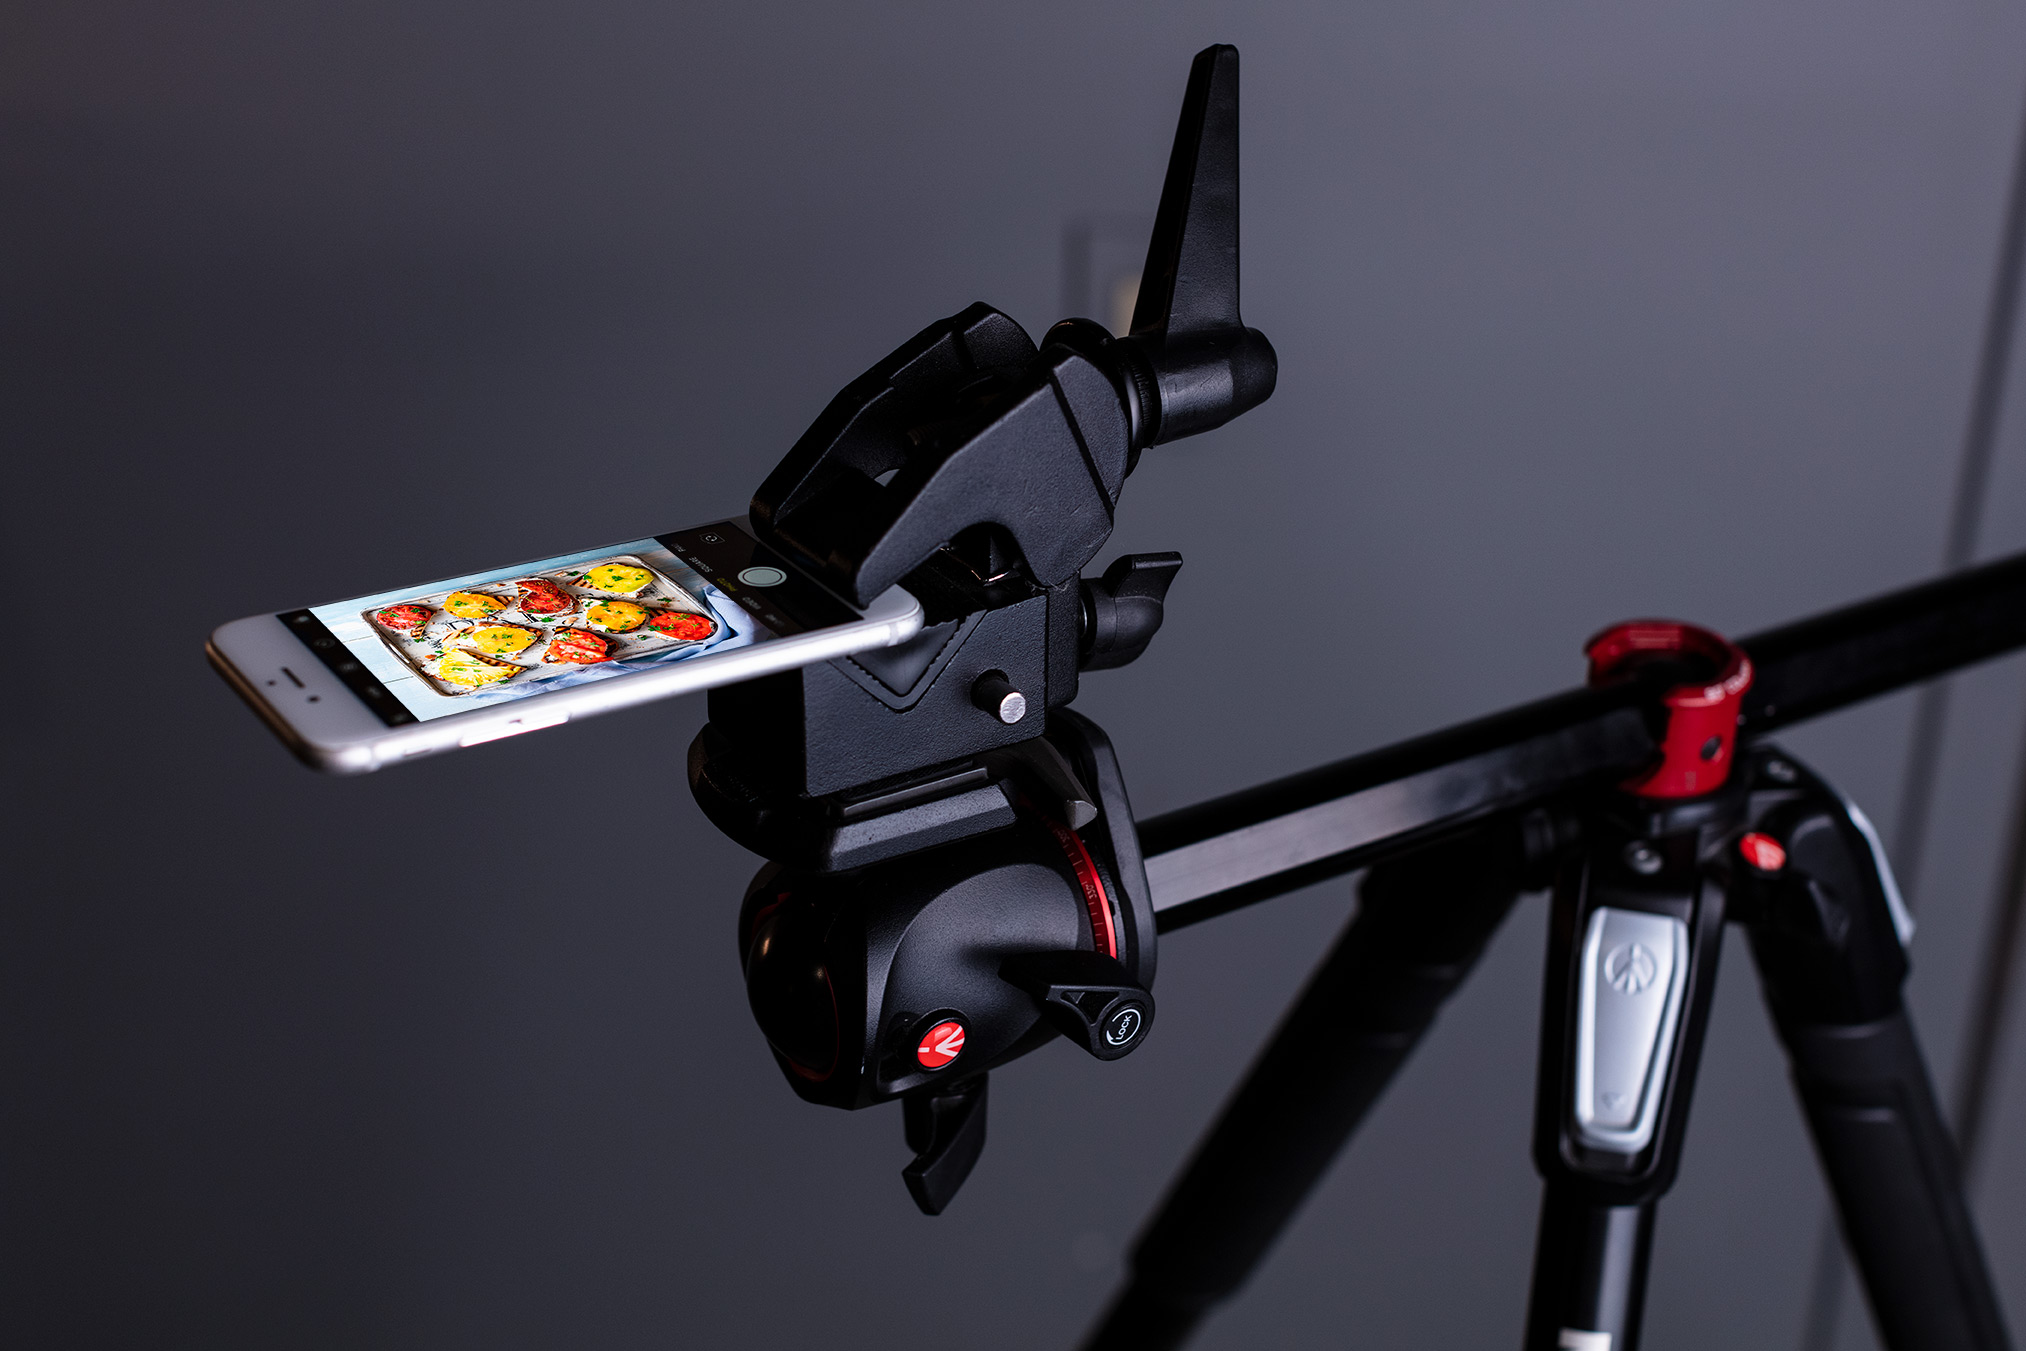
If you are using the phone to snap your flat lay photos, then consider only getting a tripod with a horizontal column with a super clamp. It's a stable way to hold your phone above and over the table without having to worry about cracking your screen.
5. Make The Light Magical
I have a lot of great tips for making your food photography lighting magical here on the blog.
Try to pinpoint where the viewer will be sitting at your imaginary table (usually the bottom of the image), and place the light opposite of that. This will make for a more comfortable lighting.
Use modifiers like diffusors and softboxes to smooth out highlights and shadows. Use white cards to bounce light back into the scene or flags to block off portions of you light.
Most importantly, get creative with the lighting and have fun!

6. Use Props To Tell A Story
What is probably the most fantastic about flay lay photography is that you get to play with loads of awesome props. From the birds-eye view your props will create beautiful lines and shapes, which are a blast for creative compositions.
In food photography each recipe has a character. Be selective in the props you choose. Make sure they match the look and feel of the dish.
Try to think about the cooking method. The tools you use to make the recipe also make great food photography props.
Or maybe think about what props you would use to serve the meal. How many people are eating in this photo, what they are drinking.
There are so many different avenues you can take when it comes to using props in your scene. Think of some amazing stories to tell. It could be your own or something completely imaginary.
7. Create flat lay stop motions
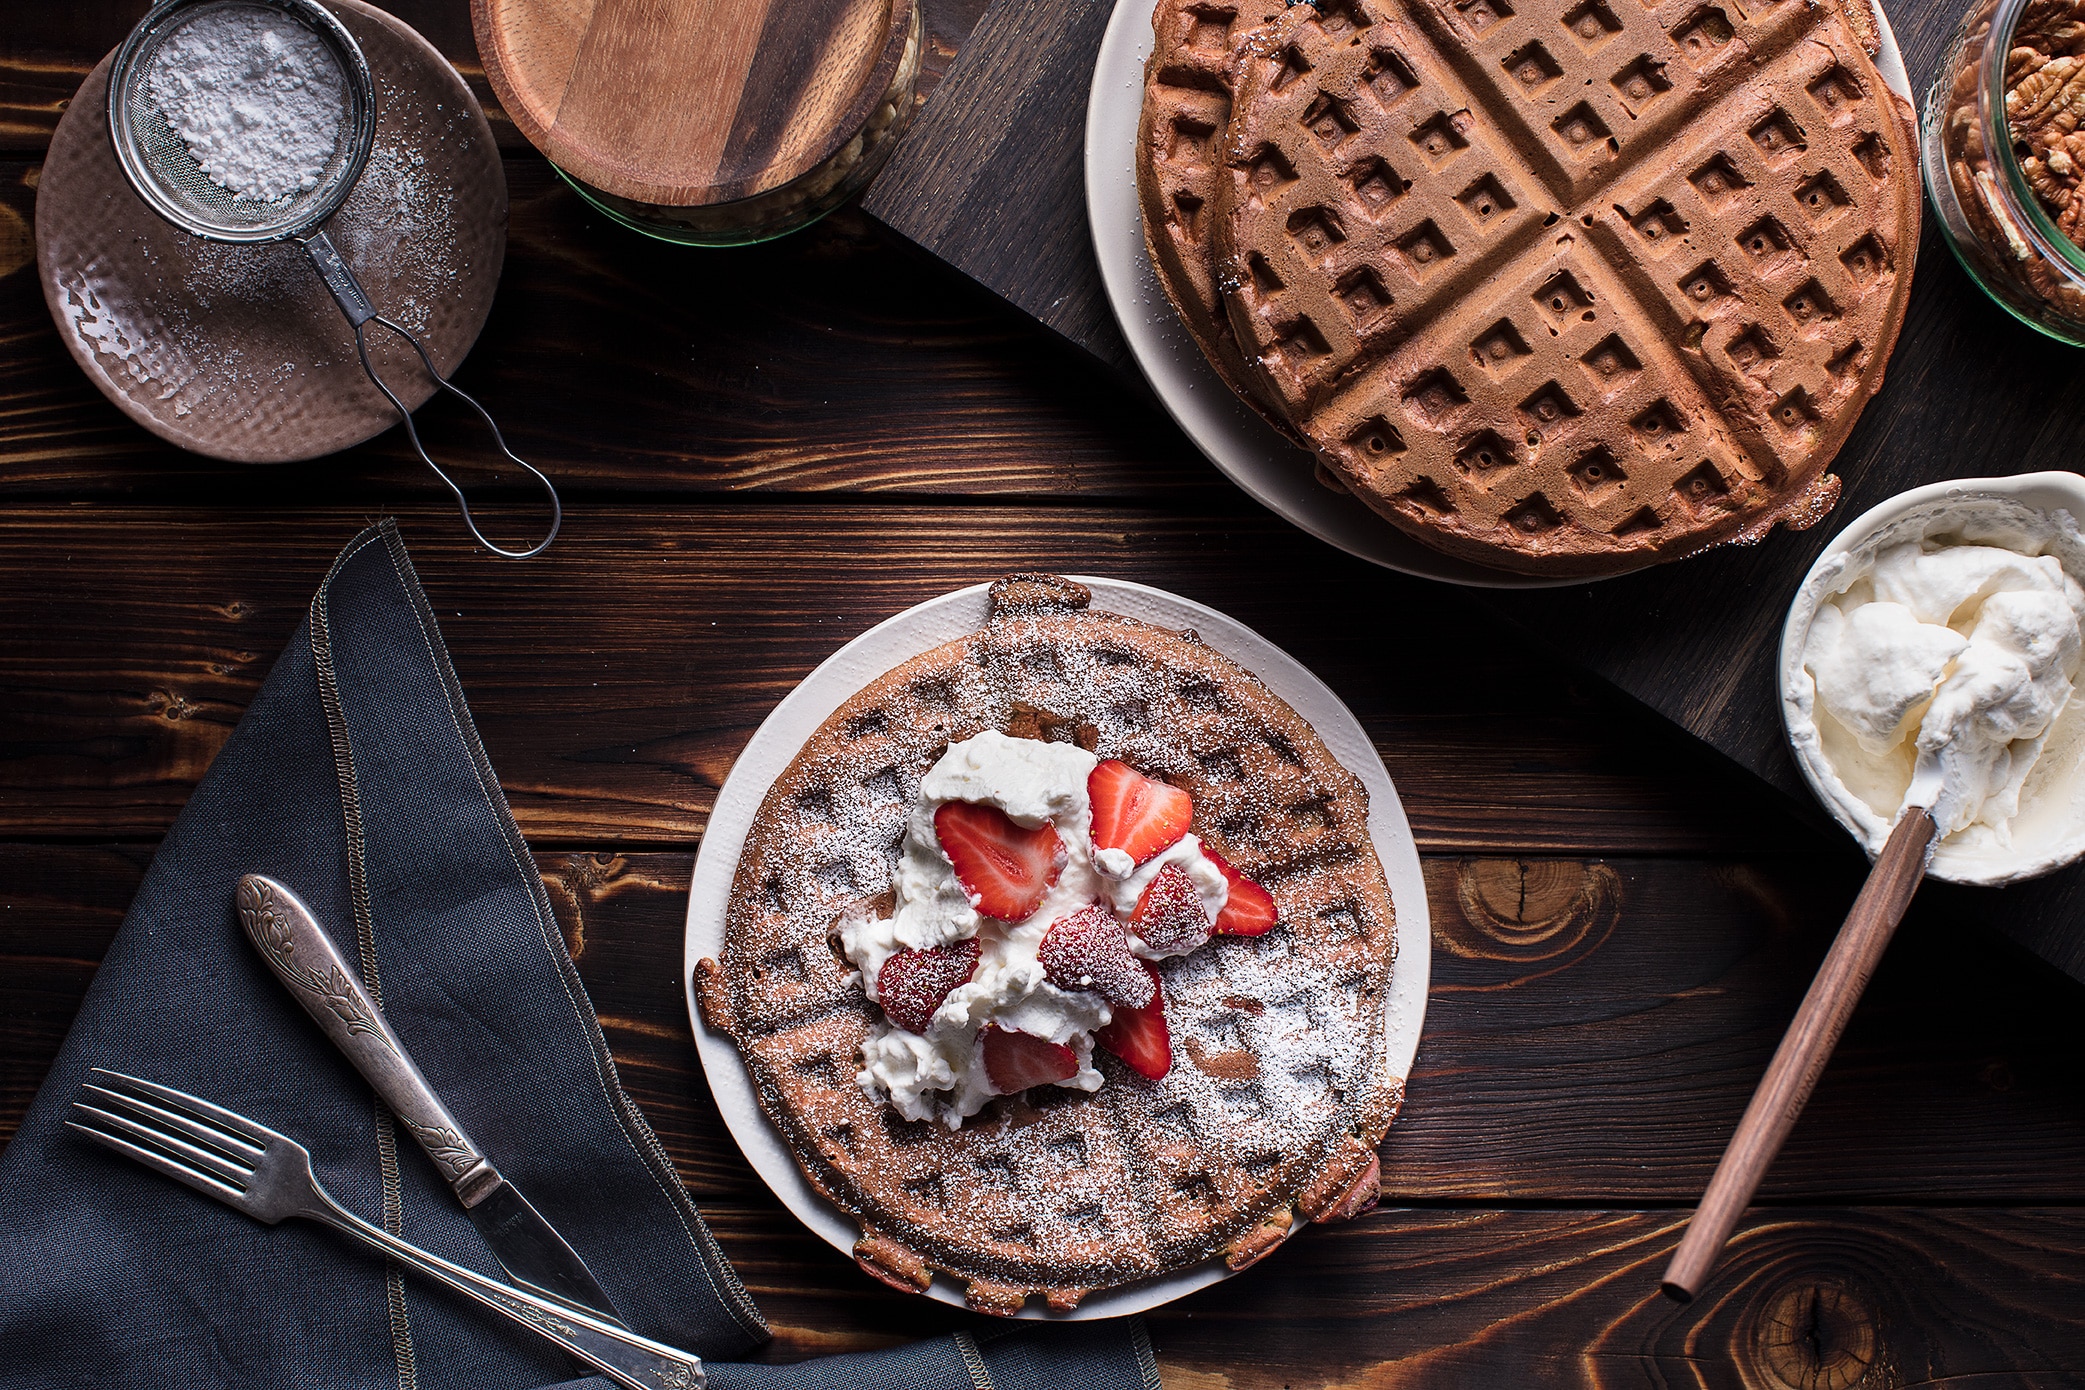
Easily creating stop motion videos is probably my favorite aspect of photographing flat lay images.
With the camera above the table, most of the food and props in your will be on the same focal plane. This makes it super simple to create really fun stop motion videos or food styling time-lapses.
With a good camera setup you can quickly take a photo whenever you move a prop or a piece of food on the table as you build your photograph.
By the time you have completed your final image you will have hundreds of photos to create a nifty stop motion video with. Watch this video here to learn how to put the stop motion video together.
Of course some pre-planning of how you want the props to move and what your stop motion will be about is needed. But in the end you'll have a fun video to share on Instagram.
Here are a few examples to give you some stop motion inspiration.
What you want in a perfect Flat Lay Photography Camera Setup
- The camera to be 100% level, that way you can rotate the image for vertical or horizontal display without the food looking like it was falling off the table.
- You wanted to be able to easily raise and lower your camera depending on the size of your flat lay scene.
- You want it to be portable and lightweight so you can take it on location shoots.
- You want it to be expandable for any size table.
You can see this flat lay setup throughout my Food Photography Masterclass and in most of the tutorials I post. I first created it about ten years ago and have since only updated the tripod head. Which is pretty amazing as far as camera gear goes.
Gear List For Raising The Camera Above The Table
For the flat lay camera setup you'll start with two light stands. You could use larger C-stands for extra stability, but I prefer the weight of the light stands as I can take it on location.
Once you have the two light stands setup, connect this Impact extension arm. This extension arm comes with a Grip already attached to one end.
You will need two more Avenger Grips, one will slide onto the middle of the extension arm, which you'll use to attach the camera. The last grip will attach to the remaining end of the extension arm and the light stand.
I have three of these same Manfrotto 055 tripods with ball heads and love them. A perfect heavy duty tripod for the studio, but also the ball head is easily removable and works great on this overhead camera setup as well.
Attach the ball head to the spigot and then your camera to the ball head and you're ready to start making beautiful flat lay photography.
It’s simple and takes less than 5 minutes to set up.
What is absolutely awesome about using a set up like this versus a tripod or even that expensive pneumatic camera stand, is that this flat lay setup is expandable.
If you need to do a flat lay photograph of a large table setting. Simple, change out the extension arm and grips, for a larger poll with super clamps.
I use a 6 foot metal poll and 3 of these cheap super clamps with the rest of the flat lay camera setup remaining the same.
This setup is super lightweight and fits in a nice light stand bag. I can carry it with me on flights or to the local restaurant shoot.

However, I have it setup in my home studio at all times.
Just set it up once, get it level with your table and when you are doing a flat lay photography shoot at home, attach your camera and snap away.
Easy peezy!
If your interested in some other really cool food photography tips check out these articles!
- All the gear you need to make awesome food photography!
- How to compose your food photography like a pro
- 4 amazing food photography lenses you should consider owning
- What makes a camera great for food photography
- Food Photography tips to start making delicious photos now
- How To Shoot iPhone Food Photography Like A Pro

This is not a sponsored post, however this post does contain affiliate links to some great photography gear, products or services I currently use or have used in the past. If you plan on shopping for some new great stuff, please click through the link and I'll receive a small commission. Every purchase helps me continue on my never ending quest to provide amazing content.
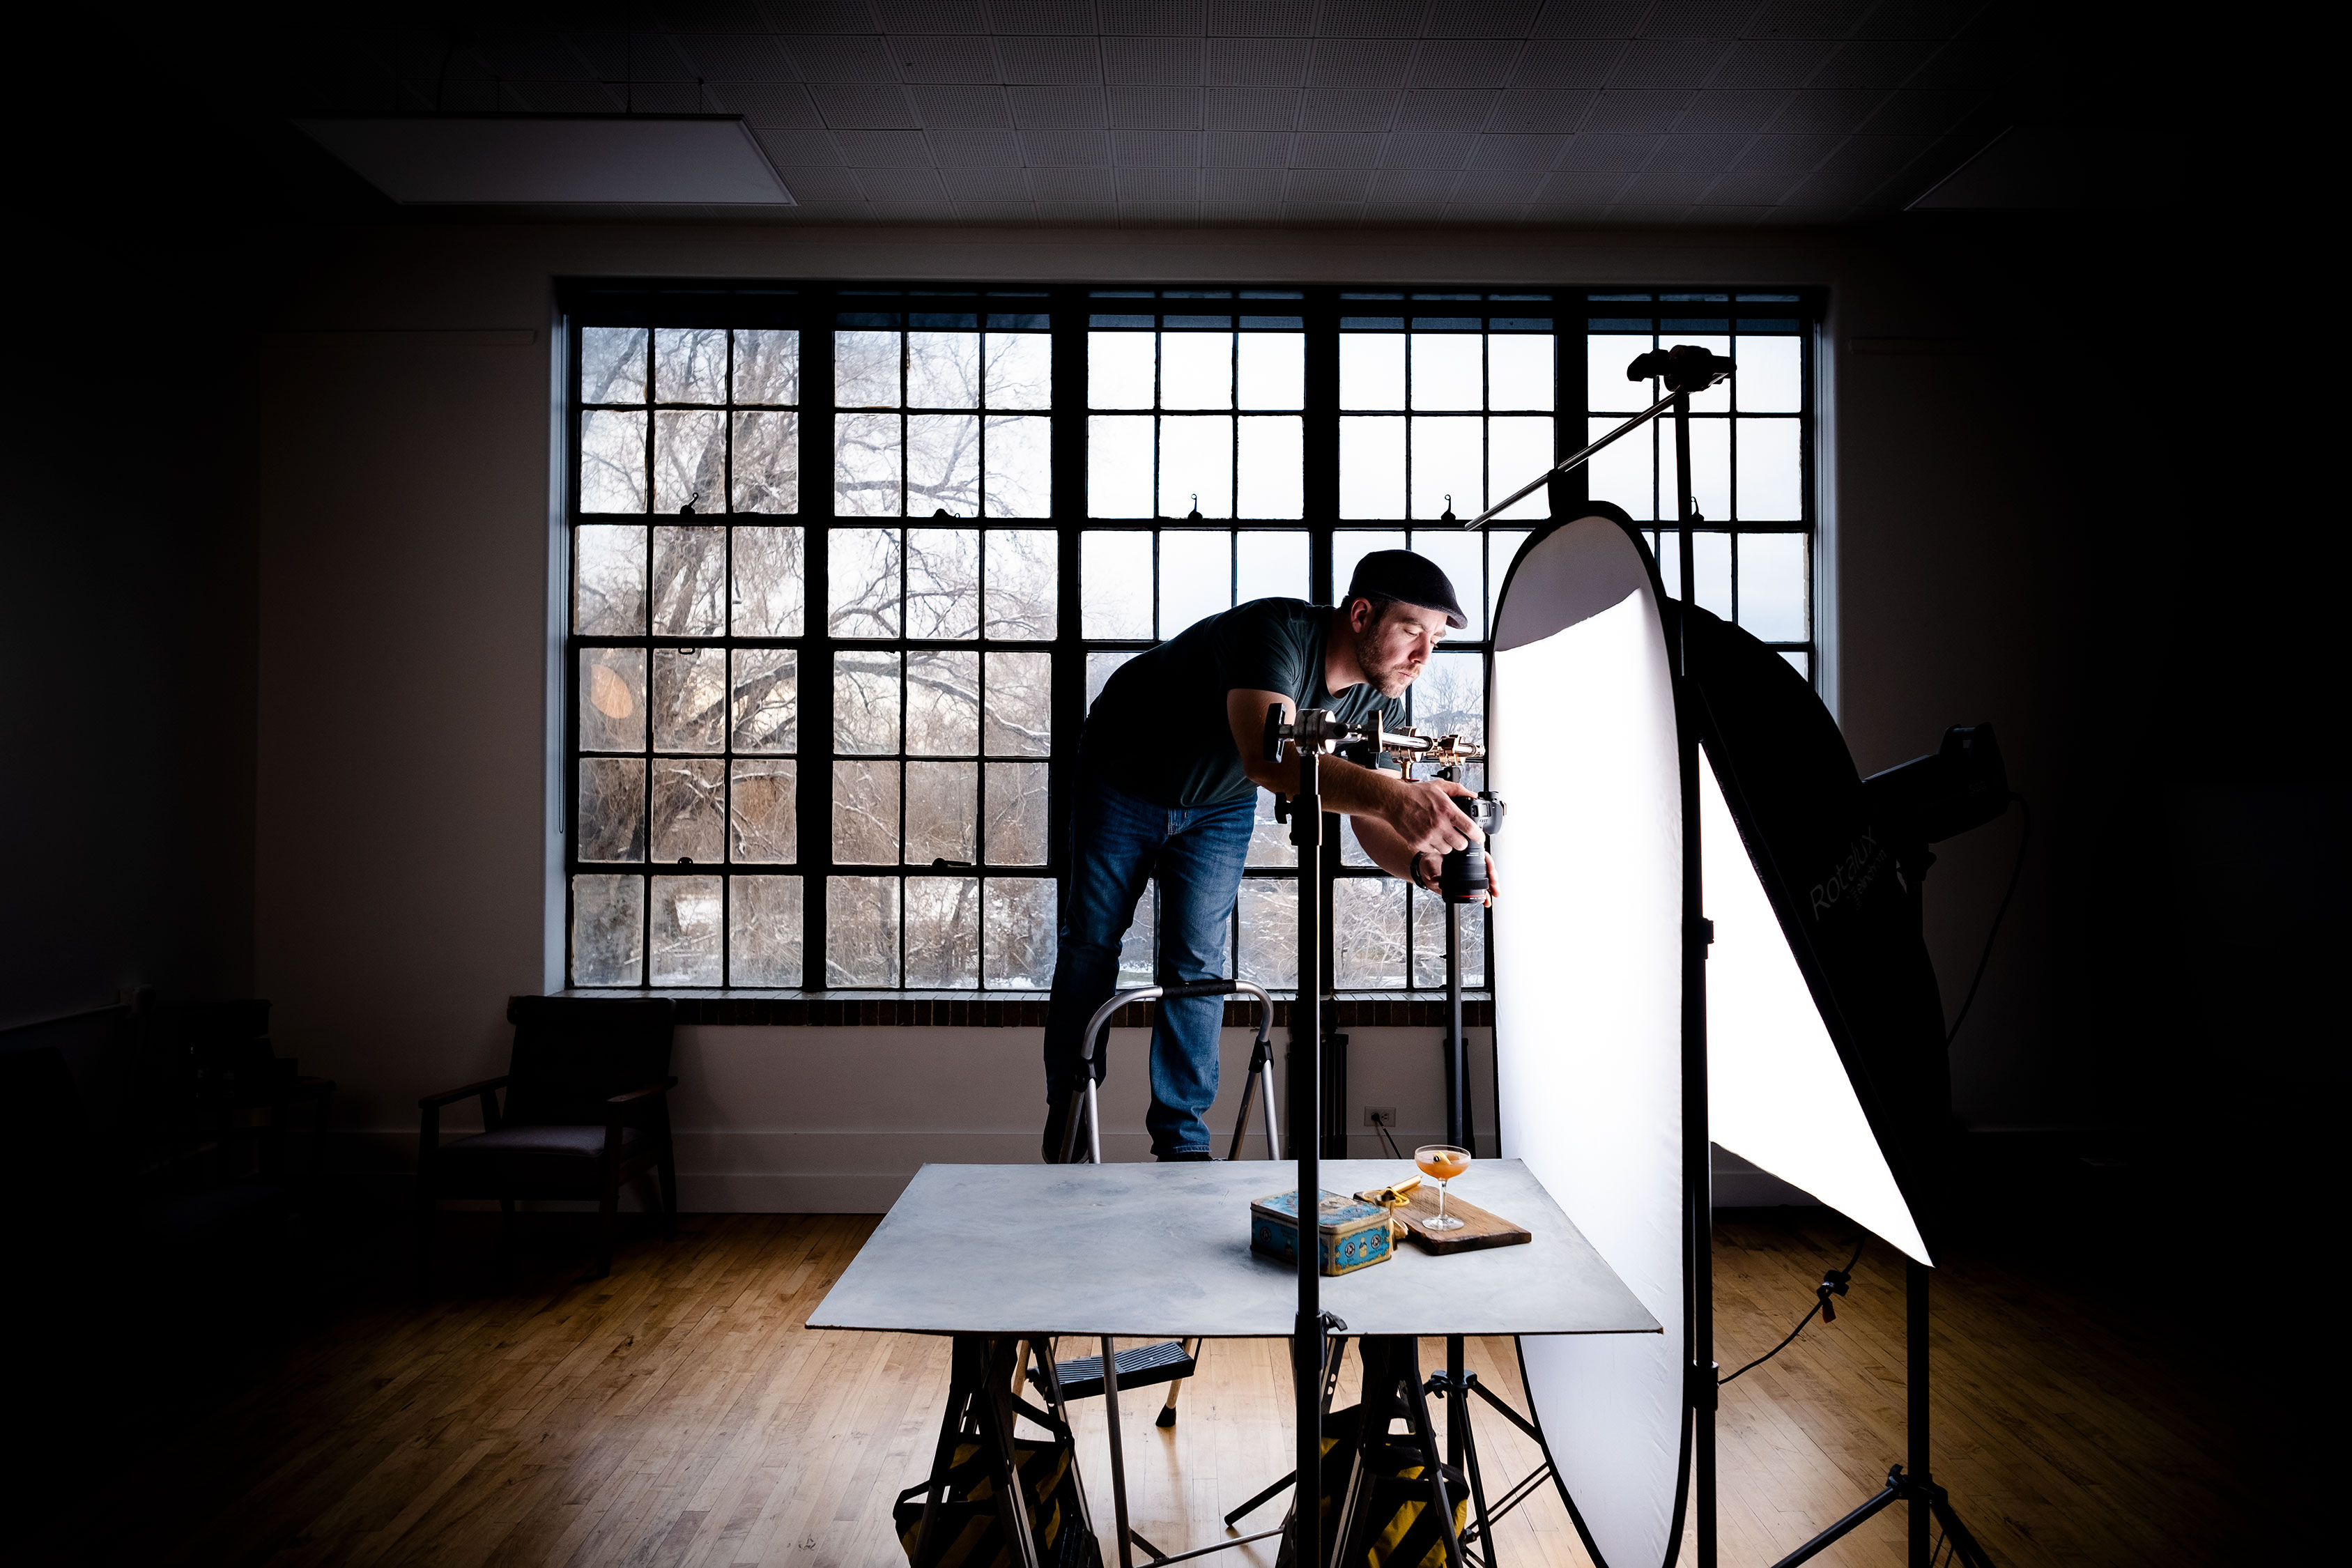
Epic Cyber Monday Deals For Food Photographers
It's the season for amazing Black Friday and Cyber Monday deals for
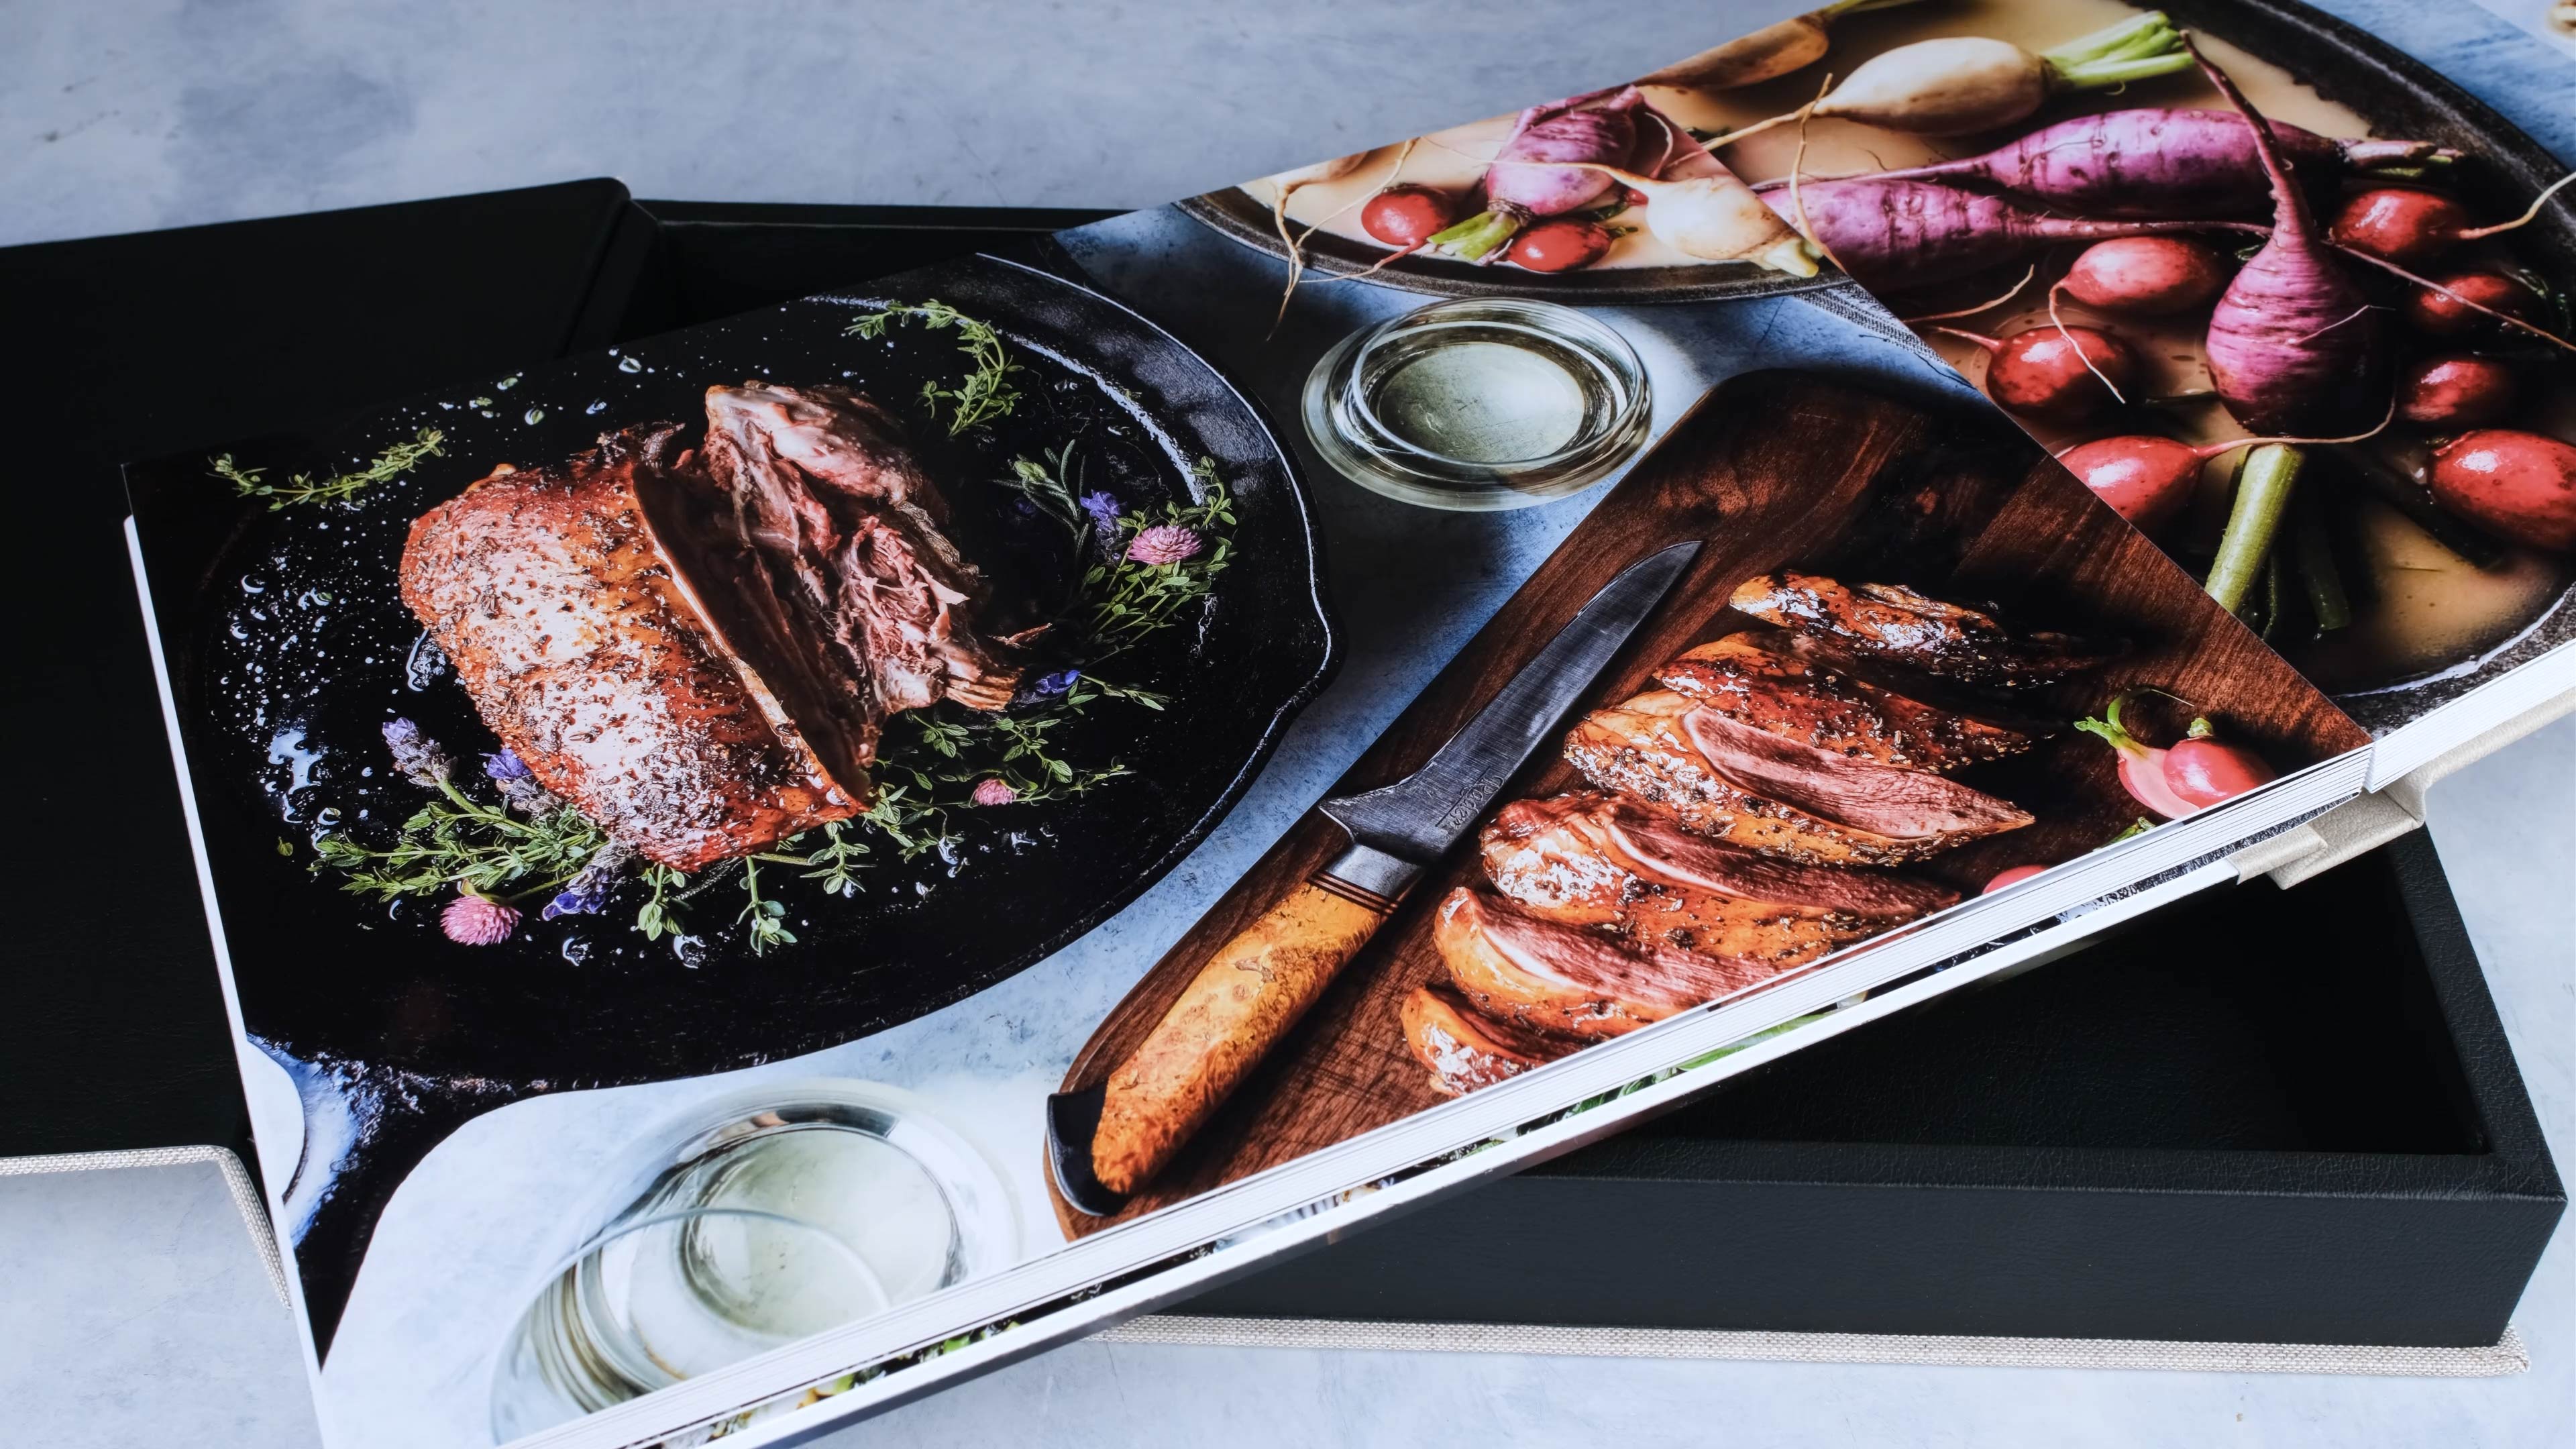
Printing A Portfolio That Gets You Work
Printing a portfolio is one step every photographer will do at some
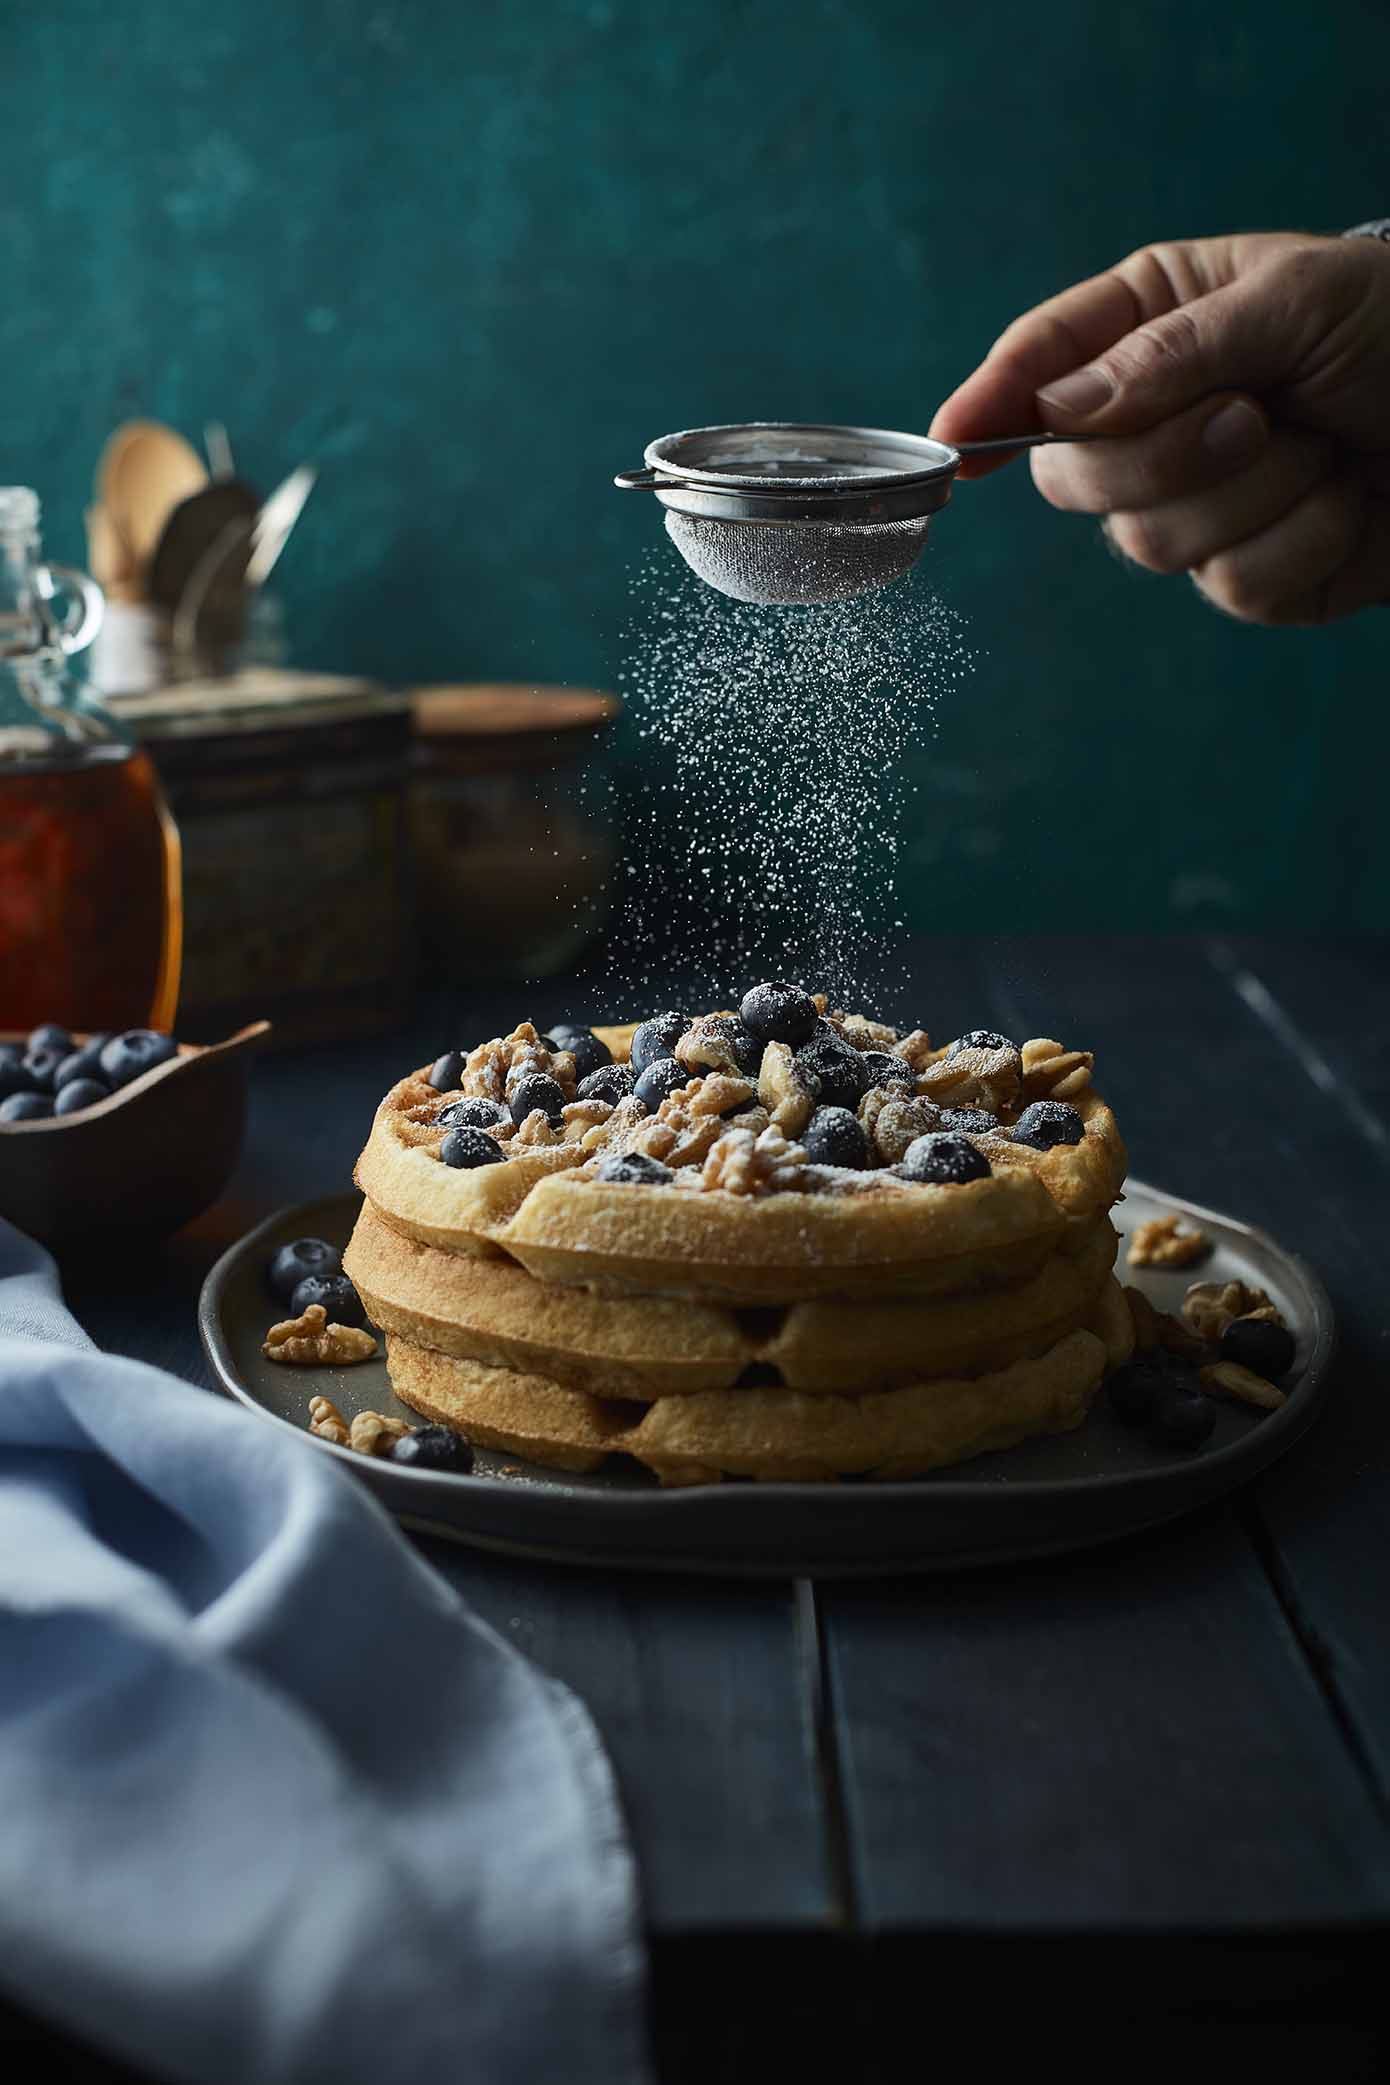
Making A GIF For Instagram Animated Food Photography
Making a GIF for Instagram is super easy. Scrolling past all the

The Complete Photography Bundle 2019 It’s Time To Make Stunning Images!
The Bundle Co. is bringing us their 2019 Photography Bundle packed full
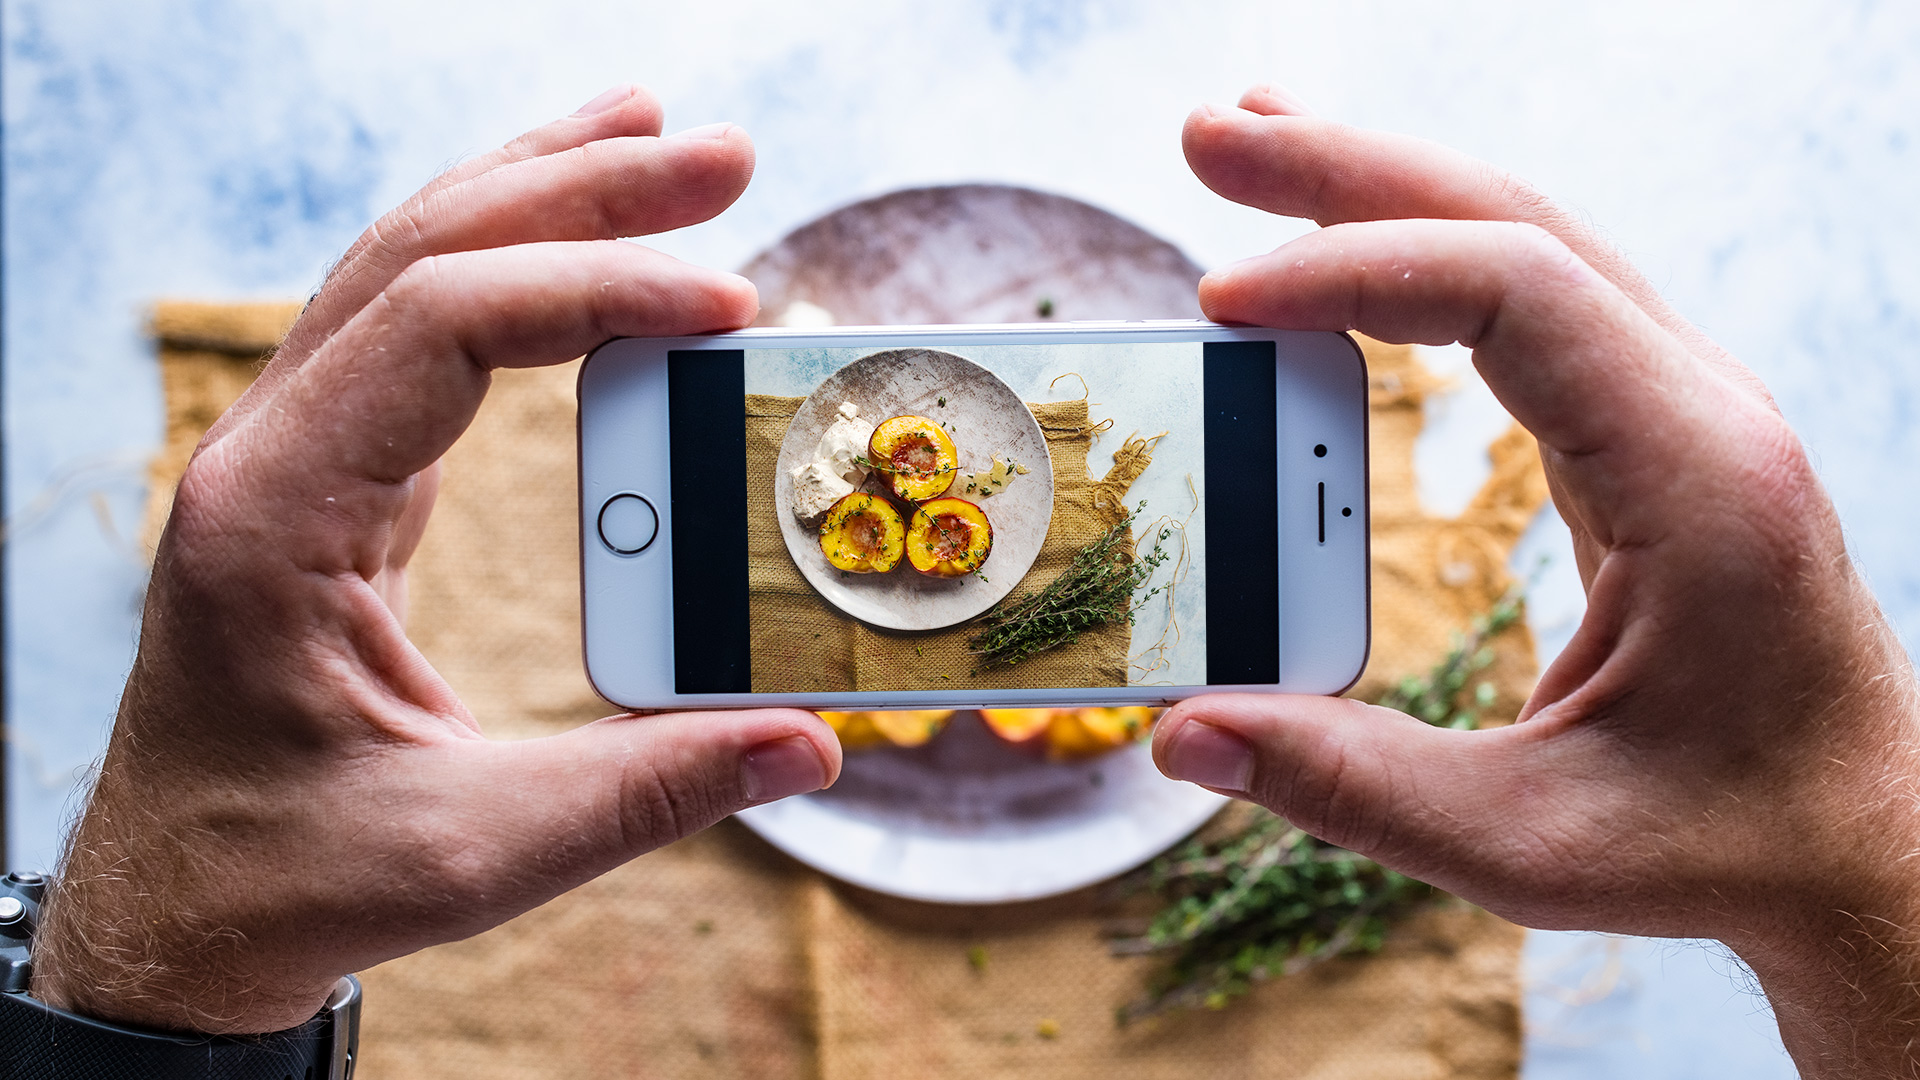
How To Shoot iPhone Food Photography Like A Pro
Take your iPhone food photography to the next level. Today we have
Best Ever Food Photography Backdrops
Food photography backdrops are slowly, but surely becoming an addiction for me.

 Also this cool little stop motion is from last weeks video on the most killer overhead camera setup! Be sure to watch that too! Exciting things happening over on the channel woot woot!


